My dad was a handyman, and I grew up helping him. I’ve painted my home from top to bottom, as well as the houses and apartments of countless other people. I’ve learned a thing or two over the years and I’m happy to share my tips and a step-by-step guide with you! It looks like a lot of information (because it is), but don’t worry or get overwhelmed. Painting a room is an easy, inexpensive DIY project and you can do it!
(Pictured above is my studio. I primed and painted the walls, installed and primed and painted the wood trim, ripped out the old carpet, and laid new bamboo flooring.)
PREP WORK FOR PAINTING
Fill any holes or imperfections with spackle, wait for it to dry, and then lightly sand the patches. If you have a crack, you must first widen it slightly before spackling or the spackle will just sit on top.
Scape away any peeling, cracked paint, then sand the area smooth.
Clean the walls if they may be dirty (especially in a kitchen or bathroom), and always take a damp cloth to clean the dust off of trim and the tops of doorways.
Use paintable caulk to fill any gaps between the walls and trim before painting the trim. Fill any dings and divits in the wood with wood putty, wait for it to dry, then sand smooth.
When in doubt, prime. Using a primer can hide dark colors, block stains, and help your new paint job last longer. It’s also a must when painting exposed woodwork, and there are many primers that adhere to glossy surfaces (allowing you to skip sanding first).
Stir your paint before you begin, and don’t paint straight from the can. Obviously you would pour the paint into a roller tray if you were about to use a roller, but consider using a small bowl when painting with a brush. Its easier to hold, and decanting paint will keep the can free of the impurities (dust, wood particles, etc.) that your brush may pick up as you work.
If you want to use tape, buy painter’s tape (it’s usually blue or green, and marked as such). Apply it in short, overlapping strips, and press down firmly along the edge to ensure a crisp line.
PAINTING TOOLS
You will need the following tools to prep for a typical room: Spackle, putty knife, fine grit sandpaper, and a damp lint-free rag. You may also need paintable caulk and wood putty if you’re working on the trim.
Tools to paint a typical room: Paint, a tool to open the paint can, stir stick, angled paint brush, small bowl (I don’t recommend painting straight from the can), roller, roller cover, roller tray, and a roller extension pole (if you have high ceilings). Painter’s tape is optional, and a drop cloth to protect the floor is a good idea. You don’t need any funny little gadgets to paint edges.
A 5-in-1 tool is a painter’s best friend. You can use it open the paint can, open cracks in the wall for repair, spread spackle (takes the place of a dedicated putty knife), scrape loose paint, and clean rollers.
Use a good quality brush. I like a 2.5″ angle brushfor most projects (painting trim, doors, cutting in), and a 2″ sash brush for windows.
Use a good quality roller cover. Cheap ones leave a messy edge and can shed little fuzzies all over. I use a fresh cover for each paint job, but they can be cleaned. A 3/8″ or 1/2″ nap is good for most walls.
CHOOSING PAINT
I’ve tried many brands and I’ve been happiest with Benjamin Moore, though Behr impressed me as well. If you find a color you like from another line, a paint store can match it for you in the brand you like.
Choose a finish that is appropriate for the room and application. I like semi-gloss for trim, eggshell for kitchens and bathrooms, and flat for all other rooms. Glossy finishes are the most durable, but flat finishes help to hide imperfections. Most paint finishes now, even flat, will hold up to a little cleaning. Porch paint is the most durable option for painting wood floors.
Oil or latex? I always use latex (water-based) paint. It dries quickly, there are less fumes, and it cleans up with water. You can still choose latex if you are painting over oil paint, but you must prime first with an oil-based primer. You can test what kind of paint you have by rubbing it with a cotton ball soaked in rubbing alcohol. If the paint comes off, it’s latex.
Get a low-VOC (Volatile Organic Compounds) paint if you’re concerned about paint fumes (in a nursery, for example). Many brands offer a low or no VOC option, including Mythic, Benjamin Moore, and Behr. Consumer Reports ratings are available to CR subscribers.
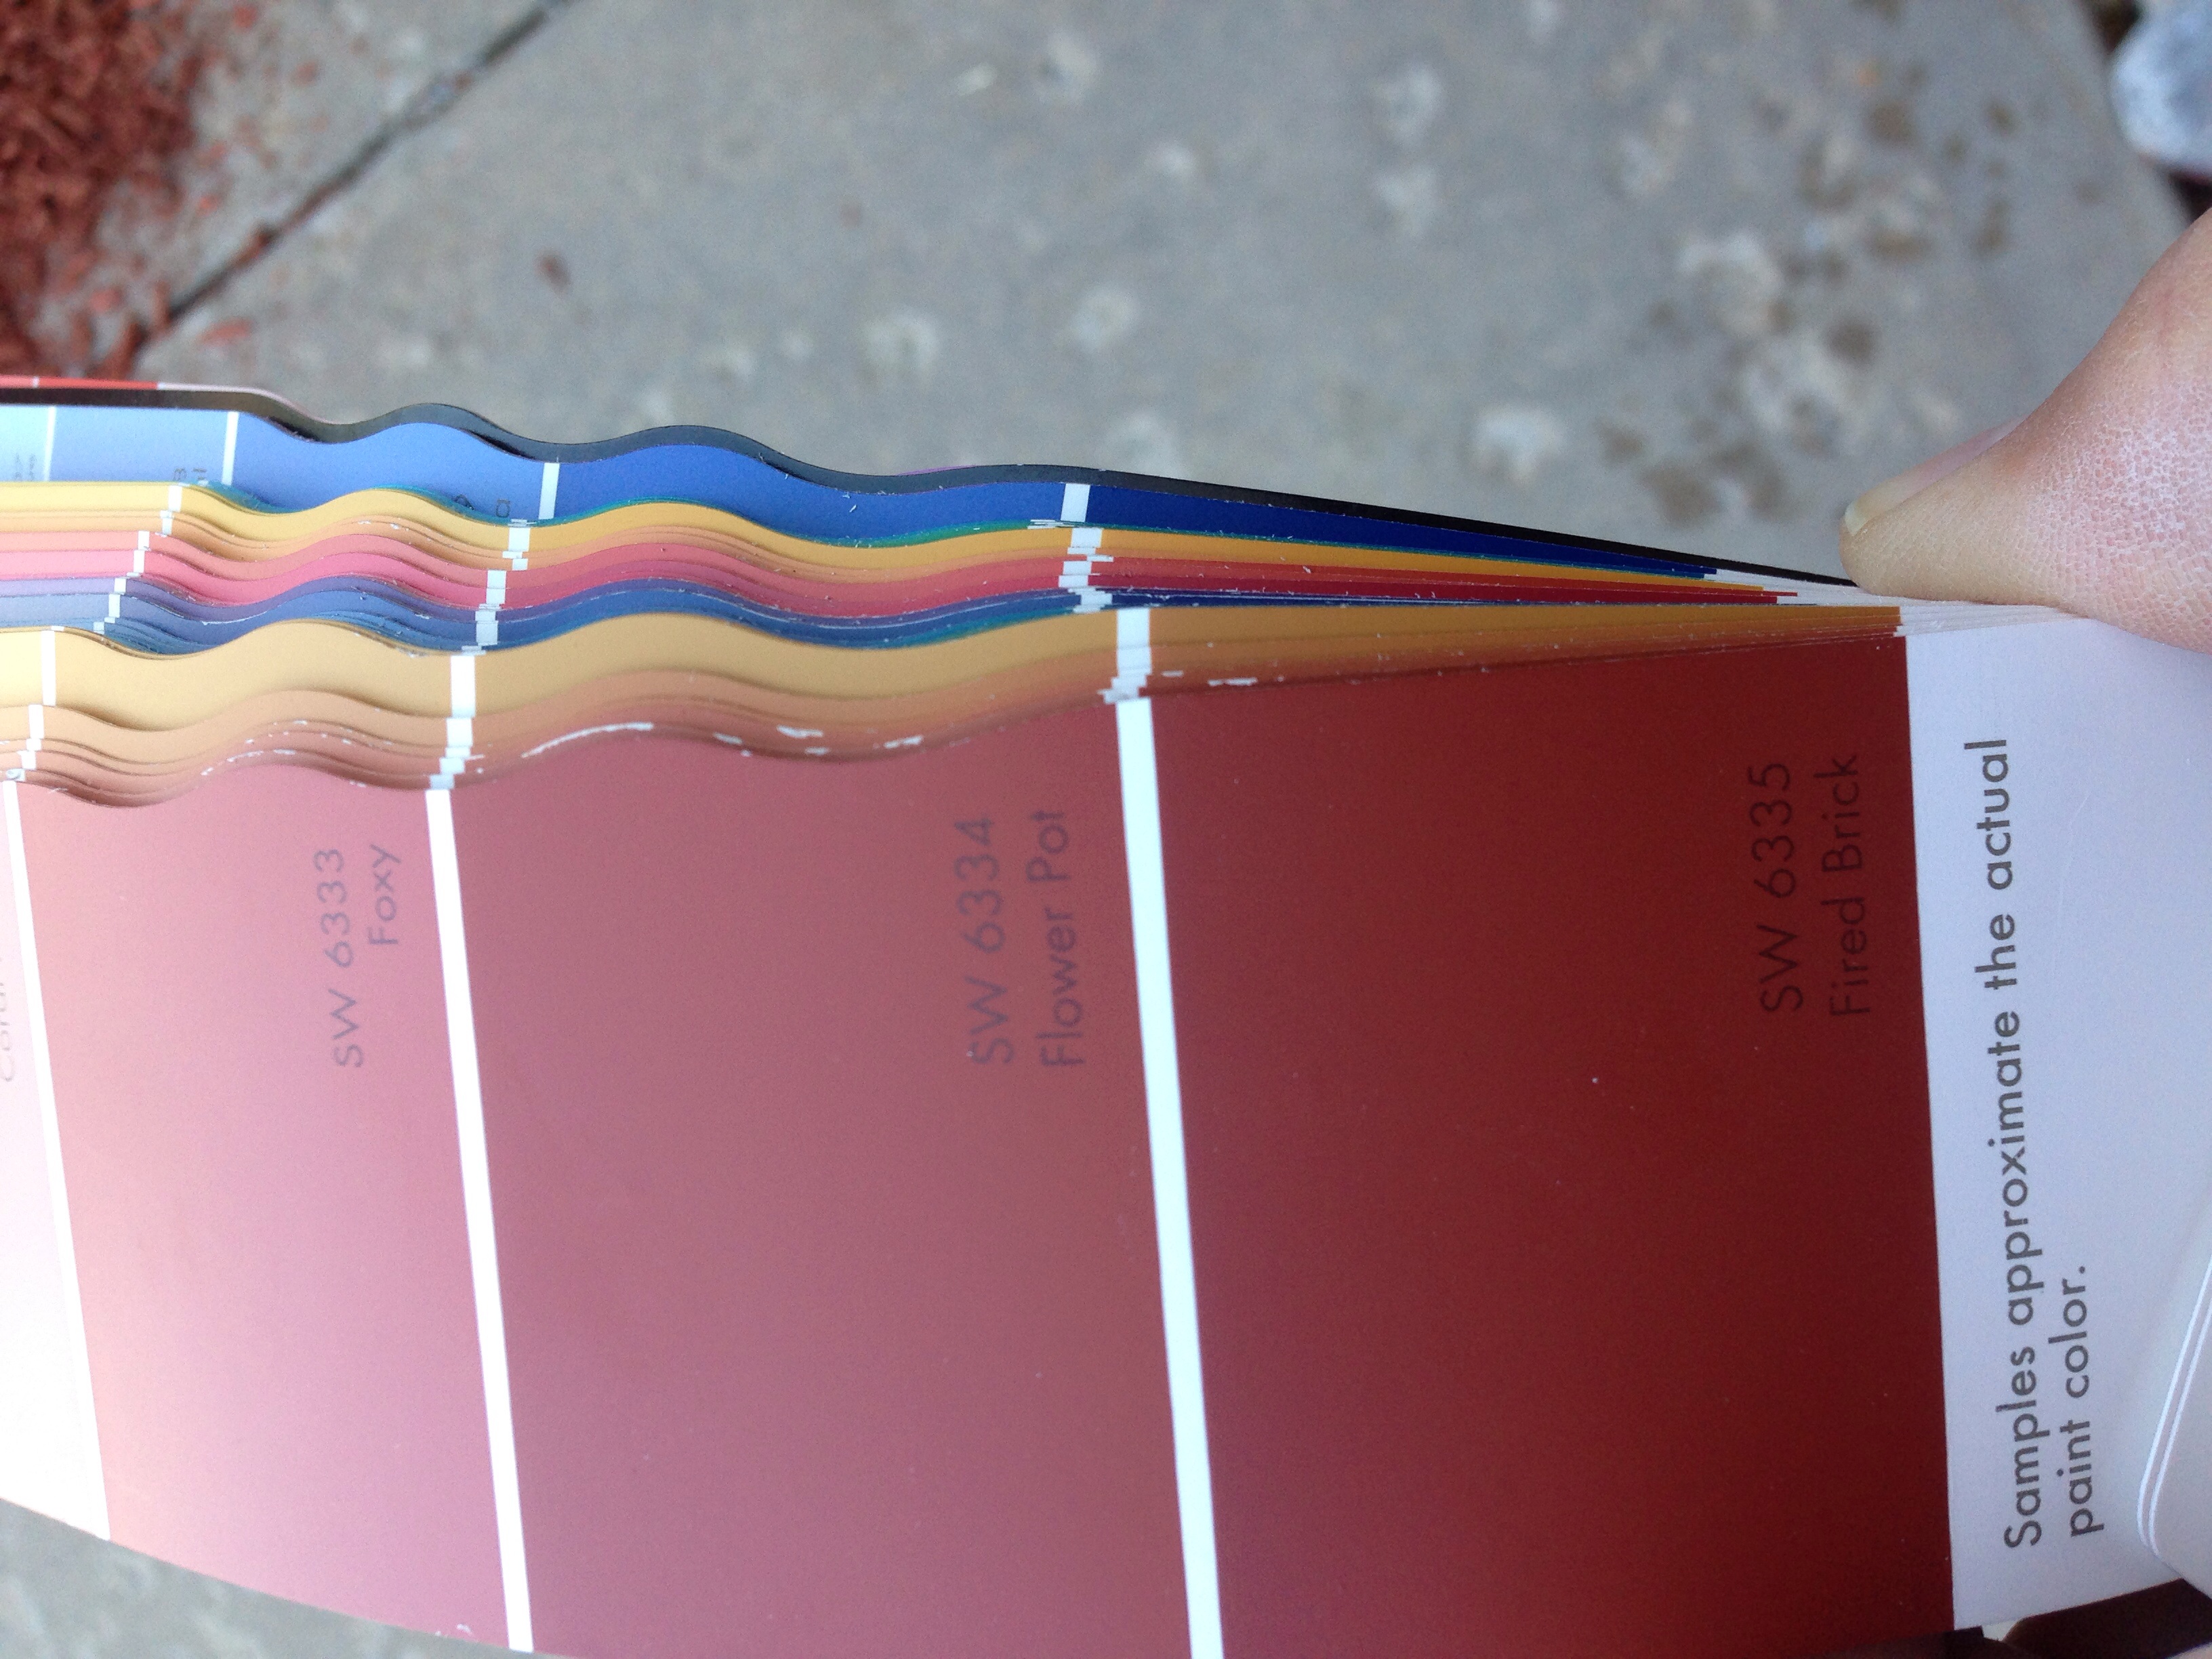
(Paint chips from Martha Stewart’s line at The Home Depot.)
CHOOSING A PAINT COLOR
Choosing colors is a bit of an art, but here’s a “rule” that I think you can ignore: Don’t pick a color and then ask for a half-strength or lighter version. Some people swear by this, but I’d suggest choosing a lighter color instead if you feel like the one you’re considering will be too dark.
Most people prefer slightly muted (tinted with gray or brown) colors, as opposed to a pure or primary color.
Your ceiling does not need to be white! If the wall color is not too dark, I use it for the ceiling too. If you do choose a dark wall color it may be a little much to use everywhere, you can have fun choosing another color for the ceiling that will work with the rest of the room.
Most paint companies are offering sample sizes now, so it’s easy to try a few colors out before buying a gallon. If you don’t want to paint the samples directly onto your wall, paint each color on a board of foam-core (paint stores sell them).
Choosing a paint color should come at the end of the decorating process.
The worst thing that can happen if you hate the color you choose is that you’ll have to repaint. It would be unfortunate, but not catastrophic.
PAINTING TECHNIQUES
Keep a wet edge, and always paint from dry to wet. This will minimize brush strokes and roller marks.
Don’t stretch your paint. You don’t want to glop the paint on, but scrimping will leave you with a patchy, blotchy paint job.
Taping is optional, especially if you have a reasonably steady hand. Using an angle brush, start slightly away from the edge and then curve in to meet it. This will help you avoid leaving a big blob of paint where you begin.
Holding the brush the narrow way (not the way you would naturally hold it) makes it easier to get a crisp line when painting trim.
Painting a room is best accomplished by first cutting in (painting along the trim, ceiling, and corners) with a brush. After that has dried, you can go in with a roller for the walls.
I find that it doesn’t matter whether you paint the walls or the trim first. My preference is to paint the trim first because I find that I can get a cleaner line when I cut in to paint the walls. If you like to tape off your edges, you may find it easier to paint the trim last.
Wet your brush and then blot out most of the water before you begin. This will help to keep paint from creeping up into the ferrule (the metal part where the bristles are attached) and save your brush.
Only dip your brush about a half or quarter of an inch into the paint, then wipe off one side on the edge of the paint container. This will help you avoid paint runs (from using too much) and keep your brush in good condition.
Paint in long, continuous strokes. Not doing so is one of the most common mistakes.
When painting with a roller, aim for covering a three foot wide section at a time. I typically go from the ceiling to a midway point, load more paint, and then go from the midway point down to the floor. Then I move left or right to the next section, always remembering to keep a wet edge and working from dry to wet.
When painting with a brush, don’t dab the paint on or move in a short back and forth motion. You can paint with the brush left and right (or up and down) to get the paint on, but then take one long finishing stroke from the dry side and tapering off into the wet edge.
Put on a second coat. Your paint job may look OK after just one, but it will look better after two. If you’re using a dark or vivid color, you may even need three (or more) coats.
Let your paint fully dry between coats. The paint can should tell you how long to wait.
(That’s me “cutting in” while painting my library.)
CLEANING UP
You can keep your brush or roller wet between coats by covering it tightly in plastic wrap or using a plastic bag. And don’t forget to put the lid back on the paint can right away.
I use a fresh roller for each paint job, but you can clean them with water and a 5-in-1 tool.
Remove painter’s tape as soon as the paint is dry.
If you taped off your room’s edges with painter’s tape and the paint is peeling as you remove it, score the edge lightly with a razor for a clean line.
If you notice a paint drip while it’s still wet, you can wipe it away with a damp cloth. If it has already dried, you will have to take more drastic measures.
Stop to clean your brush if you’ve been painting for more than an hour or so. Otherwise, the paint will start to dry towards the top, gumming up your paint job and ruining your brush.
Clean your brush with a little dish soap (assuming you’re using latex paint) and a brush comb until the water runs completely clear. A quality brush can hold a lot of paint, so give the bristles a little squeeze to wring out the excess water when you’re done and make sure there is no more paint in the brush. Smooth the brush into shape and then let it sit to dry completely.
STEP-BY-STEP GUIDE TO PAINTING A ROOM
GETTING STARTED
Clear the room, gather all of your supplies, and lay out your drop cloth.
Scrape off any loose paint, if needed.
Remove any nails from the wall and spackle any holes or imperfections. Sand smooth.
Clean the walls and trim, if needed. Dust along the baseboards, windows, and doorways with a damp cloth.
Caulk along the trim, if needed.
Tape off the room if you like to use painter’s tape.
PAINTING THE ROOM
Prime. Pour your primer into a small bowl and cut in (paint the corners and edges of the room) with a brush first. If you’ll be painting the trim, you can prime it now too. Clean your brush when you’re done.
Grab your roller and a roller cover, and pour your primer into a paint tray. Prime the walls.
Paint. If you are painting the walls and the trim, decide which you will do first. Here, I’ll assume you’re doing the walls first. Again, cut in first with a brush and then paint the walls with a roller. Wrap your roller and paint tray in plastic and clean your brush and paint bowl while you wait for the room to dry, then do a second coat.
Clean your brush, bowl, tray, roller, and roller cover (if you plan to reuse it).
If you used painter’s tape, remove it as soon as the paint is dry to the touch.
Wait for your paint to be completely dry before taping off again for the trim. You may want to wait a day to be sure.
Apply two coats of paint to the trim, letting the paint dry in between. You can wrap your brush in plastic or clean it while you wait for the first coat to dry, then clean everything up when you’re done.
Again, if you used painter’s tape, remove it as soon as the paint is dry to the touch. If the paint begins to peel, score the edge lightly with a razor.
Clean up, put the room back together, and pat yourself on the back. You’re finished!
If you have any questions, I’ll answer them i
local house painterslocal house painters Local house painters