Residential Interior Painters Highlands Ranch Co
Paint Preparation Procedures
1) Clean Out – Clean Up
If you’re painting a bedroom, for example, clean out as much furniture, clothes, and clutter as you can. Move as much as you can out of the way so you easily maneuver. Especially move the bigger cumbersome stuff like furniture, shelves, tables, etc.
If your painting some furniture or cabinetry, you should definitely clean all surfaces well. Leave no sign of dirt or crud anywhere.
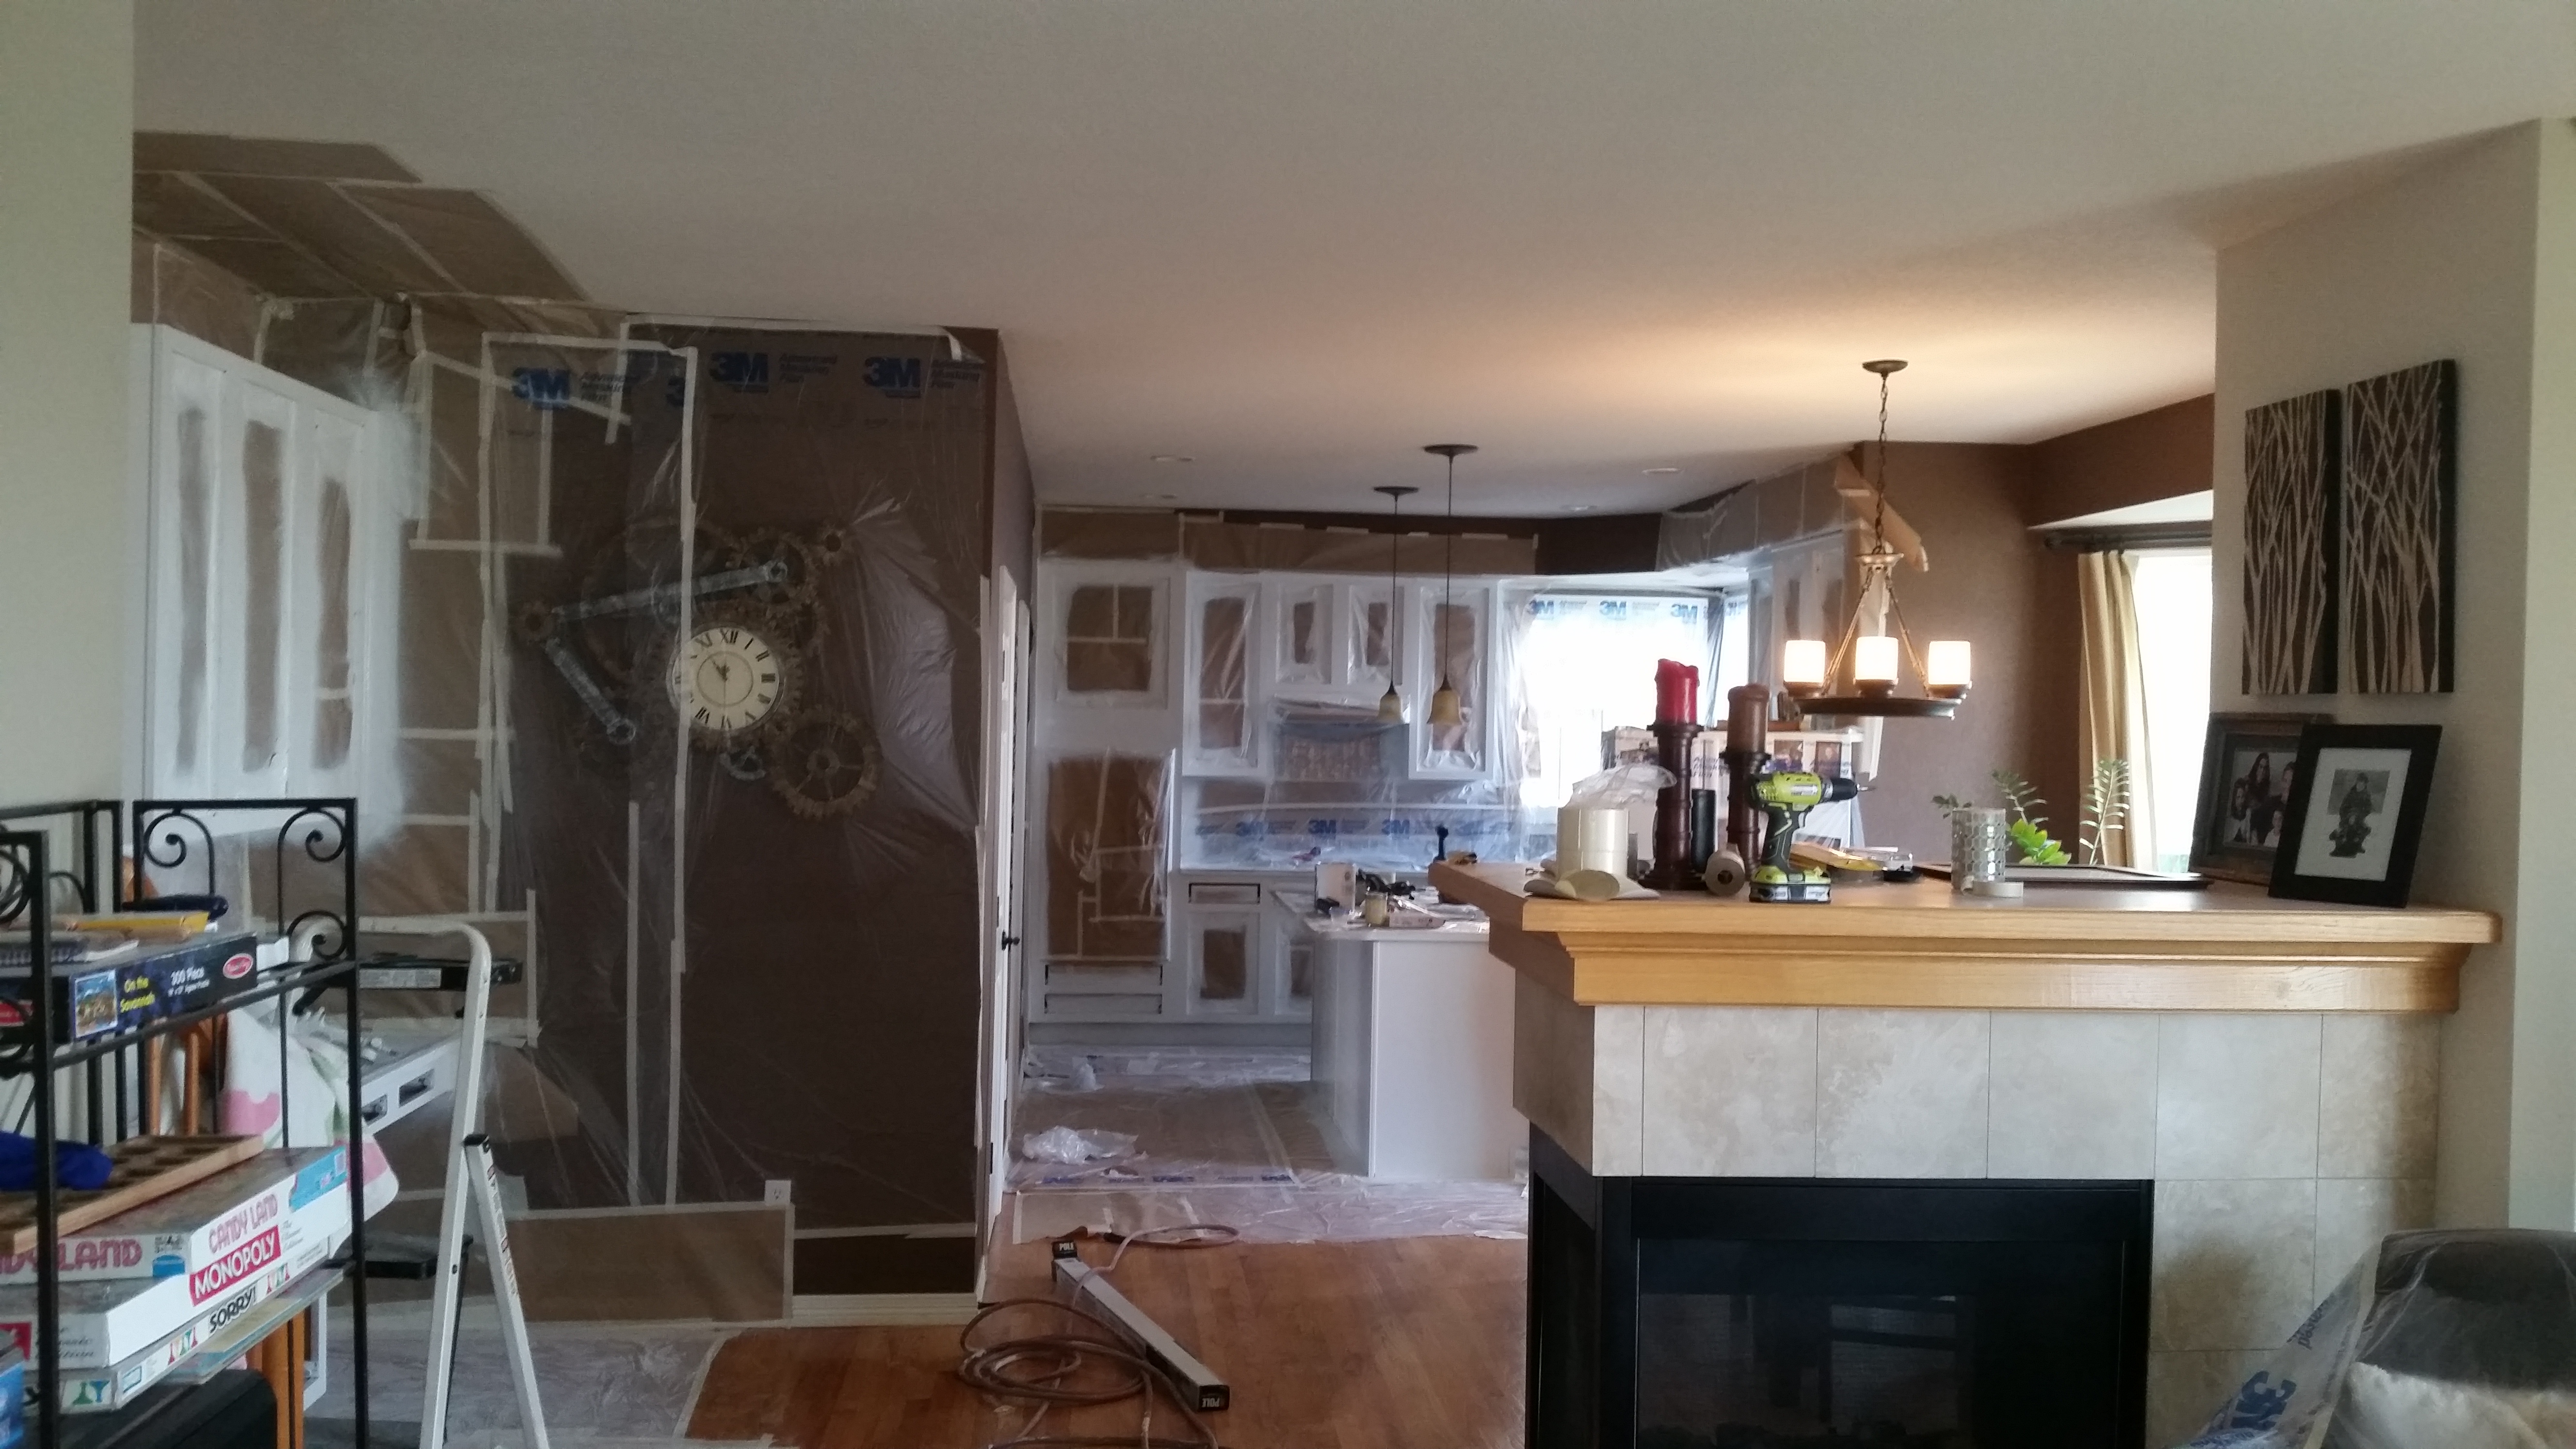
*NOTE* If you have nowhere to go with all the stuff, put everything that you can into the middle of the room. Then, throw a drop-cloth (plastic or cloth) over your things to keep dirt and paint off. Your main goal now is to be able to move around the perimeter of the room so as to be able to paint the walls and woodwork (if needed). Better to be safe than sorry.
2) Broom / Duster
Sweep away the dirt on the floor, and all those nasty cobwebs that seem to always be in every corner, on the ceiling, and on the trimwork. As with all tools and procedures for preparation, these are as important as any of them.
Once you’ve swept and dusted, you’re ready for the next step …..
3) Cleaning the Surface
Let’s say you want to repaint a kitchen wall. It’s got some grimy hand prints and some old ketchup splattered on it. Spray your favorite cleaner on the wall and wipe it off. You don’t have to rub till the paint comes off, just wipe it off normally.
This will make it easier for the new paint to cover better, which makes the likelihood of extra coats less. Of course, if the walls are simply too dirty and grimy, you may have to use stainblocker to thoroughly cover the really tough areas.
Finished with this? Good. Now, pick up a …..
4) Pair of Pliers
Why use this tool?
Pliers are great for removing small picture-hanging nails and screws. They’re also handy for removing embedded anchors from drywall or plaster.
Use a wet rag to wipe any lingering bits of plaster or drywall from the area in which you just worked.
O.K., now get your next tool ready to go …..
5) Screwdriver (phillips or flat head)
You’ll want to remove all hardware such as window pulls and locks if you’re going to paint a window sash. Some people want to paint around these things, but I think it looks awful. Take an extra minute or two, and do it right.
And while you’re at it, get some turpentine on a rag and clean the old hardware up to looking shiny again. It will look great.
(OPTIONAL)
Use a flat-headed screwdriver to remove all switch, and receptacle plates and overhead light fixtures.
* IMPORTANT * If the thought working around live wiring is uncomfortable for you, cut off the flow of electricity at the fuse box to that particular room and proceed, or, simply skip this step altogether, and leave all plates on the wall, and paint around.
You should always get advice from a qualified electrician to help you determine what you want to do here.
Next step? Take care of those holes you just created with a …..
6) Putty Knife and Your Favorite Filler
After you’ve removed all the nails and screws, you next want to fill those holes with spackling paste. A great filler really helps hide holes and other flaws on walls and other places when you do your paint preparation. Apply a little to you’re putty knife, smooth it on, and wipe any excess off with a wet rag. Sand later if necessary.
After the holes are filled, get the cracks in the woodwork filled with …..
7) Caulk Gun with Tube of Caulk
Why use this?
Caulk is the great equalizer when it comes to great paint preparation. Cracks, particularly in woodwork, are easily repaired with caulk (or putty). Truly a painter’s friend.
If you see any cracks in trimwork, the wood base along the floor, and any quarter-round (the finish piece at the bottom of floor base), apply a small bead to it. Just wipe off any excess with a wet rag.
And last but not least…..
8) Sand Paper (Fine grade)
During paint preparation, you’ll probably come upon some real rough spots on the wall or woodwork that should, at this point, come off. In all likelihood, these rough spots are painted-over dust and dirt, from the previous painting job.
(At this point, you’re now doing what the previous painter failed to do when doing his/her original prep work!)
Just rub your hand over the wall, you’ll know by running your hand over the surface if it’s rough enough to sand off or not. Remember to always have a wet rag (or two) handy to clean up after yourself after each step in your paint preparation.
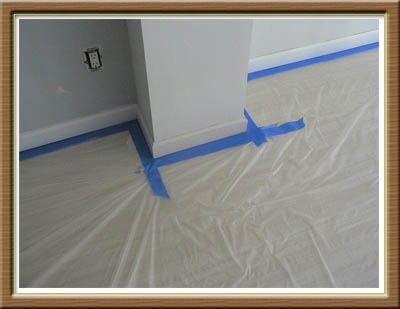
Well, that’s about it for the Paint Preparation Procedures section. You’re now ready to start painting! Get the drop-cloths and lay them out on the floor.
You’re ready to move on to painting.
TO SEE MORE ON THIS CLICK THE LINK BELOW.


