



Table of Contents
- Identify Your Cabinet Material Before You Begin
- How to Clean Greasy Cabinets Before Painting
- Remove Hardware and Prepare Cabinet Doors
- Sanding Cabinets Before Painting: Grit Selection and Technique
- Repair Wood Imperfections and Apply Primer
- Protect Surrounding Areas and Ensure Proper Ventilation
- How Long Does It Take to Prep Cabinets for Paint?
- Final Inspection: How to Prepare Cabinets for Paint Application
Last Updated: July 5, 2026
Identify Your Cabinet Material Before You Begin
Understanding your cabinet material is the foundation of successful preparation. Different materials require different prep approaches, and getting this wrong leads to paint adhesion failures and peeling. Most kitchen cabinets fall into three categories: solid wood, laminate, and veneer.
Wood vs. Laminate vs. Veneer: What’s the Difference?
Solid wood cabinets are made from actual wood boards like oak, maple, or cherry, with wood grain running through the entire thickness. Laminate cabinets have a thin plastic coating over a particleboard or MDF core, smooth, non-porous, and engineered to resist moisture. Veneer cabinets have a thin layer of real wood glued to a particleboard or plywood core.
To identify which you have: Open a cabinet door and look at the interior edge. Consistent wood grain throughout indicates solid wood. A thin wood layer over a different core material is veneer. A slick, uniform plastic finish is laminate.
Why Material Matters for Prep
Paint doesn’t stick well to smooth, non-porous surfaces. Wood is naturally receptive, but laminate is deliberately non-porous. Wood needs moderate sanding to open the grain. Laminate needs aggressive scuff sanding to create mechanical adhesion on the plastic surface. Veneer needs careful sanding to avoid sanding through the thin wood layer.
Your primer choice also shifts. Wood works with standard bonding primers. Laminate demands a specialized adhesion primer.
How to Clean Greasy Cabinets Before Painting
Grease and grime are silent killers of cabinet painting projects. Paint won’t adhere to a greasy surface. This step is non-negotiable.
Degreaser Options: TSP, Water-Based, and Eco-Friendly Alternatives
Trisodium phosphate (TSP) is the industry standard for cabinet cleaning. Mix it according to package directions, typically one cup per gallon of warm water. Wear gloves and eye protection.
Water-based degreasers like Krud Kutter or Zep are gentler alternatives that still perform well on moderate grease buildup. Eco-friendly alternatives include a 50/50 vinegar-and-water solution, which handles light grease effectively but is less effective than TSP for heavy buildup.
Step-by-Step Cleaning Process
Step 1: Clear the workspace. Remove everything from inside and on top of cabinets. Lay down drop cloths to protect flooring.
Step 2: Prepare your cleaning solution. Mix your chosen degreaser with warm water according to product instructions. Have two buckets ready: one with cleaning solution, one with clean water for rinsing.
Step 3: Wipe down all surfaces. Starting at the top, use a cloth soaked in degreaser solution to wipe every surface. Let the degreaser sit on stubborn spots for 2-3 minutes before wiping.
Step 4: Pay special attention to problem areas. The area around the stove and above the range hood accumulates the heaviest grease and may need scrubbing with a soft brush or multiple passes.
Step 5: Rinse thoroughly. Use clean water and a fresh cloth to remove all degreaser residue. Any remaining film will interfere with paint adhesion.
Step 6: Dry completely. Use clean towels to dry all surfaces. Allow cabinets to air-dry for at least 2-4 hours before moving to the next step.
For stubborn grease buildup, let the degreaser solution sit for 5-10 minutes before wiping.
Remove Hardware and Prepare Cabinet Doors
Hardware removal is straightforward but requires organization. You’re removing knobs, pulls, and hinges so you can access every surface for sanding and painting.

Removing Knobs, Pulls, and Hinges Safely
Knobs and pulls come off easily with a screwdriver. Keep all screws in a labeled container organized by cabinet location. Take a photo of each cabinet section before removing hardware so you remember which knob goes where.
Hinges require more care. Remove screws slowly and support the door weight with your other hand. Once all screws are out, lift the door straight up and set it on a flat surface. Mark each door with its location using painter’s tape and a permanent marker.
Store all hardware in a labeled container, grouping screws by size and location.
Never force a stuck screw. Apply a penetrating oil and wait 10 minutes. Forcing can strip the hole or break the screw.
Sanding Cabinets Before Painting: Grit Selection and Technique
Sanding removes the old finish and creates a surface texture that helps primer and paint adhere. Without proper sanding, paint will peel within months.
Choosing the Right Grit: Fine-Grit vs. Coarse Sandpaper
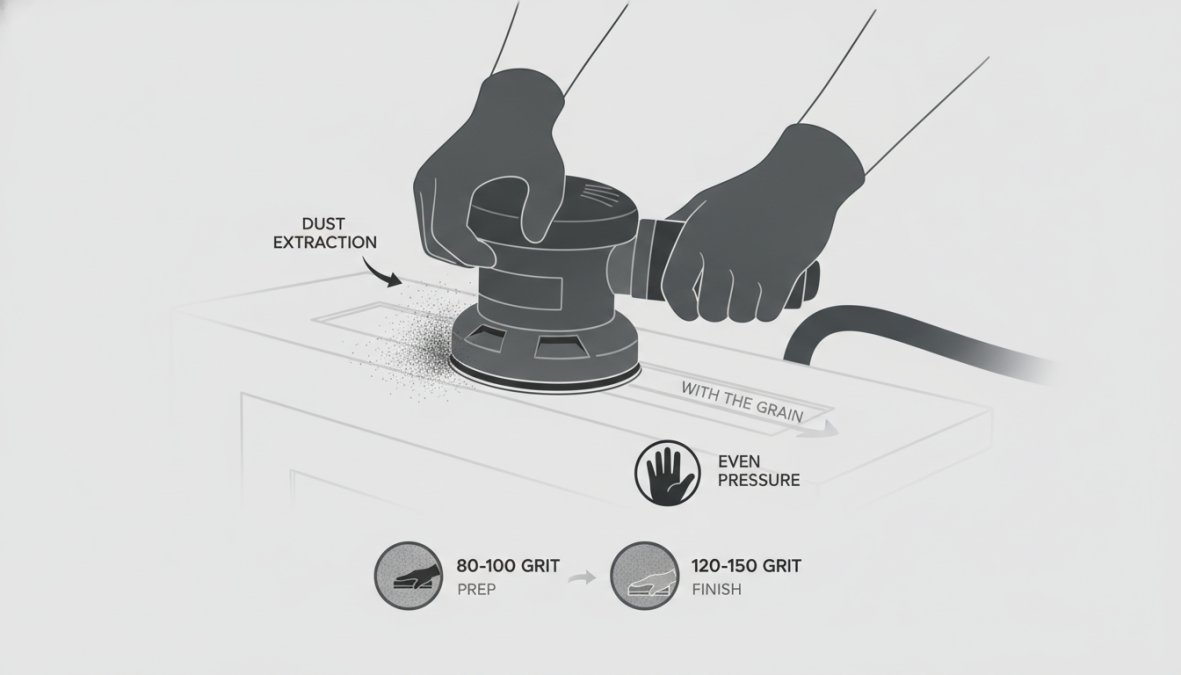
For cabinet painting, start with 120-grit sandpaper to cut through the old finish and open the wood grain. If the existing finish is particularly thick or glossy, start with 80-grit, then move to 120-grit. Finish with 150-220 grit to smooth the surface and remove scratches left by coarser grits.
For laminate cabinets, start with 120-grit and finish with 150-grit. Your goal is purely to scuff the surface and reduce gloss without sanding through the thin plastic layer.
Best Tools for Painting Kitchen Cabinets: Sanding Equipment
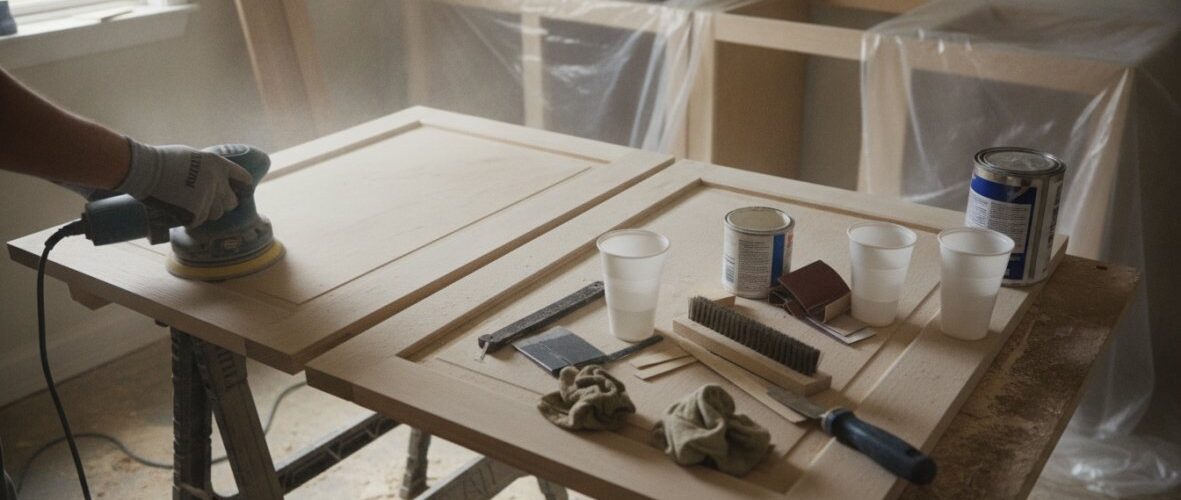
Orbital sanders are the standard for cabinet work. A random orbital sander minimizes visible scratch patterns. Rent one from a home improvement store for $20-40 per day if you don’t own one.
Sanding blocks work well for flat surfaces and edges where an orbital sander doesn’t reach. Hand sanding is necessary for curves, detailed areas, and final smoothing.
Dust extraction is critical for health and visibility. An orbital sander with built-in dust collection reduces airborne particles significantly. Many sanders connect to a shop vacuum for even better extraction.
Scuff Sanding and Dust Extraction
After sanding with 120-150 grit, do a final pass with 180-220 grit using light pressure. This creates a dull surface that primer and paint grip effectively.
After sanding, vacuum the cabinets and surrounding area thoroughly. Remaining dust will create a gritty texture under your primer and paint. Wear a dust mask rated for fine particles.
The difference between a cabinet that lasts 3 years and one that lasts 10 years often comes down to sanding quality.
Repair Wood Imperfections and Apply Primer
After sanding, imperfections in the wood become visible. Gaps, dents, and gouges need filling before priming.
Using Wood Filler for Gaps and Damage
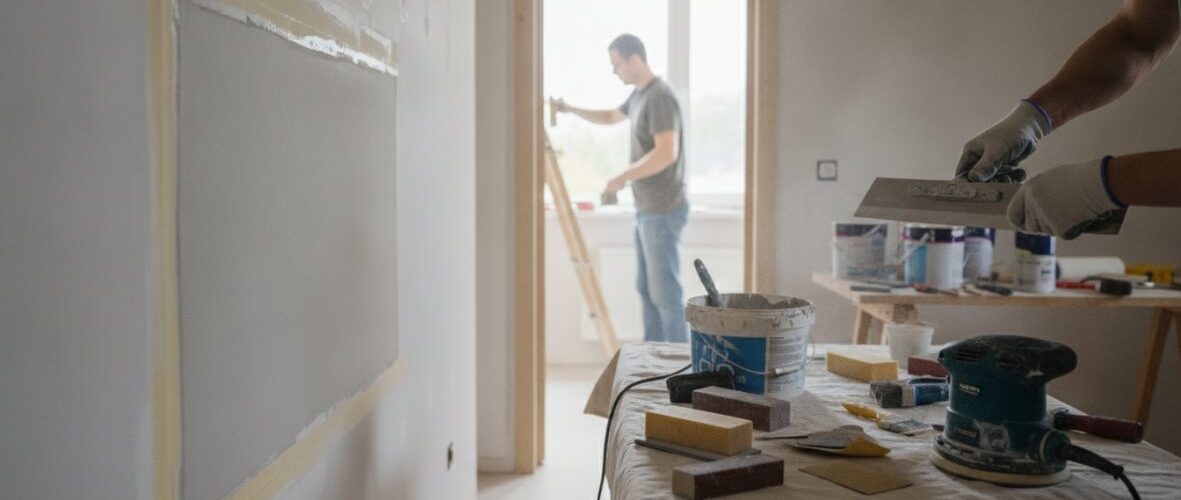
Wood filler is a putty-like material that hardens and can be sanded smooth. Apply filler using a putty knife, pressing it firmly into gaps and slightly overfilling each spot. Once dry (typically 2-4 hours), sand the filler smooth using 150-180 grit sandpaper. For large gaps, apply filler in layers, allowing each to dry completely before applying the next.
After filling and sanding, vacuum away all dust.
Choosing the Right Primer: Adhesion vs. Bonding
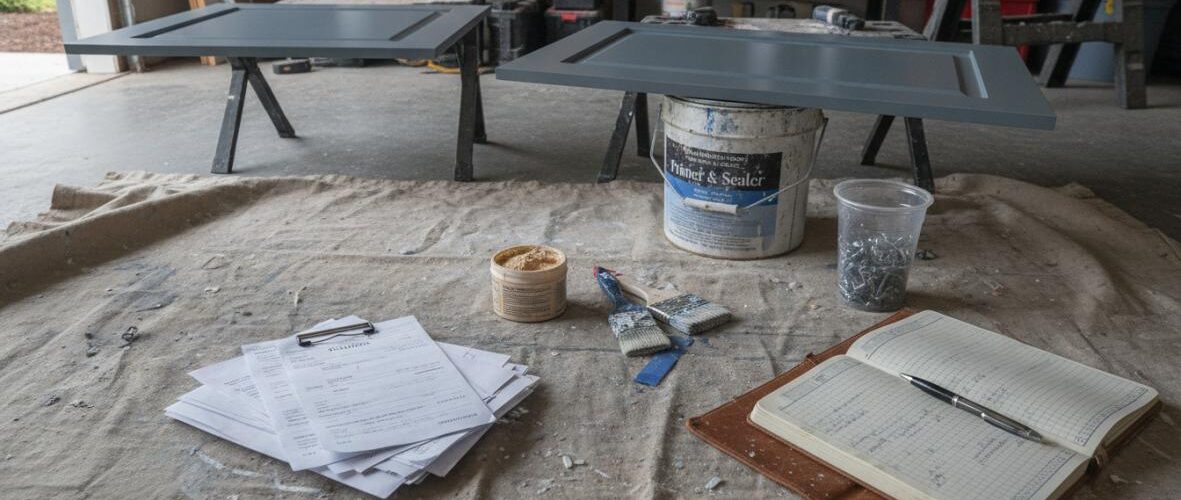
Adhesion primer is designed to bond to difficult surfaces and is your choice for laminate cabinets. Standard primers work fine for properly sanded wood.
For laminate cabinets, adhesion or bonding primer is non-negotiable. Apply primer with a brush or roller in thin, even coats. One coat is usually sufficient if you’ve sanded properly.
Protect Surrounding Areas and Ensure Proper Ventilation
Masking and ventilation separate professional results from messy DIY projects.
Masking and Drop Cloth Placement
Drop cloths protect flooring. Use canvas drop cloths, which stay in place better than plastic. Position them under cabinets and extend at least 3 feet in all directions.
Painter’s tape protects areas adjacent to cabinets. Apply tape along the top edge of backsplash, around light switches, on walls where cabinets meet them, and along countertops. Press firmly to create a seal. Remove tape while paint is still slightly tacky.
Masking paper covers large areas efficiently.
Safety Precautions and Ventilation Setup
Ventilation is critical when painting indoors. Open windows and doors to create airflow. Position a fan to pull air out of the kitchen toward an open window.
Respiratory protection depends on paint type and ventilation. For water-based paint with good ventilation, a standard dust mask is sufficient. For oil-based paint or poorly ventilated spaces, use a respirator rated for organic vapors.
Skin and eye protection matters. Wear gloves and safety glasses. Keep children and pets away from the painting area during and for several hours after painting.
How Long Does It Take to Prep Cabinets for Paint?
Cabinet preparation is the longest phase of a cabinet painting project.
Time-Saving Hacks for Large Kitchens
Parallel processing saves time. While primer dries on some cabinet sections, sand other sections. Efficient organization prevents backtracking, group similar tasks together.
Invest in the right tools. A rental orbital sander costs $30-40 per day but saves 8-10 hours of hand sanding labor. For large kitchens, this rental cost pays for itself in time savings.
Prep cabinets in phases. Work in sections: prep and paint upper cabinets, then lower cabinets.
For a typical 20-cabinet kitchen, expect 40-60 hours of prep work: 8-10 hours cleaning, 15-20 hours sanding, 5-8 hours filling and repairs, 5-8 hours priming, and 5-8 hours masking and final prep.
Troubleshooting Common Prep Failures
Paint peeling within weeks: This indicates inadequate sanding or cleaning. Sand more aggressively, ensure complete cleanliness, use an adhesion primer, and allow proper drying time between coats.
Visible dust or grit under paint: Insufficient dust removal after sanding. Vacuum thoroughly, wipe with a tack cloth, and allow dust to settle before priming.
Primer not covering in one coat: The surface is still too glossy or contaminated. Sand more thoroughly and ensure complete cleanliness before priming.
Filler showing through paint: The filler wasn’t sanded smooth or the paint is too thin. Sand filler more carefully until completely flush with the surface, and apply two coats of paint.
Uneven primer coverage: Poor application technique or inadequate primer mixing. Stir primer thoroughly, apply in thin, even coats, and use a quality brush or roller.
Final Inspection: How to Prepare Cabinets for Paint Application
Before you open a paint can, inspect your prep work. This final check catches issues that would become visible under paint.
Using a Tack Cloth and Final Dust Removal
A tack cloth is a sticky, lint-free cloth that captures dust particles. After sanding and before priming, wipe all cabinet surfaces with a tack cloth. Use light pressure; the cloth’s stickiness does the work.
Final dust removal means one more vacuum pass after tack-cloth wiping. Visual inspection is your final quality check. Look at each cabinet surface under good lighting for smooth surfaces with no visible scratches, no remaining gloss, no dust or grit, wood filler completely flush with surrounding wood, all hardware removed and labeled, masking tape applied cleanly, and drop cloths positioned to catch drips.
If you find rough spots, sand them lightly with 180-220 grit sandpaper. If you see gloss, sand more aggressively with 120-150 grit. If dust is visible, wipe again with a tack cloth and allow 30 minutes for remaining dust to settle.
This inspection takes 30 minutes but saves hours of frustration. A cabinet that passes inspection will accept paint beautifully and produce professional results.
Proper cabinet preparation determines whether your painted cabinets last three years or ten. The process requires patience and attention to detail, but the payoff is substantial. If you’re tackling a large kitchen or want guaranteed professional results, Denver Cabinet Painting Colorado offers free consultations and handles all preparation with meticulous care. Reach out for a free quote and let’s transform your kitchen with cabinet painting that lasts.
Frequently Asked Questions
Do I really need to sand cabinets before painting?
Yes. Sanding is essential for how to prepare cabinets for paint because it creates a surface that allows primer and paint to adhere properly. Even if cabinets appear smooth, sanding, especially scuff sanding with fine-grit sandpaper, removes the glossy topcoat and opens the wood grain, ensuring a durable, long-lasting finish. Skipping this step often results in peeling or chipping paint within months.
What is the best degreaser for kitchen cabinets before painting?
Trisodium phosphate (TSP) is the traditional choice for degreasing kitchen cabinets before painting, as it effectively cuts through years of cooking grease and grime. For eco-friendly alternatives, consider water-based degreasers or vinegar-and-water solutions. Always follow product instructions, wear gloves, ensure good ventilation, and rinse thoroughly with clean water. The goal is a clean, dry surface free of residue before sanding.
Can I paint cabinets without priming?
Painting without primer is not recommended. A quality adhesion or bonding primer is crucial for how to prepare cabinets for paint because it improves paint adhesion, blocks stains, and prevents bleed-through on wood. Latex paint and acrylic enamel both perform better over primer. Without it, paint may not bond properly, leading to poor coverage and premature failure, especially in kitchen environments with moisture and temperature fluctuations.
Should I remove cabinet doors before painting?
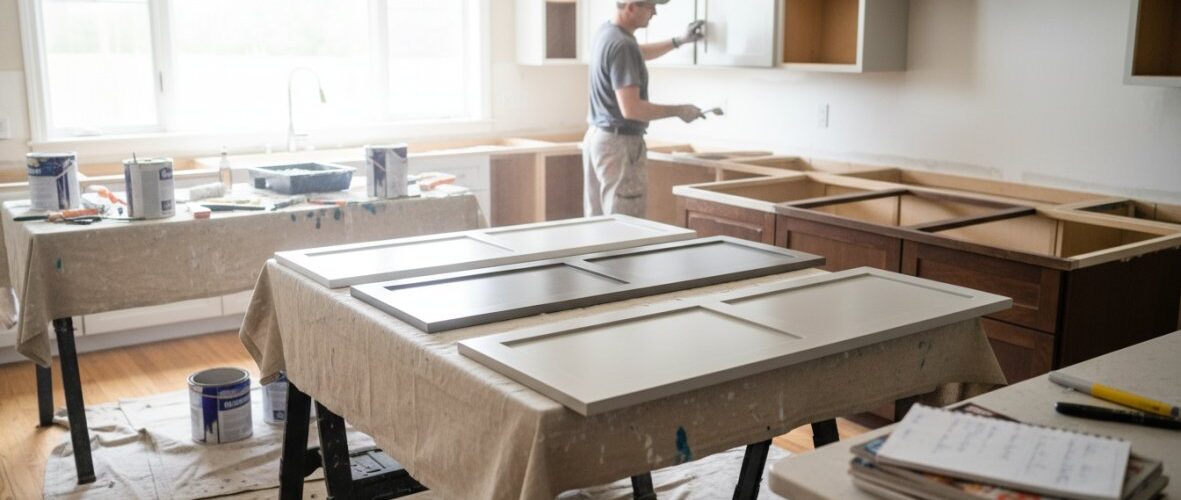
Yes, removing cabinet doors and drawer fronts makes the job easier and produces better results. Doors can be sanded, primed, and painted horizontally on a flat surface, ensuring even coverage and smoother finishes. Remove knobs, pulls, and hinges first, label or photograph the hardware placement for reassembly, and work in a well-ventilated area. This approach also allows you to paint cabinet boxes and doors separately, improving efficiency.
This article was written using GrandRanker


