

Table of Contents
- Why Smooth, Consistent Finishes Define a Successful Remodel
- Surface Preparation and Priming: The Foundation of Every Flawless Finish
- How to Blend Drywall Patches Seamlessly Into Existing Walls
- Essential Tools for Professional Paint Finishes in Any Room
- Choosing the Right Paint Sheen for Remodeling Projects
- Troubleshooting Uneven Paint Finishes After Remodeling
- DIY vs. Professional Trade-Offs for Achieving Smooth, Consistent Finishes
- Conclusion
Last Updated: June 18, 2026
Smooth walls and cabinets separate a renovation that looks professionally finished from one that just looks repainted. Denver Cabinet Painting Colorado has helped homeowners across the Denver metro understand this for 40 years: the finish is only as good as the foundation beneath it. Below, we’ll walk through how to build that foundation, from skim coating and sanding to tool selection, sheen choices, and knowing when to call a professional.
Here’s what most guides get wrong: they treat “smooth finishes” as a painting problem. It’s not. It’s a surface preparation problem. Nail the preparation sequence and the finish almost takes care of itself.
Why Smooth, Consistent Finishes Define a Successful Remodel
A renovation lives or dies by its visual coherence. Texture inconsistencies, mismatched sheen levels, or visible patch lines destroy the sense of craftsmanship homeowners pay for.
The reason smooth finishes matter comes down to light behavior. Raking light from east- or west-facing windows is brutally honest, any ridge or lap mark casts a shadow and becomes immediately visible. High-gloss and lacquered paints amplify this effect, which is why designers often specify a level 5 finish before applying any sheen above satin.
A level 5 finish is the highest drywall finishing standard, defined by the Gypsum Association finishing levels specification as a fully skim-coated surface with no tool marks, ridges, or fastener shadows visible under critical lighting. It’s the benchmark for any project where the client wants a seamless, uniform surface.
The single most important insight in any remodeling project is this: smooth, consistent finishes are earned in preparation, not in the final coat. Skipping surface prep is the fastest way to a finish that looks worse after painting than before.
Surface Preparation and Priming: The Foundation of Every Flawless Finish
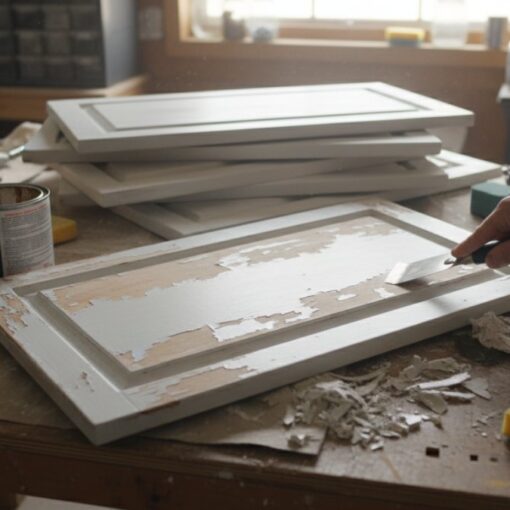
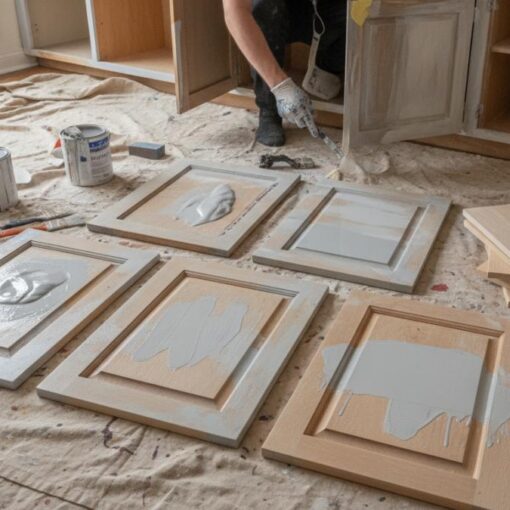
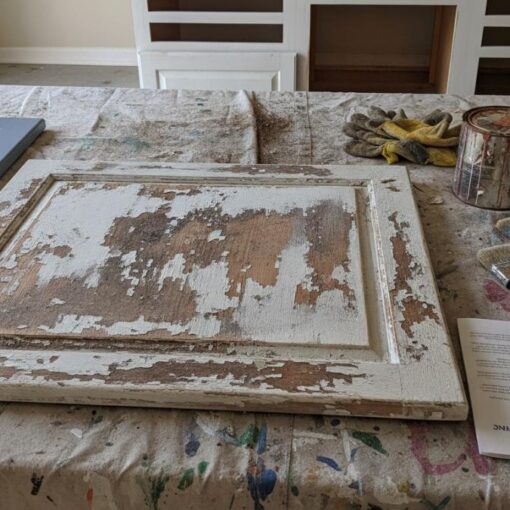
Most remodeling failures trace back to one skipped step: proper surface preparation. Before any primer or paint goes on, every surface must be clean, stable, and flat, scraped, filled, and sanded down to high spots.
A professional preparation sequence:
- Inspect all surfaces under raking light to identify ridges, dips, fastener pops, and seam shadows
- Apply fast-setting mud to deep voids and damaged areas
- Allow compound to cure fully before sanding, typically 24 hours
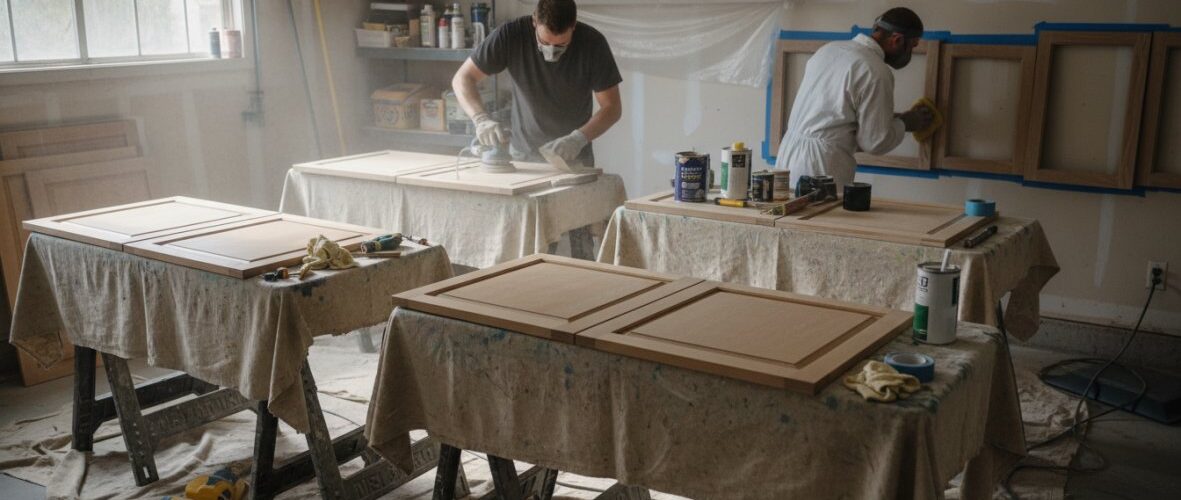
- Sand to a uniform surface, working from 80-grit to 120-grit progressively
- Apply a coat of drywall primer or PVA primer to seal the surface
- Sand lightly with 220-grit after primer dries to knock down raised grain
- Inspect again under raking light before proceeding
The primer step is non-negotiable. Bare drywall and patched areas absorb paint at different rates, causing flashing, where some areas appear shiny and others matte even after multiple coats. Primer creates a uniform surface that accepts topcoats evenly.
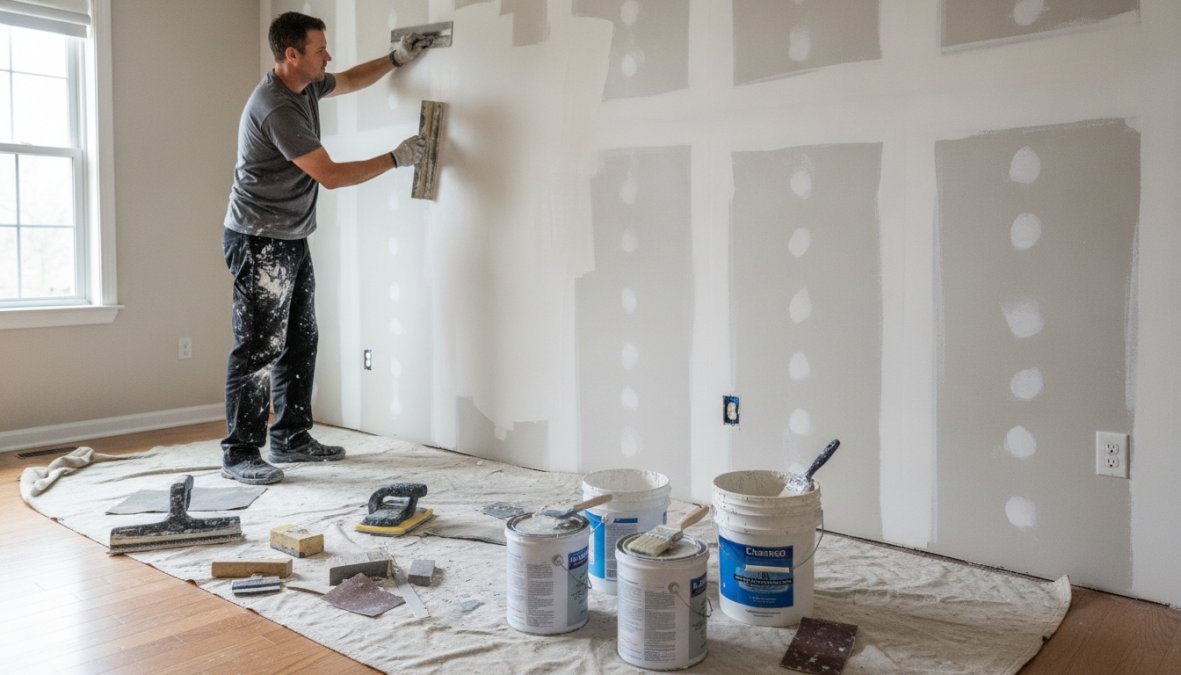
Skipping PVA primer on fresh drywall or new patches causes paint to absorb unevenly, creating permanent sheen inconsistencies that no number of topcoats will fix. This mistake is especially costly when using high-gloss or semi-gloss sheens.
Skim Coating and Drywall Finishing for a Level 5 Finish
Skim coating applies a thin layer of joint compound across an entire wall to fill minor imperfections and create a truly uniform surface. A proper skim coat involves two cycles: a base coat applied with a 12-inch trowel, dried and sanded, then a finish coat sanded to a near-glass texture.
According to the Painting and Decorating Contractors of America technical guides, a level 5 finish is the only appropriate substrate for high-sheen paint applications in residential remodeling. Fast-setting mud is preferred for base coats because it shrinks less and can be recoated within hours; lightweight all-purpose compound is used for finish coats for easier sanding.
Sanding Techniques That Create a Truly Uniform Surface
Feeling smooth and being optically smooth under raking light are two different standards. Effective sanding follows these principles:
- Work in stages: 80-grit to knock down high spots, 120-grit to blend, 220-grit after primer
- Use a pole sander for large wall areas to maintain consistent pressure
- Sand in overlapping passes, not circles, to avoid swirl marks
- Wipe dust with a damp cloth and inspect under a low-angle work light before priming
- Never skip the post-primer sanding step
The most common mistake is sanding too aggressively in one spot, creating a low spot that becomes visible after painting. Consistent, even pressure across the entire surface is what distinguishes professional finishing from amateur work.
How to Blend Drywall Patches Seamlessly Into Existing Walls
Blending patches seamlessly is one of the hardest skills in residential remodeling. The key principle: feather wide. Most homeowners feather 3 to 4 inches; professionals feather 12 to 18 inches. That wider transition zone is what makes the patch disappear.
The process for seamless patch blending:
- Cut the damaged area to clean, straight edges using a drywall saw
- Install backing material and new drywall, securing with drywall screws
- Apply mesh tape over seams and embed with all-purpose compound
- Apply first feathering coat 12 inches beyond the repair perimeter
- Sand when dry, then apply second coat extending even further
- Prime the entire patched area with PVA primer
- Apply a skim coat over the entire wall section if texture difference is significant
The final step is the one most guides skip: if the surrounding wall has any texture, matching it on the patch is essential. Even a light orange peel texture, when absent on a patch, will be visible under raking light.
Essential Tools for Professional Paint Finishes in Any Room
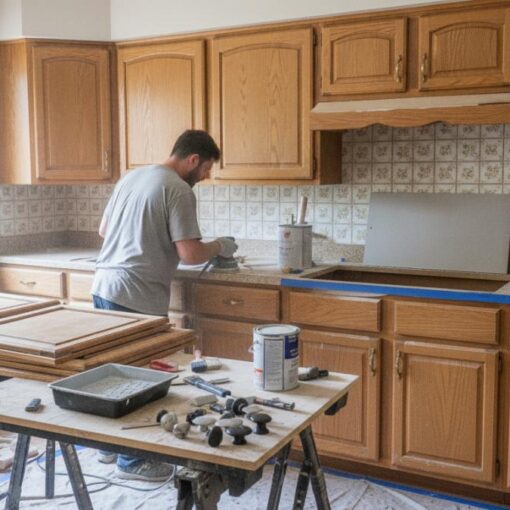
The right tools are not optional. Using a cheap roller or worn brush is the fastest way to introduce texture inconsistencies that undermine every hour spent on surface preparation.
The core toolkit for smooth, consistent finishes:
- High-density foam roller (1/4-inch nap): For smooth walls and cabinet faces where zero texture is the goal
- 3/8-inch microfiber roller: For flat walls receiving matte or eggshell finish
- Hawk and trowel: For skim coating and applying joint compound over large areas
- 12-inch and 6-inch drywall knives: For feathering compound and finish coats
- Pole sander with replaceable pads: For consistent pressure across large surfaces
- Angled sash brush (2.5-inch): For cutting in at trim transitions and crown molding
- Painter’s tape (1.5-inch): For clean lines at trim and ceiling intersections
- Sanding block: For detail work around trim, corners, and tight spots
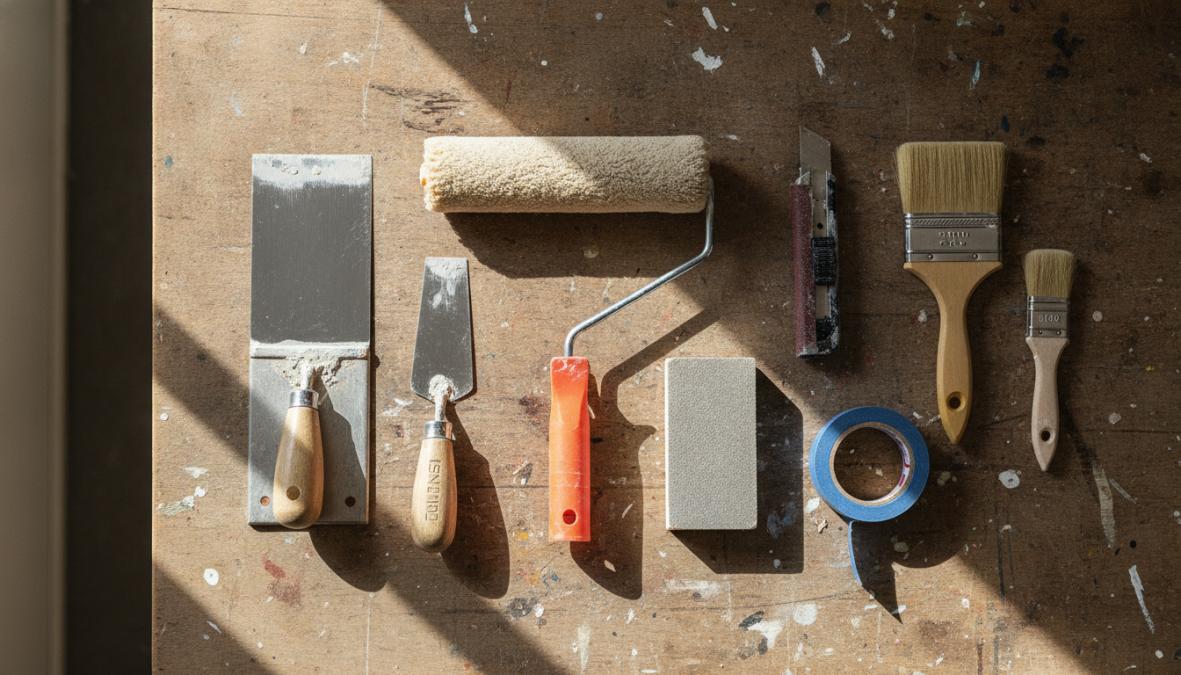
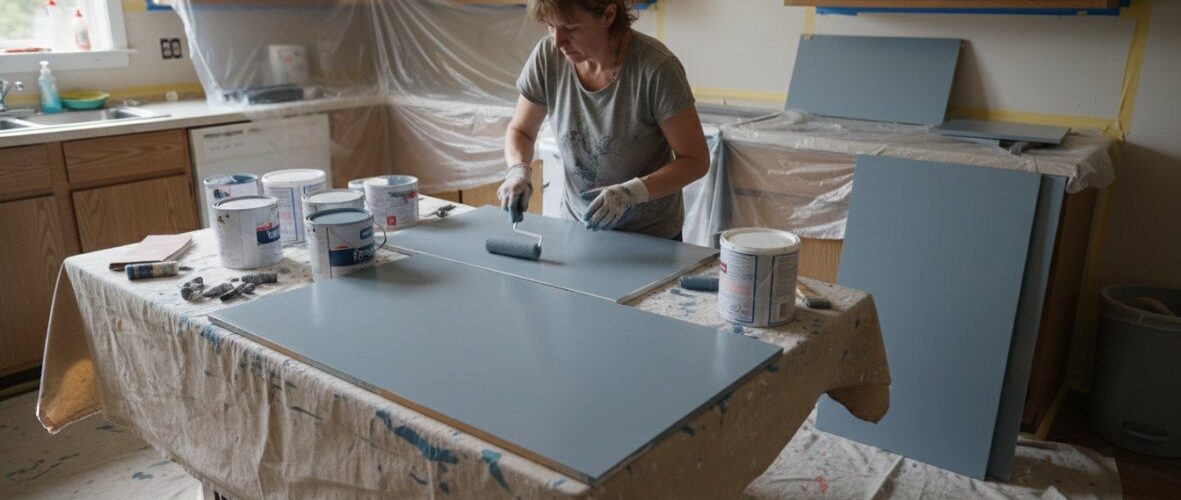
The foam roller deserves special mention. Many homeowners use standard nap rollers on cabinet doors and get unwanted stipple texture. A 1/4-inch foam roller applied with consistent pressure and a wet edge produces a finish close to sprayed lacquer without the equipment investment.
For cabinet doors and drawer fronts, back-roll immediately after applying paint with a foam roller. Lightly re-rolling the wet surface in one direction eliminates roller marks and produces a near-factory finish without spraying equipment.
Choosing the Right Paint Sheen for Remodeling Projects
Sheen selection is a design decision with technical consequences. The right choice depends on the room’s function, surface preparation quality, and lighting conditions.
| Sheen Level | Best Rooms | Surface Requirement | Light Sensitivity |
|---|---|---|---|
| Flat/Matte | Bedrooms, ceilings | Level 3-4 acceptable | Low |
| Eggshell | Living rooms, hallways | Level 4 recommended | Moderate |
| Satin | Kitchens, bathrooms | Level 4-5 required | Moderate-High |
| Semi-Gloss | Trim, doors, cabinets | Level 5 required | High |
| High-Gloss | Cabinets, accent walls | Level 5 mandatory | Very High |
The higher the sheen, the more unforgiving the surface must be. A matte finish hides imperfections; a high-gloss finish announces them. This is why designers often specify matte for walls and reserve semi-gloss or lacquered finishes for trim and cabinetry where surface quality can be tightly controlled.
Smooth vs. Textured Walls: Which Finish Suits Your Home Style?
Smooth walls are correct for modern, contemporary, and mid-century modern homes, clean lines and flat surfaces are core to these design languages. Any texture creates visual noise that conflicts with the aesthetic intent.
Textured walls, orange peel, knockdown, skip trowel, are appropriate for traditional, craftsman, and Mediterranean-style homes, adding warmth and masking minor surface variations common in older construction. Attempting a smooth finish on a textured wall without full skim coating is one of the most common remodeling mistakes.
The practical implication: if you’re remodeling a home built before 1990, assume the walls have texture and budget for skim coating if smooth walls are the goal.
Troubleshooting Uneven Paint Finishes After Remodeling
Uneven finishes fall into four categories, each with a different cause and fix.
Flashing: Inconsistent shiny or matte areas. Cause: unprimed patches or bare drywall. Fix: apply PVA primer to affected areas, then repaint.
Lap marks: Visible lines where paint dried before adjacent sections were applied. Cause: painting without maintaining a wet edge. Fix: sand lightly with 220-grit and repaint with consistent wet-edge technique.
Roller texture (stipple): Raised texture from roller nap. Cause: wrong roller nap or paint applied too dry. Fix: sand with 220-grit, apply a thin coat with a foam roller using proper wet-edge technique.
Shadowing through paint: Previous color or stain bleeding through. Cause: insufficient or no primer. Fix: apply stain-blocking primer, cure 24 hours, then repaint.
According to the Paint Quality Institute’s technical guides on residential painting, the majority of visible finish failures in residential painting trace back to inadequate surface preparation rather than paint quality.
DIY vs. Professional Trade-Offs for Achieving Smooth, Consistent Finishes
Most homeowners can achieve acceptable results on low-sheen finishes in secondary rooms. Achieving professional-level smooth, consistent finishes in kitchens, bathrooms, and main living areas requires skills that take years to develop.
| Task | DIY Feasibility | Risk Level | When to Go Pro |
|---|---|---|---|
| Painting walls (eggshell/matte) | High | Low | Large areas, high ceilings |
| Patching small holes | High | Low | Multiple large patches |
| Skim coating full walls | Low | High | Always for level 5 finish |
| Cabinet painting | Medium | High | When lacquered finish required |
| Trim and crown molding | Medium | Moderate | Complex profiles, tight transitions |
| Texture matching | Low | High | Always |
The skill gap shows up most clearly in skim coating and cabinet painting. Both require hand skills that are difficult to develop without repetition, a homeowner who skim coats one wall will produce a result an experienced finish carpenter would redo.
Avoiding Builder-Grade Results: When to Call a Finish Carpenter or Painter
Builder-grade finishes are characterized by visible roller texture on walls, poorly painted trim transitions, and cabinet doors with brush marks or stipple, the details that separate a custom renovation from a production build.
Calling a professional makes sense when:
- The project involves high-gloss or lacquered surfaces
- Cabinet refinishing is part of the scope
- Crown molding or complex trim transitions require tight cut-in lines
- The room has significant raking light exposure
- The existing surface requires skim coating to achieve a level 5 finish
Denver Cabinet Painting Colorado specializes in exactly this work. With 40 years of experience across the Denver metro, their team handles cabinet painting, refinishing, and glazing with the meticulous preparation that builder-grade results skip.
The most practical quality checklist before signing off on any remodeling finish:
- Inspect all surfaces under raking light at multiple angles
- Check trim transitions and crown molding for clean cut-in lines
- Verify sheen consistency across all painted surfaces in the room
- Confirm grout line consistency in adjacent tile work matches the overall aesthetic
- Test cabinet doors and drawer fronts for smooth operation and finish uniformity
- Check all patch areas for flashing or texture mismatch
- Verify primer was applied to all patched and bare areas before topcoat
Never accept a final walk-through of painted surfaces under overhead lighting only. Raking light from a window or portable work light held at a low angle reveals surface flaws that flat overhead lighting completely hides. This is the inspection standard professionals use.
For homeowners who want smooth, consistent finishes without the learning curve, the most reliable path is partnering with professionals who have built their reputation on surface preparation. As documented in the National Association of Home Builders remodeling quality standards, surface preparation accounts for the majority of a professional finish’s durability and appearance quality.
Getting smooth, consistent finishes across a residential remodeling project demands patience, the right tools, and an honest assessment of where professional help adds more value than DIY effort. Denver Cabinet Painting Colorado brings 40 years of Colorado experience to cabinet painting, refinishing, and glazing, with a preparation-first approach that produces the level 5 results most homeowners can’t replicate on their own. Get a free quote from Denver Cabinet Painting Colorado and start your renovation with the craftsmanship it deserves.
Frequently Asked Questions
What is the secret to a smooth paint finish in residential remodeling?
Achieving smooth, consistent finishes for residential remodeling starts with thorough surface preparation. This means filling all imperfections, applying a skim coat where needed, sanding between coats, and using a high-quality primer before any paint is applied. Skipping prep steps is the most common reason finishes look rough or uneven. Using the right tools, such as a fine-nap roller and a quality angled brush, also makes a significant difference in the final result.
What tools are best for achieving smooth finishes on residential walls?
The essential tools for professional paint finishes include a hawk and trowel for skim coating, a pole sander with fine-grit paper for surface prep, a high-density foam roller for applying paint without texture, an angled sash brush for trim transitions, and a good-quality primer. Fast-setting mud is also useful for patching repairs quickly. Having a raking light source, a work light held at a low angle, helps reveal surface imperfections before painting begins.
How do you blend drywall patches seamlessly into existing walls?
To blend drywall patches seamlessly, feather the joint compound in wide, thin application cycles extending well beyond the patch edges, ideally 12 to 18 inches. Sand lightly between each coat and finish with a skim coat over the entire area. Prime the patch before painting, as unprimed patches absorb paint differently and create visible dull spots. Matching the surrounding wall texture, even subtly, is critical for a harmonious, uniform surface that disappears under paint.
Why does my paint finish look uneven after remodeling?
Uneven paint finishes after remodeling are usually caused by inconsistent surface preparation, skipping primer, or applying paint over areas with different porosity levels, such as unprimed drywall patches next to painted surfaces. Choosing the wrong sheen can also highlight imperfections; high-gloss and semi-gloss finishes under raking light will reveal every flaw. Troubleshooting typically involves sanding the affected area, re-priming, and repainting with consistent application pressure and a quality roller.
How do I choose the right paint sheen for a remodeling project?
Choosing the right paint sheen for remodeling depends on the room’s function and the quality of your wall surfaces. Matte finish hides imperfections well and suits living rooms and bedrooms with well-prepped walls. Eggshell and satin offer a balance of durability and aesthetic flow for kitchens and hallways. Semi-gloss and high-gloss are ideal for trim, crown molding, and cabinetry where a lacquered, cleanable surface is preferred. Always test sheen levels under your room’s lighting before committing to a full application.
This article was written using GrandRanker