Table of Contents
- Why Outdated Oak Cabinets Deserve a Second Chance
- How to Modernize Outdated Oak Cabinets by Painting or Staining
- How to Fill Oak Cabinet Grain for a Smooth, Modern Finish
- Modern Hardware for Oak Cabinets: Pulls, Knobs, and Hinges
- How to Modernize Outdated Oak Cabinets Beyond Paint and Hardware
- Cost to Paint Kitchen Cabinets vs. Replace Them: ROI Breakdown
- Common Mistakes to Avoid When Updating Oak Cabinets
- Conclusion
Last Updated: May 19, 2026
Oak cabinets cover more American kitchens than almost any other cabinet style, yet countless homeowners treat them as a design liability rather than an asset. Knowing how to modernize outdated oak cabinets is one of the highest-value skills a homeowner can develop before a kitchen renovation, because the wrong move wastes thousands of dollars and the right move can transform a time capsule into a showroom. Denver Cabinet Painting Colorado has helped hundreds of Colorado homeowners navigate exactly this challenge, and the strategies below reflect 40 years of hands-on refinishing experience. Below, we’ll show you exactly how to approach every layer of the update, from paint selection to structural modifications, so you can make a confident decision before spending a single dollar.
Here’s what most guides get wrong: they treat oak cabinets as a monolith. Golden oak from the 1990s behaves differently than red oak from the early 2000s, and the grain pattern matters enormously when you’re choosing between paint and stain. The 7 methods we cover address those distinctions directly.
Why Outdated Oak Cabinets Deserve a Second Chance
Oak is a workhorse. That’s not a throwaway compliment: red oak and white oak rank among the most durable hardwood species used in cabinetry, and the structural bones of a 1990s oak kitchen are often superior to the plywood-and-MDF boxes inside modern budget cabinet lines. Before you rip them out, understand what you actually have.
The ‘Honey Oak’ Stigma and Why It’s Changing
The honey oak stigma is real, but it’s shifting fast. For about a decade, design magazines declared golden oak dead, and the orange-yellow undertones of that era’s finish became shorthand for "dated kitchen." The problem was never the wood. The problem was the stain color and the cathedral arch door profile that went with it.
Two things are changing the conversation. First, warm wood tones are back in a serious way, driven by Japandi design and the broader backlash against the all-white kitchen. Second, homeowners are realizing that refinishing removes the orange cast entirely while keeping the durable hardwood underneath. According to National Association of Realtors’ remodeling impact reports, kitchen updates consistently rank among the highest-return renovations for resale value, and cabinet refinishing delivers that return at a fraction of full replacement cost.
The oak cabinet sitting in your kitchen isn’t a design failure. It’s an underutilized asset.
How to Modernize Outdated Oak Cabinets by Painting or Staining
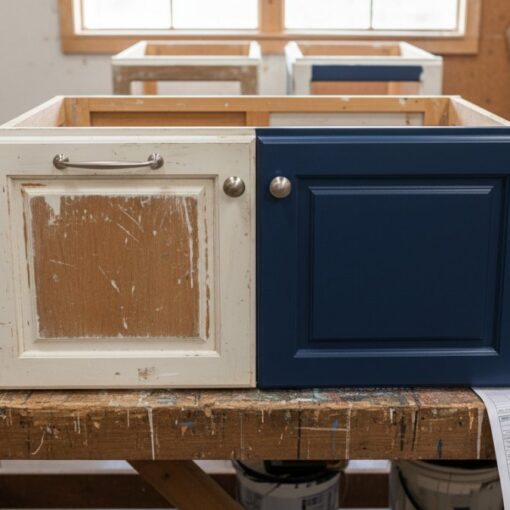
Painting or staining is the single most impactful way to modernize outdated oak cabinets, and it’s also where most DIYers make their biggest mistakes. The choice between paint and stain isn’t just aesthetic: it determines your prep process, your product selection, and your long-term maintenance requirements.
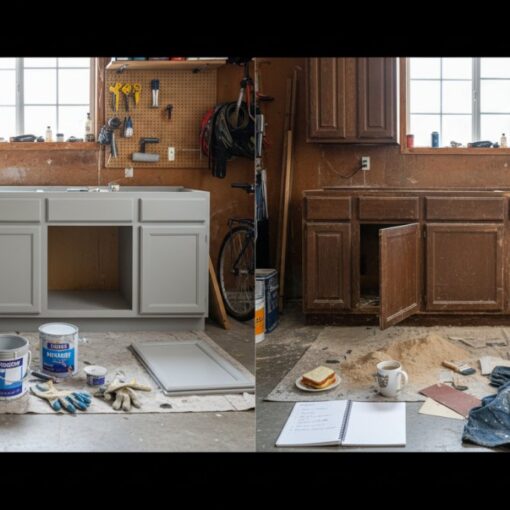
A freshly painted oak kitchen with soft-close hinges and new cabinet pulls looks nothing like its former self. The transformation is that complete.
Best Paint Products for Oak Cabinets
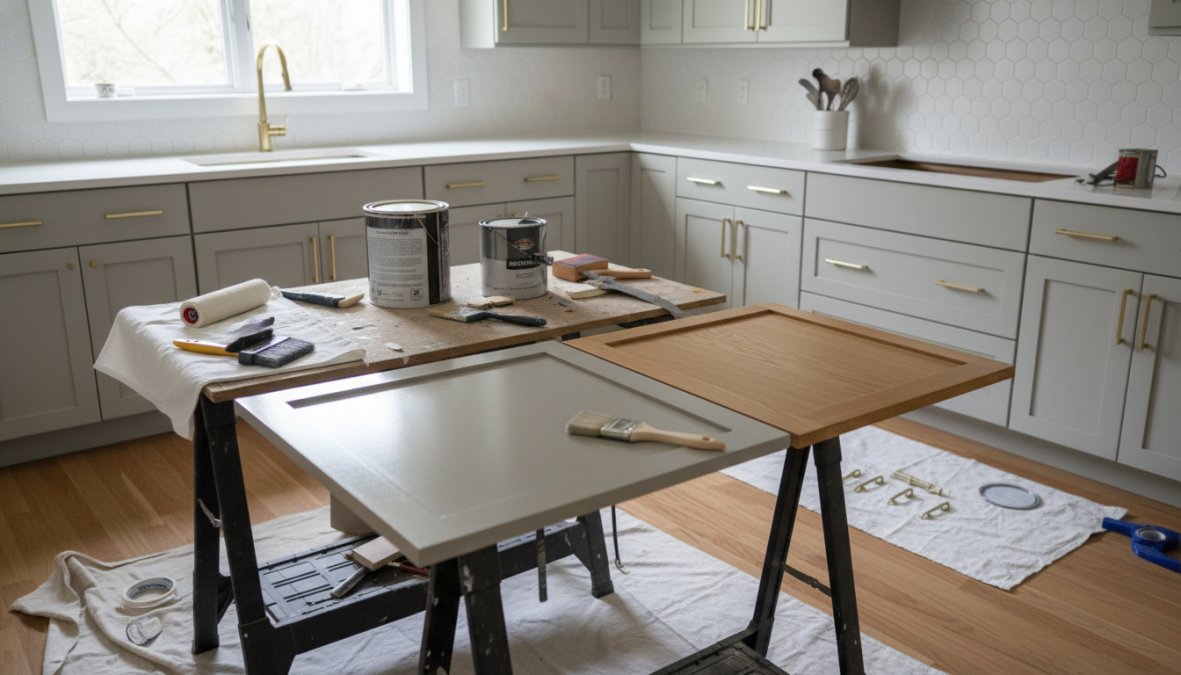
Choosing the best paint for oak cabinets comes down to three factors: adhesion, hardness, and grain-filling properties. Not all cabinet paints are equal, and using an interior wall paint on cabinetry is one of the most common mistakes homeowners make.
The products that consistently perform well in professional cabinet painting fall into two categories:
- Waterborne alkyd paints (such as Benjamin Moore Advance or Sherwin-Williams Emerald Urethane Trim Enamel): These cure to a hard, durable finish that resists chipping and yellowing. They level well, which reduces brush marks.
- Conversion varnishes and catalyzed lacquers: These are professional-grade products that require spray application and proper ventilation. They produce the hardest, most durable top coat available for cabinetry.
For DIYers, waterborne alkyds are the practical choice. For professional results, a catalyzed finish applied by a qualified painter is the gold standard.
Primer selection matters just as much as the top coat. A shellac-based primer or a high-adhesion bonding primer seals the wood grain and prevents tannin bleed, which is especially important on oak because the open grain can cause discoloration under light-colored paint.
Always apply a grain filler before priming oak for a painted finish. Skipping this step leaves visible wood grain texture through the top coat, which looks unfinished even after multiple coats of paint.
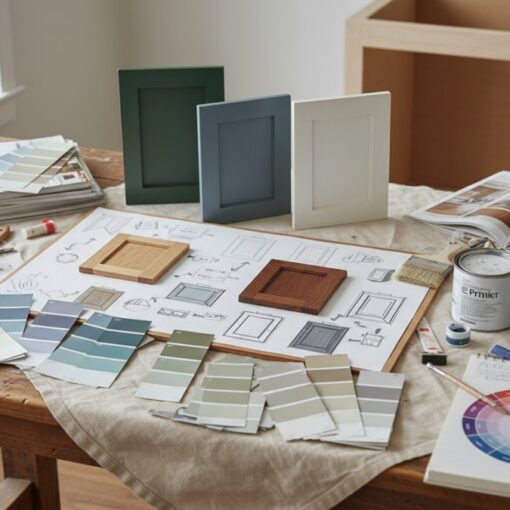
Staining vs. Painting: Which Is Right for Your Kitchen?
Staining oak cabinets preserves the natural wood grain and warm character of the wood. Painting covers it entirely. Neither is objectively better: the right choice depends on your end goal.
Choose staining if:
- You want to keep visible wood grain and a natural look
- You’re updating from honey oak to a cooler or richer tone (gray-brown, espresso, or weathered oak)
- The existing cabinets are in good structural condition with minimal filler repairs
Choose painting if:
- You want a light and airy, contemporary kitchen
- The cabinet surfaces have significant repairs that would show through stain
- You’re targeting a specific color palette that doesn’t exist in wood tones (navy, sage green, soft white)
One honest limitation of staining: it cannot completely hide the orange undertones of golden oak without a gel stain or toner, and even then, the result depends heavily on the existing finish being fully stripped. Painting is more forgiving on cabinets with complex previous finish histories.
How to Fill Oak Cabinet Grain for a Smooth, Modern Finish
This is the section most how-to guides skip entirely, and it’s the reason DIY cabinet paint jobs often look amateur compared to professional work.

Oak has an open, porous grain structure. When you paint over it without filling the grain first, the texture telegraphs through every coat of paint. You can apply four coats and still see the wood grain pattern in raking light. Knowing how to fill oak cabinet grain correctly is the difference between a painted cabinet that looks factory-smooth and one that looks painted.
Step-by-step grain filling process:
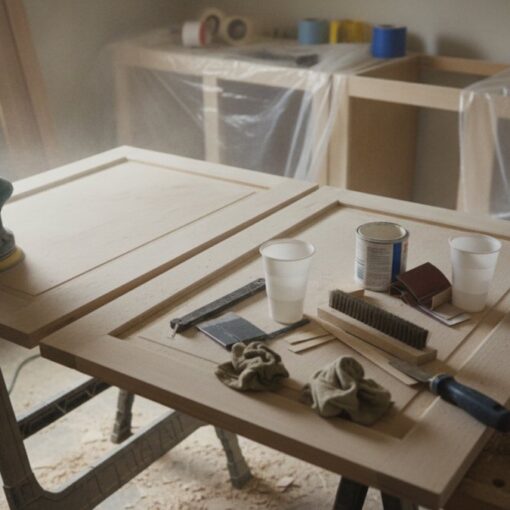
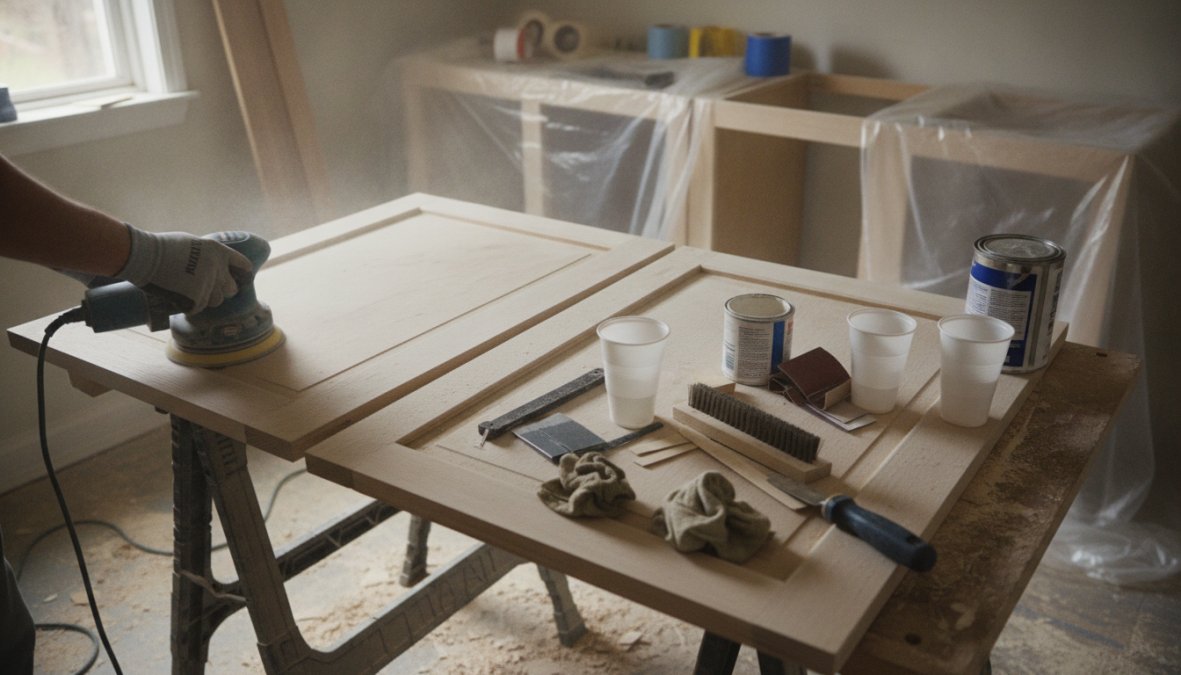
- Sand all cabinet surfaces with 120-grit sandpaper to scuff the existing finish and open the grain
- Wipe clean with a tack cloth to remove all sanding dust
- Apply a water-based grain filler (such as Aqua Coat or Timbermate) with a putty knife or plastic spreader, working across the grain
- Allow to dry completely (typically 30-60 minutes depending on humidity)
- Sand back with 180-grit sandpaper until the surface is flat, leaving filler only in the grain channels
- Repeat steps 3-5 for a second coat if grain is still visible
- Apply shellac-based primer before painting
The entire grain-filling process adds two to four hours per set of cabinet doors, but the payoff is a finish that looks sprayed at a factory rather than brushed in a garage.
Never skip sanding between the grain filler and primer. Unsanded filler creates a powdery surface that prevents proper primer adhesion, leading to peeling within months. This mistake is irreversible without stripping the entire finish.
Modern Hardware for Oak Cabinets: Pulls, Knobs, and Hinges
Hardware is the fastest and cheapest update available for any cabinet, and for oak cabinets specifically, the right modern hardware for oak cabinets can shift the entire visual impression of the kitchen without touching the paint or stain.
The hardware trends that work best against both painted and stained oak in 2026:
- Brushed brass: Warm, sophisticated, and pairs exceptionally well with both white-painted oak and darker stained finishes. Brushed brass has replaced polished brass entirely in contemporary design.
- Matte black: High contrast against white or light-painted cabinets. Creates a graphic, modern kitchen feel. Works less well against darker stained wood because the contrast disappears.
- Satin nickel: The safe, versatile choice. Works with nearly every color palette and doesn’t date as quickly as trend-driven finishes.
For cabinet pulls, bar pulls and cup pulls are the most contemporary profiles. Round knobs read as traditional, so replacing them with elongated pulls is an instant visual update.
Soft-close hinges deserve special mention. Swapping out old exposed hinges for concealed soft-close hinges costs very little per cabinet and removes one of the most dated visual cues of 1990s cabinetry: the visible hinge plate on the face frame. This single change makes a kitchen look newer without any painting at all.
Replacing hardware takes less than two hours for a full kitchen and costs a fraction of any other update. Do this first to see how much visual impact you can achieve before committing to a full paint or refinishing project.
How to Modernize Outdated Oak Cabinets Beyond Paint and Hardware
Paint and hardware get most of the attention in guides like this one, and for good reason, they deliver the most visible change per dollar spent. But the updates that make a kitchen feel genuinely new rather than just freshly painted are structural. This section covers the modifications most guides skip entirely: changing door profiles, adding functional hardware inside the cabinet boxes, and converting fixed storage to pull-out systems. These are the upgrades that change how a kitchen works, not just how it looks.
Replacing or Modifying Door Profiles
The cathedral arch and raised panel door profiles are the single biggest visual giveaway of a 1990s kitchen. Even perfectly painted cabinets with new hardware look dated when the door profile reads 1995. Two approaches address this without full cabinet replacement:
Cabinet refacing replaces the door and drawer front while keeping the existing cabinet box. A professional installs new doors in a shaker or flat-panel profile, applies veneer to the visible box sides and face frames, and the result is indistinguishable from new cabinetry at a fraction of the replacement cost. The shaker profile is the current standard for contemporary kitchen design because it photographs well, reads as clean and modern, and doesn’t date as quickly as more ornate profiles.
Routing existing solid-wood doors is a less common but viable option for homeowners with solid wood raised-panel doors (not MDF or veneer). A skilled carpenter can rout the raised center panel flat, creating a shaker-adjacent profile. This only works on solid wood construction and requires a router table and experience, it’s not a beginner DIY project, but it eliminates the cost of new doors entirely on cabinets that are otherwise in good condition.
Structural Modification: Adding Soft-Close Hinges
Swapping exposed hinges for concealed soft-close hinges is one of the most underrated updates available for 1990s oak cabinetry. The visible hinge plate on a face-frame cabinet is an immediate visual cue of age. Concealed European-style hinges eliminate that cue entirely and add the soft-close function that buyers now expect in a modern kitchen.
What you need:
- Concealed cup hinges (Blum Clip Top or Grass Tiomos are the professional standard; Rok Hardware and Amerock offer budget-friendly alternatives)
- A 35mm Forstner bit for drilling the cup hole
- A drill press or handheld drill with a steady hand
- A hinge jig (optional but strongly recommended for consistent placement)
The process:
- Remove the existing door and mark the hinge cup location on the back of the door, typically 3-4 inches from the top and bottom edges, centered on the door thickness.
- Drill the 35mm cup hole to a depth of 13mm using the Forstner bit. A drill press gives the most consistent result; a handheld drill works if you use a depth stop.
- Snap the hinge cup into the drilled hole and secure with the included screws.
- Mount the hinge plate to the face frame or cabinet interior at the corresponding location.
- Clip the door onto the hinge plates and adjust the three-way adjustment screws (up/down, left/right, in/out) until the door sits flush and square.
A full kitchen of 20 doors takes most DIYers four to six hours on the first attempt. The result, doors that close silently and sit flush with no visible hardware on the face frame, is one of the clearest signals of a modern kitchen.
Blum’s online hinge calculator (available at blum.com) lets you input your door overlay and face frame dimensions to identify the exact hinge model and mounting plate you need before purchasing anything. This eliminates the most common mistake: buying the wrong overlay hinge for your cabinet construction.
Structural Modification: Converting Fixed Shelves to Pull-Out Trays
Fixed shelves inside base cabinets are a functional relic of older kitchen design. Items stored at the back of a 24-inch deep base cabinet are effectively inaccessible without kneeling and reaching. Converting those fixed shelves to full-extension pull-out trays is one of the highest-utility upgrades available and requires only basic carpentry skills.
What you need:
- Full-extension drawer slides rated for the shelf width (Blum Tandem or KV 8400 series are the professional standard; 100-lb weight rating is sufficient for most kitchen storage)
- 3/4-inch plywood or pre-finished birch for the tray box
- 1/4-inch plywood for the tray bottom
- Pocket screw joinery or brad nails and wood glue
The process:
- Measure the interior width of the cabinet opening and subtract 1 inch to account for the drawer slide hardware on each side.
- Measure the interior depth of the cabinet and subtract 1 inch for clearance.
- Build a simple rectangular tray box from 3/4-inch plywood at those dimensions, with a 1/4-inch plywood bottom. The tray height is typically 3-4 inches for a standard pull-out shelf.
- Mount the drawer slide cabinet members to the interior cabinet sides at the desired height, using a level to ensure both sides are even.
- Mount the drawer slide door members to the outside of the tray box.
- Slide the tray into the cabinet and test the extension and soft-close function.
A single base cabinet conversion takes two to three hours including cutting and assembly. The functional improvement, full visibility and access to everything stored in the cabinet, is immediate and significant.
Before drilling into cabinet sides to mount drawer slides, check for any plumbing or electrical runs inside the cabinet wall. Under-sink base cabinets almost always have plumbing; corner base cabinets sometimes have electrical. Use a stud finder set to AC detection mode before drilling.
Open Shelf Conversion: Removing Doors for a Contemporary Look
Converting one or two upper cabinet bays to open shelving is a low-cost, high-impact update that breaks up the visual weight of a full run of closed cabinetry. The process is straightforward: remove the doors, remove the hinges, fill the hinge holes with wood filler, sand smooth, and paint the interior of the cabinet to match or contrast with the exterior finish.
For the best visual result, style open shelves with a limited number of items, three to five objects maximum per shelf, and use consistent materials (all white ceramics, or all wood cutting boards, for example). Overcrowded open shelves read as clutter rather than design.
If the interior of the cabinet box is raw oak or a dated finish, paint it a contrasting color, deep navy, forest green, or matte black, before removing the doors. The colored interior becomes a design feature rather than an afterthought.
Eco-Friendly Refinishing: Low-VOC Products That Don’t Compromise Performance
Cabinet refinishing is inherently more sustainable than replacement because it keeps existing materials out of landfills and avoids the manufacturing energy cost of new cabinetry. Beyond that baseline, the product choices you make during refinishing have a meaningful impact on indoor air quality during and after the project.
The products worth knowing by name:
- Primer: Zinsser Bulls Eye 1-2-3 Water-Based Primer is a low-VOC bonding primer that adheres well to previously finished surfaces without the off-gassing of shellac-based alternatives. For grain sealing specifically, Zinsser SealCoat (dewaxed shellac in a water-reducible form) offers a middle path between performance and VOC reduction.
- Grain filler: Aqua Coat Clear Wood Grain Filler is water-based, low-odor, and sands cleanly. It performs comparably to solvent-based fillers in most conditions.
- Top coat: Benjamin Moore Advance and Sherwin-Williams Emerald Urethane Trim Enamel are both waterborne alkyds with low-VOC formulations that meet or exceed the durability of older solvent-based cabinet enamels. Both are widely available and can be tinted to any color in the brand’s fan deck.
As documented in EPA guidance on indoor air quality and VOC emissions, low-VOC waterborne products significantly reduce indoor air pollution during application, a practical consideration in kitchens where ventilation is typically limited to a range hood and a window.
Choosing low-VOC products does not require accepting a performance trade-off. Waterborne alkyds and waterborne conversion varnishes now match solvent-based products on hardness, chip resistance, and sheen retention in independent testing by finishing professionals. The main practical difference is longer recoat windows (16-24 hours versus 2-4 hours for some solvent products), which adds time to the project but not difficulty.
The structural modifications in this section, soft-close hinges, pull-out trays, open shelf conversions, are what separate a kitchen that looks updated from one that functions like a new kitchen. They are also the upgrades most guides don’t cover, which means most homeowners don’t know to ask for them. Add at least one structural modification to any paint or hardware project and the result will feel categorically different from a surface-level refresh.
Cost to Paint Kitchen Cabinets vs. Replace Them: ROI Breakdown
The financial case for refinishing over replacement is one of the most useful things this article can give you, and it’s the section most competitors skip entirely. Here is a grounded breakdown of what each update method actually costs, what it delivers, and how to think about return on investment before you commit to anything.
Real Cost Ranges for Each Update Method
Costs vary by kitchen size, region, and contractor, but the ranges below reflect what homeowners in mid-tier U.S. markets typically encounter for a standard kitchen with 20-30 cabinet doors and drawer fronts:
| Update Method | Typical DIY Cost | Typical Pro Cost | Visual Impact | Disruption | Best Fit |
|---|---|---|---|---|---|
| Hardware swap (pulls, knobs, hinges) | $100-$400 | $200-$600 (labor + hardware) | Moderate | 2-4 hours | First step before any bigger decision |
| Professional cabinet painting | $300-$700 (materials) | $1,500-$4,500 | High | 2-4 days out of kitchen | Sound boxes, dated color only |
| Cabinet refacing (new doors + veneer) | Not practical as DIY | $4,000-$10,000 | Very high | 3-5 days | Need new door profiles, keep existing layout |
| Full cabinet replacement | $5,000-$8,000 (flat-pack DIY) | $15,000-$35,000+ | Complete | 2-4 weeks | Structural problems or full layout change |
Note: Costs above are directional ranges based on commonly reported contractor estimates and do not include countertop or backsplash work, which replacement almost always triggers.
The Hidden Cost Multiplier of Full Replacement
The number homeowners most often underestimate is the cascade cost of full cabinet replacement. New cabinet boxes require:
- Countertop removal and replacement: Existing countertops are almost never reusable after a full cabinet swap, adding $2,000-$8,000 depending on material and square footage.
- Backsplash removal: Tile backsplashes installed against existing cabinets often need to be removed and replaced, adding $500-$2,500.
- Plumbing and electrical disconnection: Any under-sink plumbing or in-cabinet electrical work requires a licensed trade, adding $300-$1,000 in labor.
- Extended kitchen downtime: A full replacement typically takes the kitchen out of service for two to four weeks, a disruption that has real quality-of-life cost.
When you add these cascade costs, a replacement project that looks like $20,000 on a cabinet quote often lands at $28,000-$40,000 by the time the kitchen is functional again. Professional cabinet painting at $3,000-$4,500 delivers the same color transformation without triggering any of those downstream costs.
How to Think About ROI for Resale vs. Personal Use
The right update method depends on why you’re doing it. Two scenarios play out very differently:
If you’re updating for resale within 1-3 years:
The goal is maximizing perceived value relative to spend. Professional cabinet painting, new hardware, and a backsplash update together typically cost $4,000-$7,000 and can meaningfully shift buyer perception of the kitchen’s age and quality. Full replacement rarely returns dollar-for-dollar in resale value at the price points most homeowners pay for it. The National Association of Realtors’ remodeling impact data consistently shows that mid-range kitchen updates outperform upscale replacements on cost recouped at resale. NAR Remodeling Impact Report
If you’re updating for long-term personal enjoyment:
The calculus shifts toward what will make the kitchen feel genuinely new for the next 10-15 years. In this case, cabinet refacing, which gives you entirely new door profiles and drawer fronts while keeping the existing boxes, is often the best value. You get the shaker or slab profile that reads as contemporary, at roughly one-third the cost of full replacement, and the result holds up visually for well over a decade.
The Decision Framework: Three Questions Before You Spend
Before committing to any update method, answer these three questions honestly:
-
Are the cabinet boxes structurally sound? Open every door and check for water damage at the base cabinets under the sink, delaminating plywood on the box sides, and drawer slides that are broken beyond adjustment. If the boxes are solid, replacement is almost never the right financial choice.
-
Does the kitchen layout work for how you cook? Painting and refacing preserve the existing layout. If you need to move the sink, add an island, or reconfigure the work triangle, replacement is the only path, but that’s a layout decision, not a cabinet condition decision.
-
What is the door profile, and can it be changed without full replacement? Cathedral arch and raised panel doors are the biggest visual giveaway of a 1990s kitchen. If your boxes are sound but your door profiles are dated, refacing gives you new shaker or slab doors without replacing the boxes. This is the most underused option in the market.
If the boxes pass question one and the layout passes question two, professional painting or refacing will almost always deliver better ROI than replacement, often at less than 20% of the replacement cost.
Before getting a replacement quote, get a professional refinishing quote and a refacing quote first. The price gap between refinishing and replacement is frequently large enough to fund the cabinet update, a new backsplash, and new countertops simultaneously, delivering more total visual change than new cabinets alone.
Common Mistakes to Avoid When Updating Oak Cabinets
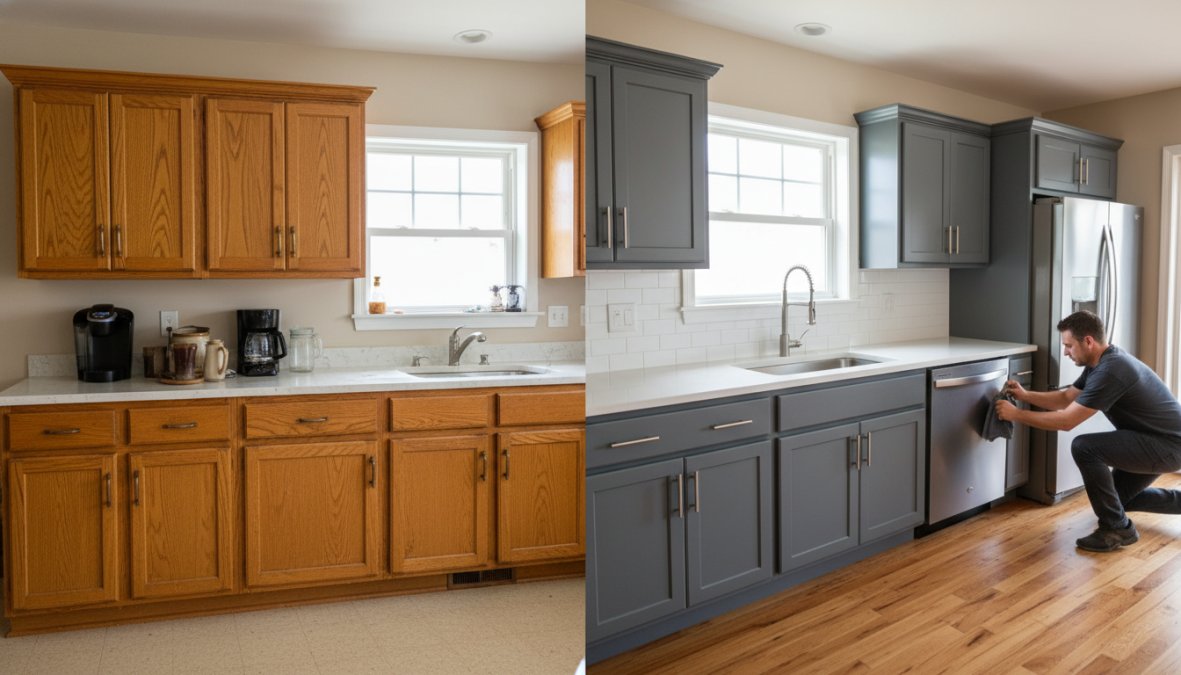
The difference between a cabinet update that looks professional and one that looks DIY usually comes down to a handful of avoidable errors.
Skipping proper degreasing. Kitchen cabinets accumulate grease and cooking residue that prevents paint adhesion. Cleaning with TSP substitute or a dedicated cabinet degreaser before any sanding is non-negotiable. Paint applied over a greasy surface will peel within months.
Choosing the wrong white. Not all whites work on oak. Bright, cool whites with blue or purple undertones clash with the warm undertones of oak wood, creating a muddy, disconnected look. Warm whites with yellow or beige undertones (think Benjamin Moore White Dove or Sherwin-Williams Alabaster) work with the wood rather than against it.
Ignoring the color palette of the whole room. A beautiful painted cabinet finish can still look wrong if it doesn’t connect to the countertop, backsplash, and flooring. Before committing to a paint color, pull samples and evaluate them against every fixed surface in the kitchen.
Rushing the dry time between coats. Waterborne alkyds feel dry to the touch in two hours but need 16-24 hours of cure time before recoating. Applying a second coat too early causes the finish to wrinkle, peel, or develop a soft surface that never fully hardens.
Forgetting the cabinet interiors. Painting only the exterior faces and door fronts while leaving orange oak interiors creates a jarring contrast every time a cabinet is opened. At minimum, paint the interior face frames to match.
What most guides miss is that preparation accounts for roughly 70% of the final result. The paint product matters far less than the surface it’s applied to.
As noted by This Old House’s guide to cabinet painting preparation, professional painters consistently cite prep work as the most time-consuming and most critical phase of any cabinet refinishing project.
Outdated oak cabinets are one of the most solvable design problems in residential renovation, but the process requires the right sequence of decisions and the right products at each stage. Denver Cabinet Painting Colorado brings 40 years of Colorado refinishing experience to every project, specializing in cabinet painting, refinishing, and glazing with meticulous preparation as the foundation of every smooth, consistent finish. If you’re ready to transform your kitchen without the disruption and cost of full replacement, get a free quote from Denver Cabinet Painting Colorado and see what professional refinishing can do for your space.
Frequently Asked Questions
Can you modernize oak cabinets without painting them?
Yes, you can modernize outdated oak cabinets without painting by swapping hardware for modern cabinet pulls in matte black or brushed brass, updating the backsplash and countertops, adding under-cabinet lighting for a light and airy feel, and applying a fresh stain color that enhances the natural wood grain. Replacing raised panel or cathedral arch doors with a flat-front profile is another highly effective no-paint option that dramatically changes the cabinet's look.
What is the best paint color for outdated oak cabinets?
Popular choices for modernizing honey oak or golden oak cabinets include soft whites, warm greiges, navy blue, and sage green. The key is choosing a color with undertones that complement the warm tones in red oak's wood grain. Whites with warm or neutral undertones tend to create a light and airy result without clashing. Always test a sample on the actual cabinet surface before committing, since lighting conditions in your kitchen will significantly affect how the color reads.
Is it worth painting oak cabinets, or should I replace them?
For most homeowners, painting or refinishing oak cabinets offers far better value than full replacement. Cabinet refacing or professional painting typically costs a fraction of new cabinetry while delivering a dramatic transformation. Since oak is a durable hardwood built to last decades, the cabinet boxes are often structurally sound and well worth preserving. Full replacement makes more sense only if the cabinet boxes are damaged, poorly sized, or you want a completely different layout.
How do you hide the grain in oak cabinets when painting?
To fill oak cabinet grain before painting, apply a grain filler or wood filler product to the surface, let it dry fully, then sand smooth with fine-grit sandpaper. Follow with a high-quality primer specifically formulated for cabinetry, this is the most critical step for achieving a smooth, consistent finish. Skipping grain filling is one of the most common DIY mistakes and results in visible texture through the top coat even after multiple paint layers.
What modern hardware works best for oak cabinets?
Matte black and brushed brass cabinet pulls are the most popular modern hardware choices for updating oak cabinets. Both finishes complement a wide range of paint and stain colors. For a cleaner, contemporary look, choose long bar pulls or simple cup pulls over ornate knobs. Upgrading to soft-close hinges at the same time adds a functional, premium feel that buyers and homeowners notice immediately. Consistent hardware sizing across all doors and drawers creates a cohesive, design-magazine-worthy result.
This article was written using GrandRanker