Table of Contents
- Why Updating Kitchen Cabinets Without Replacing Makes Sense
- Kitchen Cabinet Refacing vs Painting: Which Is Right for You?
- The Cost of Cabinet Refacing (and How Painting Compares)
- Best Paint for Kitchen Cabinets: What the Pros Actually Use
- How to Update Kitchen Cabinets Without Replacing: A Step-by-Step Painting Guide
- How to Install New Cabinet Hardware for an Instant Refresh
- Common Mistakes That Ruin Cabinet Paint Jobs (and How to Avoid Them)
- When to DIY and When to Call a Professional
- Conclusion
Last Updated: May 11, 2026
Knowing how to update kitchen cabinets without replacing them is one of the smartest moves a homeowner can make before committing to a full kitchen remodel. Denver Cabinet Painting Colorado has helped hundreds of Colorado homeowners transform tired, dated kitchens at a fraction of replacement cost. The results are striking, and the process is far more accessible than most people expect. Below, we’ll show you exactly how to choose the right method, prep your surfaces correctly, pick the right paint, and avoid the mistakes that ruin most DIY cabinet projects.
Here’s what most guides get wrong: they skip the prep. A flawless finish has almost nothing to do with the paint color you choose and everything to do with what happens before the first coat goes on. Keep reading, because the step-by-step section below covers the exact prep sequence that separates professional results from peeling, chipping disasters.
Why Updating Kitchen Cabinets Without Replacing Makes Sense
Full cabinet replacement is one of the most disruptive and costly kitchen projects a homeowner can take on. According to the National Kitchen and Bath Association’s remodeling cost guidance, cabinet replacement typically accounts for the largest single line item in a kitchen renovation budget. Painting or refacing, by contrast, lets you achieve a dramatic visual transformation while keeping your existing cabinet boxes in place.
The case for updating rather than replacing comes down to three things:
- Cost: Painting costs a fraction of new cabinet installation
- Disruption: No demolition, no weeks without a functional kitchen
- Sustainability: Keeping existing cabinetry out of landfills is a genuine environmental win
There’s also a durability argument that surprises people. Modern cabinet-specific paints, properly applied over a bonding primer, can last many years before needing a refresh. The key phrase there is "properly applied." A rushed paint job will look worse than your original cabinets within a year.
The other thing worth noting: updating kitchen cabinets without replacing is not a consolation prize for homeowners who can’t afford new cabinets. It’s a legitimate design strategy. Many professional kitchen designers recommend painting existing cabinets specifically because it preserves the character of older, solid-wood cabinet boxes that newer flat-pack options simply can’t replicate.
Kitchen Cabinet Refacing vs Painting: Which Is Right for You?
Most homeowners treat refacing and painting as interchangeable options. They’re not, and choosing the wrong one wastes money.
What Refacing Actually Involves
Cabinet refacing is the process of replacing cabinet doors, drawer fronts, and hardware while applying a veneer or laminate to the existing cabinet box frames. The box itself stays. Everything visible gets replaced or covered.
Refacing makes sense when:
- Your cabinet doors are warped, damaged, or structurally compromised
- You want a completely different door style (shaker vs. raised panel, for example)
- Your existing cabinet boxes are in solid structural condition
The process typically takes several days and requires professional installation for the veneer work to look seamless.
Why Painting Wins for Most Homeowners
Painting is the right call for most people looking to update kitchen cabinets without replacing them. Here’s the honest assessment: if your cabinet doors are structurally sound and you’re happy with the door style, painting delivers the same visual impact as refacing at significantly lower cost and with less downtime.
Painting also gives you more color flexibility. You’re not limited to the veneer options a supplier stocks. You can match any color, switch from stained wood to a painted finish, or create a two-tone look with upper and lower cabinets in different colors.
The one honest limitation of painting: if your cabinet doors have significant surface damage, deep scratches, or water swelling, painting will highlight those flaws rather than hide them. In that case, refacing or door replacement is worth the extra investment.
The Cost of Cabinet Refacing (and How Painting Compares)
The cost of cabinet refacing varies widely based on kitchen size, door style, and material choice. As a general benchmark, refacing a mid-sized kitchen typically runs several times the cost of a professional paint job on the same kitchen.

Here’s a practical comparison to frame the decision:
| Update Method | Relative Cost | Downtime | Best For |
|---|---|---|---|
| Full cabinet replacement | Highest | 1-3 weeks | Structural damage or full layout change |
| Cabinet refacing | Moderate-high | 3-5 days | Damaged doors, style change needed |
| Professional cabinet painting | Moderate | 1-3 days | Sound structure, color/finish refresh |
| DIY cabinet painting | Lowest | 3-7 days (spread out) | Budget-conscious, hands-on homeowners |
The DIY route cuts material costs significantly, but it adds time and raises the risk of a finish that doesn’t hold up. Professional painters bring spray equipment, controlled environments, and experience with cabinet-specific coatings that produce a harder, more durable finish than most DIY brush-and-roller jobs.
For homeowners in Colorado weighing professional help, Denver Cabinet Painting Colorado offers free quotes, which makes it easy to compare the actual cost of professional cabinet painting against the DIY alternative before committing.
Get at least two quotes before deciding between DIY and professional painting. The price gap is often smaller than homeowners expect, and the quality gap is often larger.
Best Paint for Kitchen Cabinets: What the Pros Actually Use
The biggest mistake DIYers make is buying standard interior wall paint for cabinet work. Wall paint is formulated for low-traffic vertical surfaces. Cabinets take daily abuse: grease, moisture, repeated contact, and cleaning chemicals. You need a coating built for that environment.
Acrylic Latex vs Waterborne Alkyd: Understanding the Difference
Acrylic latex paint is water-based, low in VOCs, and dries quickly. It’s easy to clean up and widely available. For cabinets, it works well when you choose a high-quality formula specifically rated for trim and cabinetry.
Waterborne alkyd paint is also water-based for cleanup purposes, but it cures to a harder, more oil-like finish. The chemistry produces better block resistance (the paint is less likely to stick to itself when cabinet doors close against frames) and better leveling, which means fewer visible brush marks in the final finish.
For kitchen cabinets, waterborne alkyd is generally the professional’s choice. The longer curing time (often 30 days to full hardness) is a trade-off, but the durable finish is worth the wait.
Key paint properties to look for:
- Satin enamel finish: Easier to clean than matte, less glare than semi-gloss
- Good leveling: Reduces brush marks and roller texture
- High block resistance: Prevents doors from sticking to frames
- Cabinet or trim-specific rating: Not all interior paints qualify
Low-VOC and Eco-Friendly Paint Options
Many homeowners ask about low-VOC and zero-VOC options, especially in homes with children or pets. The good news: most modern waterborne alkyds and acrylic latex cabinet paints are already low-VOC by formulation.
According to the EPA’s guidance on volatile organic compounds in interior coatings, choosing low-VOC products reduces indoor air quality concerns during and after application. Look for products that meet Green Seal or EPA Safer Choice standards if indoor air quality is a priority.
The practical trade-off: some zero-VOC formulas sacrifice a small amount of hardness in the cured film. For high-traffic kitchens, a low-VOC formula often outperforms a zero-VOC one. Read the technical data sheet, not just the marketing label.
How to Update Kitchen Cabinets Without Replacing: A Step-by-Step Painting Guide
Total Time: 2-4 days (including drying and curing time between coats)
Difficulty: Intermediate
What You’ll Need:
- Trisodium phosphate (TSP) or TSP substitute cleaner
- Degreaser
- 120-grit and 220-grit sandpaper or sanding block
- Bonding primer (shellac-based or water-based bonding formula)
- Tack cloth
- Waterborne alkyd or acrylic latex cabinet paint
- Foam roller (4-inch for flat surfaces)
- Quality angled brush for detail work
- Paint sprayer (optional but recommended for doors)
- Drop cloths and painter’s tape
Step 1 – Remove Cabinet Doors, Drawer Fronts, and Hardware
Start by removing every cabinet door and drawer front. Label each door and its corresponding hinge location with painter’s tape and a marker. This sounds tedious. Skip it and you’ll spend an hour figuring out which door goes where during reinstallation.
Remove all hinges and hardware. Store screws in labeled zip-lock bags. If you’re replacing hardware as part of this update, now is the time to fill old hardware holes with wood filler and let it cure fully before sanding.
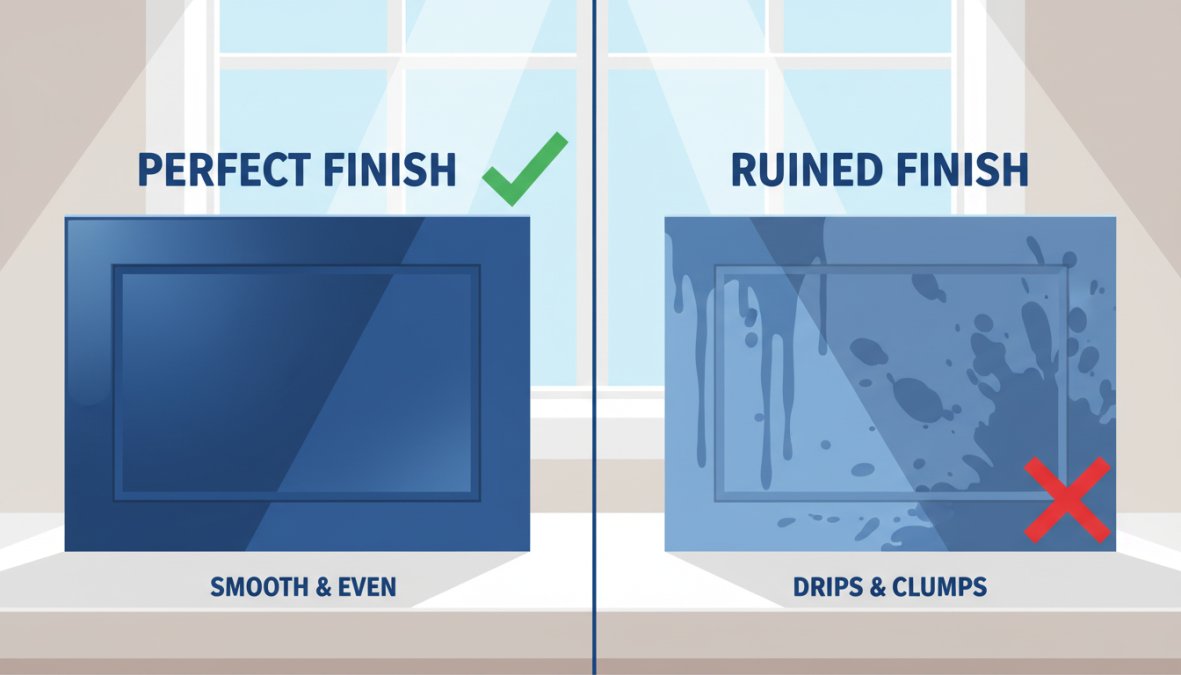
Lay doors flat on a clean workbench or sawhorses. Painting flat surfaces eliminates drips and produces a more even finish than painting doors vertically.
Step 2 – Clean and Degrease Every Surface
This is the step most DIYers rush, and it’s the single biggest predictor of how long the finish lasts.
Kitchen cabinets accumulate years of grease, cooking residue, and cleaning product buildup. Paint will not bond to grease. Full stop.
Clean every surface with a trisodium phosphate (TSP) solution or a dedicated cabinet degreaser. TSP is the professional standard for this reason: it cuts through grease aggressively and leaves a clean, slightly etched surface that accepts primer well. As documented in the Bob Vila home improvement resource on cabinet prep, skipping the degreasing step is the leading cause of cabinet paint failure.
Wipe down with clean water after cleaning, then let surfaces dry completely before moving to sanding.
Step 3 – Sand, Degloss, and Apply Bonding Primer
Sanding serves two purposes: it scuffs the existing finish to improve adhesion, and it smooths any surface imperfections before primer goes on.
Use 120-grit sandpaper or a sanding block to scuff all surfaces. You’re not trying to remove the existing finish, just degloss it. Follow with 220-grit for a smoother surface. After sanding, wipe every surface with a tack cloth to remove all dust.
Apply a bonding primer designed for slick surfaces. For previously painted or lacquered cabinets, a shellac-based primer provides the strongest adhesion. Water-based bonding primers work well on raw or lightly finished wood.
Apply primer in thin, even coats. Two thin coats outperform one thick coat every time. Let each coat dry fully according to the manufacturer’s instructions before proceeding.
Skipping bonding primer on previously finished cabinets is the most common cause of peeling within the first year. Even if the surface looks clean and sanded, a bonding primer is non-negotiable for long-term adhesion.
Step 4 – Apply Your Topcoat for a Durable Finish
With primer fully cured, you’re ready for your topcoat. For the smoothest finish on cabinet doors, a paint sprayer or airless sprayer produces results that a brush and roller simply can’t match. If you don’t own a sprayer, a foam roller minimizes texture on flat surfaces, with a brush for detail areas and edges.
Apply two coats of your chosen satin enamel or waterborne alkyd, sanding lightly with 220-grit between coats and wiping with a tack cloth. Thin coats level better and cure harder than thick ones.
Allow full curing time before reinstalling doors. Most cabinet paints reach handling hardness within 24-48 hours, but full block resistance (the ability to close doors without sticking) takes up to 30 days. Avoid slamming doors or stacking items against painted surfaces during this curing period.
How to Install New Cabinet Hardware for an Instant Refresh
New hardware is the fastest way to update kitchen cabinets without replacing anything structural. A single afternoon of hardware swaps can make a kitchen look five years newer.
The process for how to install new cabinet hardware is straightforward:
- Remove existing knobs or pulls and fill old holes if the new hardware has a different hole spacing
- Let wood filler cure, then sand smooth and touch up with primer and paint
- Use a hardware template (available at most hardware stores) to mark new hole locations consistently across all doors and drawer fronts
- Drill pilot holes to prevent wood splitting
- Install new hardware with the provided screws, checking alignment as you go
Hardware finish choices to consider:
- Brushed nickel: Versatile, works with most cabinet colors
- Matte black: High contrast, works especially well with white or light gray cabinets
- Unlacquered brass: Warm, trending in 2026, pairs well with navy and deep green cabinets
- Satin chrome: Clean and modern, suits contemporary kitchens
According to the National Association of the Remodeling Industry’s cost vs. value guidance, hardware updates consistently rank among the highest-return, lowest-cost kitchen improvements available to homeowners.
Common Mistakes That Ruin Cabinet Paint Jobs (and How to Avoid Them)
Most failed cabinet paint jobs trace back to the same handful of errors. Here’s what to watch for:
- Skipping degreasing: Paint applied over grease will peel within months, no matter how good the paint is
- Using wall paint instead of cabinet-rated enamel: Wall paint lacks the hardness and block resistance needed for cabinet surfaces
- Painting in high humidity: Humidity above 50-60% during application and drying slows curing and can cause adhesion problems
- Applying thick coats to speed up the process: Thick coats sag, drip, and take longer to cure than two thin coats
- Reinstalling doors before full cure: Doors stuck to frames during the curing period will tear the finish when opened
- Ignoring wood grain on raw wood cabinets: Raw wood needs a grain filler or extra primer coats to prevent the grain from telegraphing through the topcoat
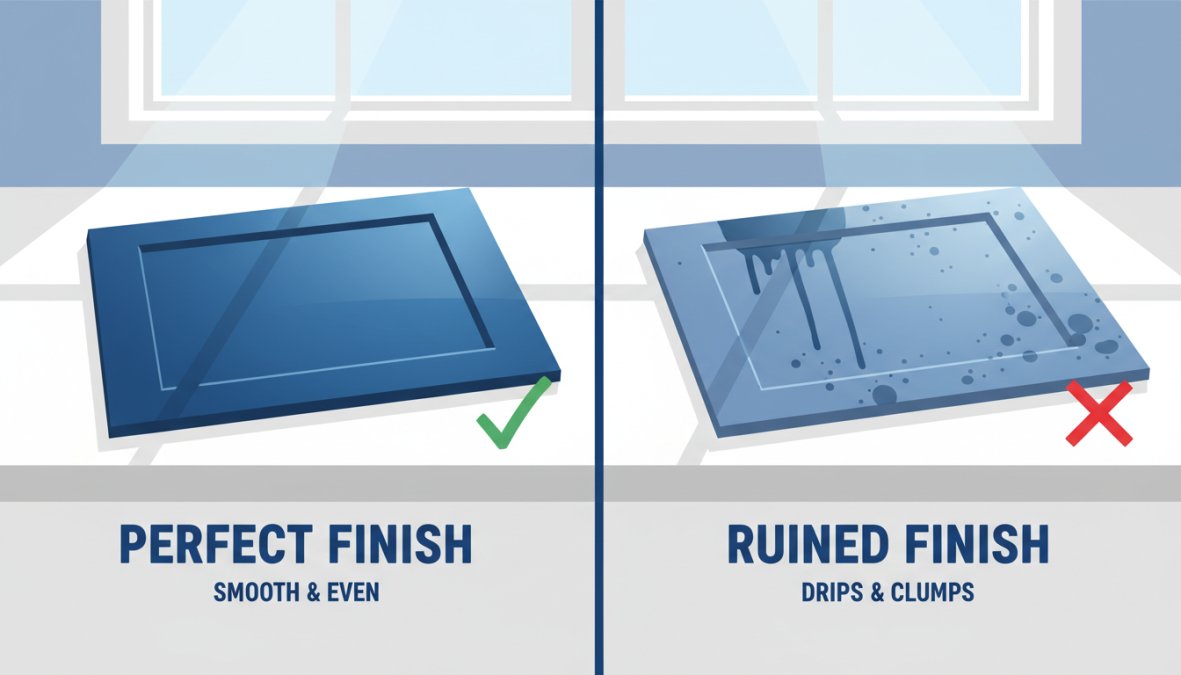
Prep work determines 80% of the final result. The best paint in the world won’t save a surface that wasn’t cleaned, deglossed, and primed correctly.
The thing nobody tells you about cabinet painting: the wood grain issue is especially relevant for oak cabinets. Oak has a pronounced, open grain that reads through paint unless you fill it first. Grain filler or a skim coat of lightweight spackle, sanded smooth after drying, solves this before primer goes on.
When to DIY and When to Call a Professional
DIY cabinet painting is genuinely achievable for a patient, detail-oriented homeowner. But it’s not right for everyone, and knowing the difference saves time and money.
DIY makes sense when:
- You have a small kitchen with fewer than 20 cabinet doors
- You’re comfortable with prep work and have time to do it properly
- You have access to or can rent a paint sprayer for door surfaces
- Your cabinets are in good structural condition with minimal surface damage
Call a professional when:
- You have a large kitchen or complex cabinet layout
- Your cabinets have significant surface damage, staining, or previous paint failures
- You want a factory-smooth spray finish that brush-and-roller work can’t replicate
- You’ve tried DIY cabinet painting before and weren’t satisfied with the result
The way I see it, the cost comparison between DIY and professional cabinet painting is closer than most people assume once you factor in the cost of materials, equipment rental, and the time investment. A professional brings an airless sprayer, controlled application technique, and 40 years of experience with cabinet-specific coatings.
Denver Cabinet Painting Colorado serves residential and commercial clients across the Denver metro area and throughout Colorado, specializing in cabinet painting, refinishing, and glazing. Their emphasis on meticulous preparation aligns exactly with what this guide has covered: the prep is everything.
Updating your kitchen cabinets is one of the highest-impact, most budget-friendly remodels available to homeowners, but the results depend entirely on how well the process is executed. If you want a smooth, consistent, durable finish without the risk of a DIY paint job that fails within a year, Denver Cabinet Painting Colorado brings 40 years of experience, premium cabinet-specific coatings, and a preparation-first approach to every project. Get a free quote from Denver Cabinet Painting Colorado and see what a professionally refinished kitchen looks like in your space.
Frequently Asked Questions
What is the cheapest way to update kitchen cabinets without replacing them?
Painting your cabinet doors and drawer fronts is generally the most budget-friendly option. When combined with proper prep work, degreasing, sanding, and a bonding primer, a quality paint job can dramatically transform your kitchen for a fraction of full replacement costs. Swapping out old hinges and hardware adds even more visual impact for minimal additional spend, making it a smart remodel choice for cost-conscious homeowners.
Is it better to paint or reface kitchen cabinets?
For most homeowners, painting offers better value than refacing. Kitchen cabinet refacing vs painting comes down to condition and budget: if your cabinet boxes are structurally sound and you want a color change, painting with the right bonding primer and a durable topcoat like satin enamel delivers professional results at a lower cost. Refacing makes more sense when you want to change the door style entirely, but it typically costs significantly more.
How long does updating kitchen cabinets without replacing them take?
A DIY cabinet painting project typically takes a weekend to several days depending on kitchen size, curing time between coats, and how thorough your prep work is. Removing cabinet doors, degreasing, sanding, priming, and applying two topcoats, each needing adequate drying time, adds up. A professional team can complete the same work faster with less household downtime, often finishing a standard kitchen in two to four days.
What is the best paint for kitchen cabinets to ensure long-term durability?
Waterborne alkyd and high-quality acrylic latex paints in a satin enamel finish are widely considered the best paint for kitchen cabinets. They offer excellent block resistance, leveling properties that minimize brush marks, and a hard, washable topcoat. Look for products specifically formulated for cabinetry. Low-VOC options are also available if you're working in a small space with limited ventilation, making them a practical and eco-friendly alternative without sacrificing durability.
Does refacing cabinets increase home value?
Updating kitchen cabinets without replacing them, whether through painting or refacing, can improve your home's appeal to buyers and potentially increase perceived value. A fresh, modern kitchen is one of the most influential factors in home resale. While exact return on investment varies by market, a professionally finished cabinet paint job or reface is far more cost-effective than full replacement and still delivers a strong visual transformation that resonates with prospective buyers.
Can you change cabinet color without painting them?
Yes, cabinet refacing with new veneer or laminate is one option that changes color and style without traditional painting. Applying a gel stain over existing finish is another approach for wood cabinets. However, for the widest color range, the most durable finish, and the most budget-friendly outcome, painting with a proper bonding primer and quality topcoat remains the most practical and popular method for homeowners looking to update kitchen cabinets without replacing them.
This article was written using GrandRanker