Table of Contents
- The Real Pros and Cons of Painting Kitchen Cabinets
- Cost of Painting Kitchen Cabinets vs Replacing Them
- Painting vs. Refacing vs. Staining: Which Option Fits Your Kitchen?
- Kitchen Cabinet Painting Preparation Steps Done Right
- DIY vs Professional Cabinet Painting: An Honest Comparison
- How Long Does It Take to Paint Kitchen Cabinets?
- Durability, Longevity, and Long-Term Maintenance of Painted Cabinets
- Is Painting Kitchen Cabinets Worth It? Making the Final Decision
- Conclusion
Last Updated: May 16, 2026
Understanding kitchen cabinet painting pros and cons is the first step toward making a smart kitchen renovation decision. Denver Cabinet Painting Colorado has helped homeowners across the Denver metro area weigh exactly this choice for 40 years, and the verdict is rarely simple. Cabinet painting can transform an outdated kitchen for a fraction of replacement costs, but it comes with real trade-offs that most guides gloss over. Below, we cover every angle: costs, durability, material compatibility, prep requirements, and the environmental factors that rarely get mentioned.
The Real Pros and Cons of Painting Kitchen Cabinets
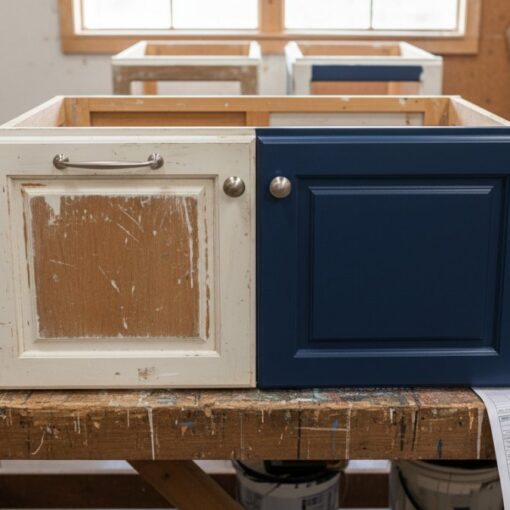
Cabinet painting is a kitchen renovation method that refreshes existing cabinet boxes, doors, and drawer fronts with a new paint finish rather than replacing the structural components. Done correctly, it can extend cabinet life by many years and dramatically change a kitchen’s appearance at a fraction of full replacement cost.
Here’s what most guides won’t tell you upfront: the outcome depends almost entirely on preparation and material compatibility. The painting itself is the easy part.
Advantages: Why Cabinet Painting Wins on Value
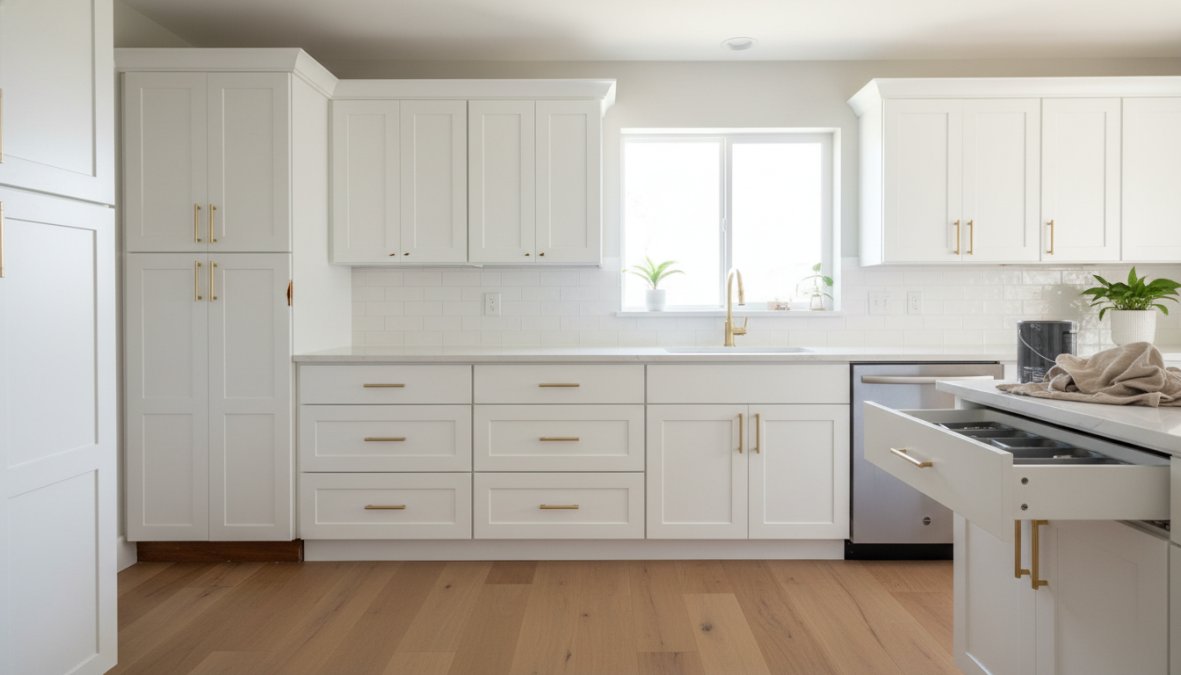
Cabinet painting wins on value for several clear reasons.
Cost savings are significant. Full cabinet replacement typically involves new cabinetry, installation labor, and often countertop adjustments. Cabinet painting sidesteps all of that. You keep the existing cabinet box and structural integrity while completely changing the look.
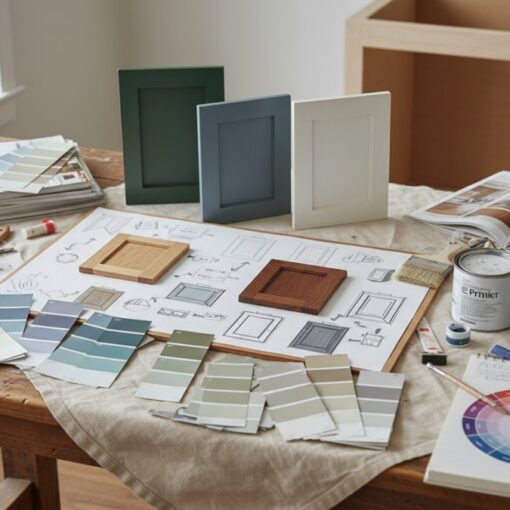
Color flexibility is unmatched. Unlike refacing, which limits you to available veneer or laminate options, painting opens the entire color palette. Trending shades like navy, sage green, and warm white are all accessible without custom cabinetry pricing.
Resale value impact is real. A fresh, neutral paint finish on cabinets consistently ranks among the higher-ROI kitchen updates for home resale. According to Remodeling Magazine’s Cost vs. Value Report, kitchen updates that improve visual appeal without full gut renovations tend to recoup a strong percentage of their cost at resale.
Speed matters too. A professional cabinet painting project typically completes in a few days, while cabinet replacement can take weeks with lead times for custom cabinetry.
Disadvantages: What Most Guides Won’t Tell You
Paint is not a permanent solution. This is the honest reality that separates informed homeowners from disappointed ones.
- Chipping and peeling are real risks on high-traffic areas like cabinet doors near the sink or drawer fronts that get opened dozens of times daily. Without proper surface preparation and a quality topcoat, paint adhesion fails within a year or two.
- Wood grain can show through. On open-grain woods like oak, paint doesn’t hide the texture the way stain does. Achieving a smooth finish requires grain filler and additional sanding steps.
- MDF and laminate cabinets require special handling. Standard primers don’t bond well to laminate surfaces, and MDF edges absorb moisture and swell if not sealed correctly.
- Touch-ups are visible over time. Unlike stained wood where small repairs blend naturally, painted surfaces show touch-up patches unless the entire panel is repainted.
The bottom line: cabinet painting is an excellent option when the preparation is done right and the material is compatible. It’s a frustrating experience when either condition isn’t met.
Cost of Painting Kitchen Cabinets vs Replacing Them
Cabinet painting is one of the few kitchen renovation categories where the cost gap between options is large enough to change the entire project calculus. Understanding where that gap comes from, and where it narrows, is what separates a smart budget decision from an expensive regret.
What Professional Cabinet Painting Actually Costs
Professional cabinet painting for a typical kitchen with 20 to 30 door and drawer fronts generally falls in the range of $1,200 to $3,500 depending on kitchen size, cabinet condition, and the number of coats required. This range reflects real-world project pricing from painting contractors across the U.S. and accounts for labor, materials, primer, and topcoat. It does not include hardware replacement, which is a separate line item.
DIY cabinet painting brings material costs down to roughly $200 to $600 for a full kitchen, primer, paint, sandpaper, brushes or a rented sprayer, and masking supplies, but the labor investment is 30 to 60 hours for most homeowners working carefully. That time cost is real even if it doesn’t appear on an invoice.
Cabinet replacement, by contrast, is a fundamentally different budget category. Stock cabinetry from big-box retailers starts around $75 to $150 per linear foot installed, while semi-custom cabinetry runs $150 to $400 per linear foot, and fully custom cabinetry can exceed $500 to $1,200 per linear foot. A 20-linear-foot kitchen at mid-range semi-custom pricing represents a $3,000 to $8,000 project before countertop adjustments, electrical, or plumbing changes are factored in.
Cabinet refacing, replacing doors and drawer fronts while keeping the existing box, typically costs $4,000 to $9,000 for an average kitchen, positioning it between painting and full replacement in both cost and outcome.
| Option | Typical Cost Range (Average Kitchen) | Disruption Level | Lifespan of Update |
|---|---|---|---|
| DIY Cabinet Painting | $200-$600 in materials | Minimal | 5-8 years with maintenance |
| Professional Cabinet Painting | $1,200-$3,500 | Minimal | 8-12+ years with maintenance |
| Cabinet Refacing | $4,000-$9,000 | Moderate | 10-15 years |
| Stock Cabinet Replacement | $3,000-$8,000+ installed | Significant | 20+ years |
| Semi-Custom Replacement | $8,000-$20,000+ installed | Significant | 20-30 years |
| Cabinet Staining (professional) | $1,000-$2,500 | Minimal | 7-12 years |
Ranges reflect national averages and will vary by region, contractor, and project complexity.
Where the Cost Calculation Gets Complicated
The sticker price comparison above is straightforward. What’s less obvious is where hidden costs erode the painting option’s advantage, and where they don’t.
Costs that painting avoids:
- New cabinetry lead times (semi-custom orders often run 6 to 12 weeks)
- Countertop removal and reinstallation if cabinet height changes
- Potential tile or backsplash replacement when cabinet footprint changes
- Temporary kitchen setup costs during a full gut renovation
Costs that painting can generate if done wrong:
- Repainting within 2 to 3 years due to poor prep or wrong primer for the material
- Professional remediation of a failed DIY paint job, which often costs more than a professional job would have cost initially because the contractor must strip and re-prep the surface
- Hardware replacement if old hardware doesn’t align with new color or finish
The honest math: a professional cabinet painting project that lasts 10 years costs roughly $125 to $350 per year in amortized terms for an average kitchen. A cabinet replacement at mid-range pricing amortized over 20 years costs $150 to $400 per year, a narrower gap than most homeowners expect, which is why the decision should also factor in the kitchen’s structural condition and the homeowner’s timeline.
ROI Analysis by Kitchen Style and Home Value
The return on investment from cabinet painting shifts depending on your kitchen’s existing style and your home’s price tier. This is one of the content gaps most renovation guides skip entirely, and it’s where the decision gets genuinely nuanced.
Entry-level and starter homes benefit most from cabinet painting on a pure ROI basis. In this price range, buyers are making value-driven decisions and respond strongly to visual updates. A clean, well-executed paint job in a current neutral, warm white, soft greige, or a muted sage, delivers outsized visual impact relative to cost. The risk of over-improving is real at this price tier: spending $8,000 on cabinet replacement in a home where the kitchen update adds $4,000 in perceived value is a losing trade. Painting at $1,500 to $2,500 professional cost is almost always the right call here.
Mid-range homes see solid ROI when painting is paired with complementary updates. The cabinet refresh alone reads as a partial update; combined with new hardware, a tile backsplash, and updated lighting, it reads as a renovated kitchen. This bundled approach, often totaling $3,000 to $6,000 for all elements, consistently outperforms spending the same budget on cabinets alone. The key is color selection: mid-range buyers respond to on-trend but not polarizing choices. Bright white, navy, and two-tone combinations (painted lowers, stained or natural uppers) have shown strong buyer appeal in this segment.
High-end and luxury homes present the most nuanced picture. Buyers at this price point often have expectations around material quality that paint cannot fully satisfy, they may expect stain-grade wood, custom inset cabinetry, or specific hardware brands. Paint can still be appropriate, particularly for contemporary or transitional design styles where a lacquered finish is itself a premium aesthetic. But the quality of application must be flawless: any brush marks, uneven sheen, or visible touch-ups will read as a shortcut rather than a finish. In luxury kitchens, professional spray application with a catalyzed lacquer or conversion varnish topcoat is the standard that justifies the investment.
The kitchen style variable: Shaker-style cabinet doors with clean lines are ideal candidates for painting, the flat center panel and simple profile show paint at its best. Ornate raised-panel doors with heavy detail can look dated regardless of paint color, and the recessed areas collect paint buildup over multiple coats. If the door style itself is the problem, painting is treating a symptom rather than the cause.
Cabinet painting delivers the strongest ROI in entry-level to mid-range homes when paired with complementary updates like new hardware and lighting. In luxury homes, the quality of application and topcoat specification become the deciding factors, a catalyzed or alkyd-hybrid finish applied by spray is the standard that makes painting a credible choice at that price point. In all cases, the cost of a failed paint job (remediation plus redo) typically exceeds the cost of doing it right the first time.
Painting vs. Refacing vs. Staining: Which Option Fits Your Kitchen?
The right choice depends on three things: your cabinet material, your budget, and how long you plan to stay in the home.

Cabinet painting is best when the existing cabinet boxes are structurally sound, the door style works with your target aesthetic, and budget is a primary concern. It’s also the right call when you want maximum color flexibility.
Cabinet refacing makes sense when you want a different door style or when the existing doors are damaged beyond what paint can fix. You keep the cabinet box but get entirely new faces. The cost is higher than painting, but you get closer to a new-cabinet look without full replacement.
Cabinet staining is only viable on stain-grade solid wood or wood veneer. It’s not an option for MDF, laminate, or previously painted surfaces without stripping. Staining preserves and enhances wood grain rather than covering it, which is a fundamentally different aesthetic direction. According to the Woodworking Network’s finishing guide, stain penetrates wood fibers and requires a compatible topcoat to achieve durability comparable to paint.
Here’s the practical decision framework:
- Paint your cabinets if: They’re structurally solid, you want color change, and budget matters.
- Reface your cabinets if: You dislike the door style or need new drawer fronts, and you have a larger budget.
- Stain your cabinets if: They’re solid wood or wood veneer, currently unfinished or lightly finished, and you prefer a natural look.
- Replace your cabinets if: The boxes are damaged, warped, or the layout no longer works for your needs.
Kitchen Cabinet Painting Preparation Steps Done Right
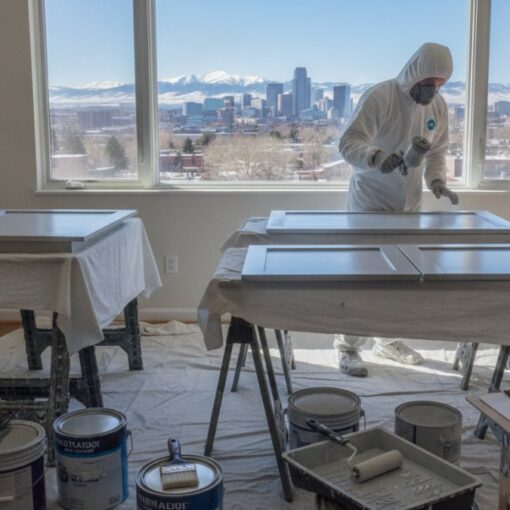
Preparation is where cabinet painting projects succeed or fail. This is the part most DIYers underestimate and the reason professional results look so different from weekend-warrior attempts.
Here are the essential kitchen cabinet painting preparation steps in order:
- Remove all cabinet doors, drawer fronts, and hardware. Label each door with its location for reinstallation. Remove cabinet hinges and set aside.
- Degrease every surface thoroughly. Kitchen cabinets accumulate grease and cooking residue that prevents paint adhesion. Use a TSP substitute or dedicated degreaser on all surfaces.
- Sand all surfaces. For previously painted cabinets, 120-150 grit sandpaper scuffs the surface for adhesion. For raw wood, progress from 100 to 150 to 220 grit. Sanding is non-negotiable.
- Fill imperfections. Use wood filler for dents, holes, and damaged areas. Sand smooth once dry.
- Apply a bonding primer. The primer is what makes paint adhesion reliable. For laminate or MDF, use a shellac-based or dedicated adhesion primer. For wood, a high-quality oil-based or water-based primer works well.
- Sand lightly after priming. A light 220-grit sand between primer and topcoat removes any raised grain or dust nibs.
- Apply the topcoat. Two thin coats of a semi-gloss or satin finish paint outperform one heavy coat every time.
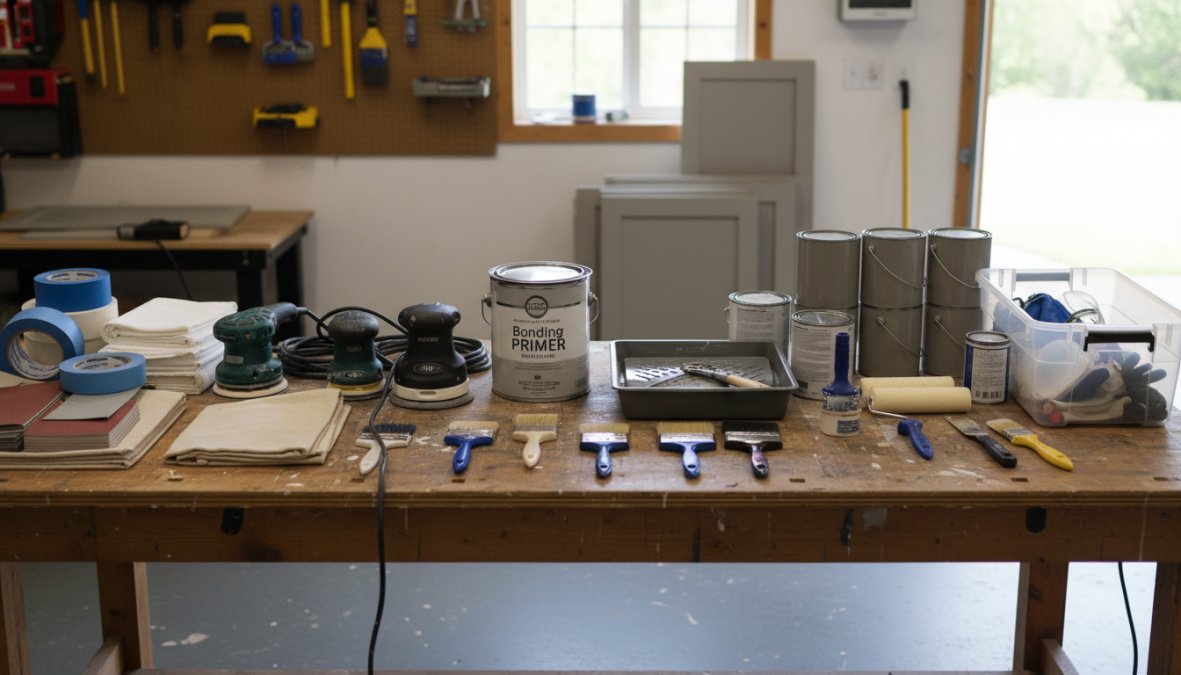
Skipping the degreasing step is the most common cause of paint peeling within the first year. Grease creates a barrier that even good primer can’t fully overcome. If you’re repainting previously painted cabinets, degreasing is even more critical.
Material-Specific Compatibility: Wood, MDF, and Laminate Cabinets
Not all cabinet materials respond the same way to paint, and using the wrong primer is the single most common professional mistake.
Solid wood and wood veneer are the most forgiving. They accept most primers and paints readily. Open-grain woods like oak benefit from a grain filler before priming to achieve a smooth painted finish.
MDF (medium-density fiberboard) is extremely common in modern cabinetry and paints well on flat surfaces. The problem area is the edges. MDF edges are porous and absorb moisture readily, which causes swelling and paint failure. Sealing MDF edges with shellac-based primer before applying a water-based topcoat prevents this.
Laminate cabinets are the most challenging. Standard primers don’t bond to laminate surfaces reliably. A dedicated adhesion primer or scuff-sanding followed by a bonding primer is required. Professional spray application helps significantly here because brush marks on laminate are more visible than on wood.
Thermofoil cabinets are generally not good candidates for painting. The thermofoil surface tends to peel from the substrate over time, and paint accelerates this process rather than solving it.
When working with laminate cabinets, test your primer adhesion on the inside of a door or a hidden area before committing to the full project. Apply primer, let it cure for 24 hours, then try to scratch it with a fingernail. If it releases, switch primers before proceeding.
DIY vs Professional Cabinet Painting: An Honest Comparison
The DIY vs. professional question is where most cabinet painting guides offer false comfort. They frame it as a skills question, "if you’re handy, you can do it yourself", when the real variables are equipment access, environmental control, material knowledge, and an honest accounting of what failure costs.
Here is the unvarnished version.
What DIY Cabinet Painting Actually Requires
DIY cabinet painting is achievable. It is not, however, a weekend project for most kitchens, and the gap between a careful DIY result and a professional spray finish is real and visible.
Equipment is the first honest barrier. Brush-and-roller application on cabinet doors produces brush marks and roller stipple that are difficult to eliminate, particularly on flat-panel and shaker-style doors where the surface has nowhere to hide. A high-quality foam roller minimizes stipple but doesn’t eliminate it. The only reliable path to a smooth, factory-like finish is spray application, either an airless sprayer or an HVLP (high-volume, low-pressure) sprayer.
Renting an HVLP sprayer is possible and costs roughly $40 to $80 per day at most equipment rental centers. However, using spray equipment effectively requires practice. The most common DIY spray mistakes, runs from holding the gun too close, dry spray from holding it too far, uneven overlap, are nearly impossible to correct after the paint cures without sanding back and recoating. First-time sprayers should plan to practice on scrap material before touching cabinet doors.
Environment is the second barrier. Professional painters spray cabinet doors in controlled environments, dedicated spray booths or climate-controlled shops, specifically to avoid dust contamination in the wet paint film. Spraying in a garage or kitchen introduces airborne dust that settles into the finish and creates a gritty texture. If you’re spraying at home, setting up a temporary spray area with plastic sheeting, running an air purifier, and spraying during low-traffic hours reduces (but doesn’t eliminate) this risk.
The time investment is frequently underestimated. A kitchen with 25 cabinet doors and drawer fronts, done correctly with proper prep, typically requires:
- Day 1: Remove all doors, hardware, and hinges. Degrease all surfaces. Label everything.
- Day 2: Sand all surfaces. Fill imperfections. Apply first coat of primer.
- Day 3: Light sand after primer. Apply second primer coat if needed.
- Day 4: Apply first topcoat.
- Day 5: Light sand. Apply second topcoat.
- Day 6-7: Allow full cure before reinstallation. Reinstall doors and hardware.
That’s a best-case scenario with good drying conditions and no mistakes requiring correction. Most DIYers spread this across two to four weekends, which means living with a partially disassembled kitchen for a month or more.
Where DIY Makes Sense, and Where It Doesn’t
DIY cabinet painting is the right call in specific circumstances:
- Small kitchens with 15 or fewer doors where the time investment is proportional and mistakes are less costly to correct
- Rentals or transitional homes where the goal is a cosmetic refresh rather than a durable long-term finish
- Homeowners with prior spray experience who already own or have access to HVLP equipment
- Solid wood cabinets in good condition where the material is forgiving and adhesion is straightforward
DIY is the wrong call when:
- The cabinets are laminate or thermofoil, where primer selection is critical and mistakes are harder to diagnose
- The existing finish is peeling or failing, which requires stripping rather than scuff-sanding
- The homeowner is working with oil-based products in a poorly ventilated space (see VOC section below)
- The goal is a finish quality that will be evaluated by home buyers
| Factor | DIY | Professional |
|---|---|---|
| Finish quality (brush/roller) | Visible texture; acceptable for casual use | N/A, professionals spray |
| Finish quality (spray) | Good with practice and proper setup | Excellent; factory-smooth |
| Time investment | 2-4 weekends for average kitchen | 2-4 days total |
| Material cost | $200-$600 | Included in quote |
| Equipment cost | $0-$200 (rental or purchase) | Included in quote |
| Risk of adhesion failure | Higher, primer selection errors common | Low, material-matched primers |
| Dust contamination risk | Moderate to high | Low, controlled environment |
| Warranty | None | Often 1-3 years on labor and finish |
| Remediation cost if failed | $800-$2,000+ to strip and redo | Covered under warranty |
Environmental and Health Considerations: VOCs, Ventilation, and Safety
This is the section most cabinet painting guides skip entirely, and it’s one of the most practically important for homeowners doing DIY work in an occupied home.
VOCs (volatile organic compounds) are chemicals released by paints, primers, and topcoats as they dry and continue to off-gas during the cure period. In an enclosed kitchen with limited ventilation, VOC concentrations can reach levels that cause headaches, dizziness, and respiratory irritation, and in poorly ventilated spaces, these levels can persist for hours after painting stops.
The VOC content of cabinet paints varies significantly by product type:
- Traditional oil-based paints and primers: High VOC content, often 300 to 450 grams per liter (g/L). These products produce strong odors and require extended ventilation, typically 24 to 48 hours of open windows and exhaust fans running.
- Water-based latex paints: Moderate VOC content, typically 50 to 150 g/L for standard formulations.
- Low-VOC water-based paints: 50 g/L or below. Many major paint manufacturers now offer low-VOC cabinet-specific formulations that perform comparably to higher-VOC products.
- Zero-VOC formulations: Under 5 g/L. Available from several manufacturers, though "zero-VOC" tints added at the store can raise the final VOC level above the base product’s rating.
For households with young children, pregnant individuals, or anyone with respiratory sensitivities like asthma, low-VOC or zero-VOC water-based products are the responsible default. The EPA’s guidance on indoor air quality and VOCs recommends choosing low-VOC products for indoor painting projects and maintaining active ventilation until paint odors fully dissipate.
Ventilation requirements during DIY cabinet painting:
- Open all windows and exterior doors in the work area before starting
- Run kitchen exhaust fans and any available window fans throughout the painting process
- Maintain ventilation for at least 24 hours after the final coat, longer for oil-based products
- Do not use gas stoves or open flames in the area during or immediately after spray application (atomized paint particles are flammable)
- If using spray equipment, wear a properly fitted respirator rated for organic vapors (an N95 dust mask is not sufficient for paint spray)
Professional spray application and VOC exposure: When professionals spray cabinets on-site, the VOC and particulate exposure in the home is higher than brush application, which is one reason many professional painters prefer to spray doors off-site in a shop environment and only spray cabinet boxes in place. If your contractor is spraying in your kitchen, confirm that household occupants (especially children and pets) are out of the space during spraying and for several hours afterward. Ask your contractor which specific products they use and request the safety data sheet (SDS) for the primer and topcoat if you have health concerns.
Never spray oil-based paint or lacquer in an enclosed space without explosion-proof ventilation equipment. Atomized solvent-based finishes are highly flammable, and standard household fans can create ignition risks. If you’re considering a solvent-based topcoat for durability reasons, this is one of the strongest arguments for hiring a professional with proper spray booth equipment rather than attempting it at home.
If you’re sensitive to paint odors but want to use a more durable alkyd-hybrid or oil-modified water-based paint, look for products marketed specifically as “cabinet and trim” paints. Many of these are formulated to balance durability with lower VOC content, and they’re available in low-odor versions from major paint manufacturers. Ask at the paint counter for the VOC content in g/L before purchasing, this number must be disclosed on the product label.
Denver Cabinet Painting Colorado’s professional team uses low-VOC, water-based alkyd-hybrid topcoats applied with professional HVLP spray equipment, with doors sprayed off-site where possible to minimize household VOC exposure. Every project includes a clear conversation about product selection and ventilation requirements before work begins.
How Long Does It Take to Paint Kitchen Cabinets?
A professional cabinet painting project for an average kitchen takes two to four days from start to finish, including removal, preparation, priming, painting, and reinstallation. This timeline assumes proper drying time between coats.
DIY projects typically take longer because of equipment limitations and the need to work around household schedules. Expect two to four weekends for a full kitchen if you’re working alone with brush and roller.
The preparation phase is what most people underestimate. Degreasing, sanding, and priming correctly takes as long as the actual painting. Rushing prep to save time is how projects end up with peeling paint six months later.
Drying time between coats matters more than most people realize. Water-based paints feel dry to the touch in one to two hours but need four to eight hours before recoating for proper adhesion. Oil-based paints require even longer between coats. Full cure, where the paint reaches its maximum hardness, takes two to four weeks regardless of paint type.
Durability, Longevity, and Long-Term Maintenance of Painted Cabinets
A professionally painted kitchen cabinet finish, properly prepared and applied with a quality topcoat, can last ten years or more before requiring significant attention. DIY results vary more widely, typically lasting five to eight years with careful use.
The finish type matters. Semi-gloss and satin finishes outperform flat or eggshell on cabinets because they’re easier to clean and more resistant to moisture. A semi-gloss finish on cabinet doors near the sink is a practical choice, not just an aesthetic one.
Long-term maintenance guide for painted cabinets:
- Daily care: Wipe spills immediately. Water sitting on painted surfaces, especially near edges, is the primary cause of premature paint failure.
- Monthly cleaning: Use a mild soap and water solution with a soft cloth. Avoid abrasive cleaners or scrub pads that cut through the topcoat.
- Annual inspection: Check cabinet hinges, door edges, and areas around handles for chipping or wear. Small touch-ups done early prevent larger failures later.
- Touch-up protocol: Keep a small amount of the original paint in a sealed container. For small chips, a fine artist’s brush applied carefully can extend years before a full repaint is needed.
The most durable painted cabinet finishes use a water-based alkyd or hybrid paint, which combines the easy cleanup of water-based products with the hardness of oil-based finishes. According to Fine Homebuilding’s cabinet finishing guide, alkyd-modified water-based paints have become the professional standard for cabinet work precisely because of their durability advantage over straight latex.
Environmental and Health Considerations: VOCs and Ventilation
Cabinet painting involves chemicals that deserve honest attention. VOCs, or volatile organic compounds, are released by paints and primers as they dry and cure. In an enclosed kitchen, VOC exposure can be significant without proper ventilation.
Traditional oil-based paints and primers carry high VOC content. Water-based alternatives have improved dramatically and now offer low-VOC and zero-VOC formulations that perform comparably to oil-based products in most applications. For homeowners with respiratory sensitivities or households with young children, low-VOC products are the responsible choice.
Ventilation during and after painting is non-negotiable. Open windows and run exhaust fans throughout the painting process and for at least 24 hours after the final coat. For professional spray application, painters should wear appropriate respirators, and household occupants should ideally vacate during spraying.
The EPA’s guidance on indoor air quality and VOCs recommends choosing low-VOC products for indoor painting projects and maintaining ventilation until paint odors dissipate completely.
Cabinet hardware, adhesives used during refacing, and some primers also contain compounds worth reviewing. Ask your painting contractor about the specific products they use and request safety data sheets if you have health concerns.
Is Painting Kitchen Cabinets Worth It? Making the Final Decision
Painting kitchen cabinets is worth it for most homeowners with structurally sound cabinetry who want a significant visual update without full replacement costs. The kitchen cabinet painting pros and cons calculation tips decisively toward painting when preparation is thorough and the material is compatible.
Here’s the honest decision framework:
Paint your cabinets when:
- The cabinet boxes are solid and undamaged
- You want a color change or aesthetic refresh
- Budget is a meaningful constraint
- You’re planning to stay in the home for at least three to five years
- The cabinet material is wood, wood veneer, or MDF
Skip painting and explore other options when:
- Cabinet boxes are warped, water-damaged, or structurally compromised
- The layout no longer works for your cooking and storage needs
- The cabinets are thermofoil and already showing peeling
- You want a wood grain look that paint inherently cannot provide
The contrastive reality here: unlike most home improvement guides that treat cabinet painting as a universal budget solution, the truth is more nuanced. Painting the wrong cabinets, or painting the right cabinets without proper preparation, costs more in the long run than making the right call upfront.
For Colorado homeowners evaluating this decision, the local climate adds one more variable. Denver’s dry air and temperature swings between seasons create expansion and contraction cycles in wood that can stress paint adhesion over time. Using a flexible, high-quality topcoat and ensuring proper humidity during application reduces this risk.
The decision to paint kitchen cabinets is straightforward in concept and demanding in execution. For homeowners who want professional results without the guesswork, Denver Cabinet Painting Colorado brings 40 years of experience, meticulous surface preparation, and professional spray application to every project across the Denver metro area and throughout Colorado. The team offers free quotes, so you can get a clear picture of cost and scope before committing. Get a free quote from Denver Cabinet Painting Colorado and find out exactly what a professional cabinet painting project would look like for your kitchen.
Frequently Asked Questions
Is it better to paint or replace kitchen cabinets?
For most homeowners, painting kitchen cabinets is the smarter budget-friendly choice when the cabinet box and structural integrity are sound. Painting can dramatically refresh your kitchen at a fraction of replacement cost, typically saving thousands of dollars. However, if your cabinets are severely damaged, warped, or functionally outdated, replacement may be the better long-term investment. A professional assessment can help you determine which option delivers the best value for your specific situation.
What are the main disadvantages of painting kitchen cabinets?
The key kitchen cabinet painting cons include the risk of chipping and peeling over time, especially with poor surface preparation or low-quality paint. Brush marks can appear with DIY application. Painted finishes may require touch-ups every few years, and not all cabinet materials, particularly some laminate cabinets, accept paint adhesion well without special primers. The process is also time-consuming, leaving your kitchen partially out of commission during the project.
How long does a painted kitchen cabinet finish typically last?
A professionally applied painted cabinet finish can last anywhere from 8 to 15 years with proper care, depending on the quality of surface preparation, primer, and topcoat used. DIY results tend to have a shorter lifespan due to inconsistent sanding and application. Choosing a durable finish like semi-gloss or satin finish and performing routine cleaning and occasional touch-ups will significantly extend the life of your kitchen cabinet refinishing project.
Does painting kitchen cabinets add value to a home?
Yes, painting kitchen cabinets can meaningfully improve resale value by modernizing the kitchen's appearance at a low cost. Buyers respond positively to updated kitchens, and a fresh, neutral color palette on cabinets can make the entire space feel new. While it won't add value equivalent to a full kitchen renovation, cabinet painting is one of the highest-ROI home improvement projects you can undertake, particularly in mid-range homes where full custom cabinetry replacement isn't justified.
What is the best paint to use for kitchen cabinets?
For kitchen cabinet painting, alkyd-based or waterborne alkyd hybrid paints are widely considered the most durable options. They self-level well, minimizing brush marks, and cure to a hard, washable surface. A semi-gloss or satin finish is recommended for kitchen environments because both resist moisture and are easy to clean. Always use a bonding primer first to ensure proper paint adhesion, especially on MDF or laminate cabinets. Professional spray application delivers the smoothest, most consistent results.
How long does it take to paint kitchen cabinets professionally vs. DIY?
A professional team painting kitchen cabinets typically completes the job in 2 to 5 days, including removal of cabinet doors, drawer fronts, and hardware, thorough surface preparation, priming, and topcoat application. A DIY kitchen cabinet painting project often takes 1 to 3 weekends due to longer dry times between coats and less efficient application methods. Proper preparation, degreasing and sanding, accounts for a significant portion of the total time in both scenarios.
This article was written using GrandRanker