Table of Contents
- Why Proper Cabinet Prep Is the Most Important Step in Any Paint Job
- Essential Tools for Painting Cabinets: What You Need Before You Start
- How to Prepare Cabinets for Painting: Remove Doors, Hardware, and Drawers
- Degreasing Cabinets Before Painting: TSP, Degreasers, and Liquid Sandpaper
- How to Sand Kitchen Cabinets: Grit Sequence, Scuff Sanding, and Tack Cloth
- How to Prepare Cabinets for Painting: Choosing Primer, Paint, and Topcoat
- How Long Does Cabinet Prep Take? Dry Time, Curing Time, and Project Timeline
- Troubleshooting Common Paint Failures: Peeling, Brush Marks, and Poor Adhesion
- Conclusion: Get a Flawless Finish With the Right Prep Work
Last Updated: May 29, 2026
Skipping cabinet prep is the single fastest way to ruin a paint job that should last a decade. Knowing how to prepare cabinets for painting separates a finish that holds for years from one that chips within months. At Denver Cabinet Painting Colorado, we’ve spent 40 years watching DIY projects fail at exactly the same point: the prep work. Below, we’ll show you exactly how to clean, sand, prime, and paint your cabinets so the finish actually sticks. The steps are straightforward, but the sequence and the details matter more than most guides admit.
Here’s what most guides get wrong: they treat prep as a formality. It isn’t. Surface preparation is the entire job. The painting itself is almost anticlimactic if you’ve done the prep correctly.
Why Proper Cabinet Prep Is the Most Important Step in Any Paint Job
Cabinet paint failures almost always trace back to skipped prep steps, not bad paint. Adhesion is the core problem. Paint needs a clean, scuffed, properly primed surface to bond to. Without it, you’re essentially applying a coating that has no mechanical or chemical grip on the substrate beneath it.
The throughline of this entire guide is simple: every step in how to prepare cabinets for painting exists to solve an adhesion problem. Degreasing removes the oils that prevent bonding. Sanding creates surface profile. Primer bridges the gap between the substrate and the topcoat. Skip any of these, and you’re gambling with the finish.
A common mistake is assuming that cabinets that look clean are clean enough to paint. Kitchen cabinet surfaces accumulate years of cooking grease, silicone from cleaning sprays, and hand oils near hardware. These contaminants are nearly invisible but catastrophic for paint adhesion.
Never apply primer or paint over cabinets that haven’t been degreased first. Even a thin film of cooking grease will cause the finish coat to peel within weeks, regardless of how expensive the paint is.
Essential Tools for Painting Cabinets: What You Need Before You Start
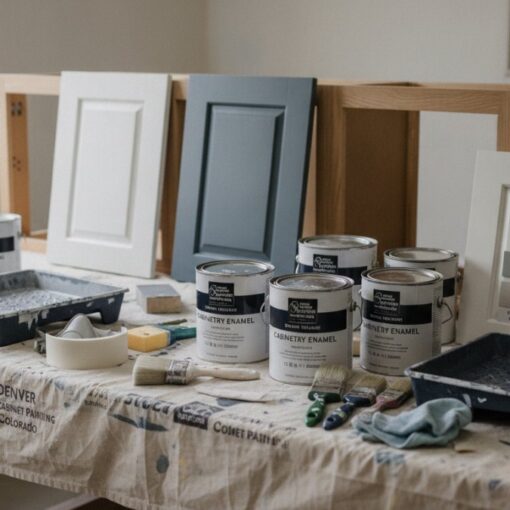
Gathering the right materials before you start saves you mid-project trips to the hardware store and prevents you from improvising with the wrong tools. Here’s what you need for a complete cabinet painting project:
Cleaning and prep:
- TSP (trisodium phosphate) cleaner or a dedicated cabinet degreaser
- Rubber gloves and safety glasses
- Tack cloth (multiple sheets)
- Liquid sandpaper or deglosser (for certain surfaces)
- Wood filler and grain filler for bare wood surfaces
Sanding:
- 100-grit sandpaper (for initial scuff sanding on painted surfaces)
- 150-grit sandpaper (for smoothing filler and between coats)
- 220-grit sandpaper (for final scuff sanding before topcoat)
- Sanding block or orbital sander
Application tools:
- Foam roller (4-inch for flat panel faces)
- Angled sash brush (2-inch for edges, rails, and stiles)
- HVLP sprayer (optional, for professional-level results)
Priming and painting:
- Bonding primer suited to your cabinet material
- Cabinet-grade paint (urethane enamel or alkyd recommended)
- Painter’s tape
- Drop cloths
Choosing Between a Foam Roller, Angled Sash Brush, and HVLP Sprayer
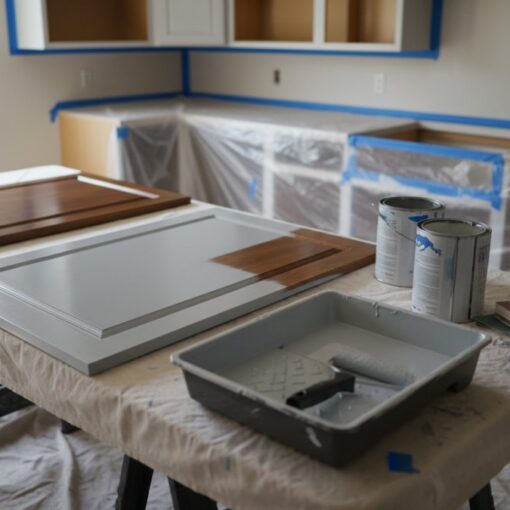
The right application tool depends on your skill level and the finish quality you’re targeting. A foam roller paired with an angled sash brush is the standard DIY approach: the roller lays down an even coat on flat panel faces, and the brush handles edges and detail areas. Brush marks and roller texture can remain visible unless you apply thin coats and allow proper leveling time.
An HVLP sprayer produces the smoothest finish and is closest to a factory result, but it demands practice, proper ventilation, and careful masking of surrounding areas. If you’ve never used a sprayer before, expect a learning curve on your first few passes.
For most kitchen renovation projects, the foam roller and brush combination delivers excellent results without the setup complexity of spraying.
How to Prepare Cabinets for Painting: Remove Doors, Hardware, and Drawers
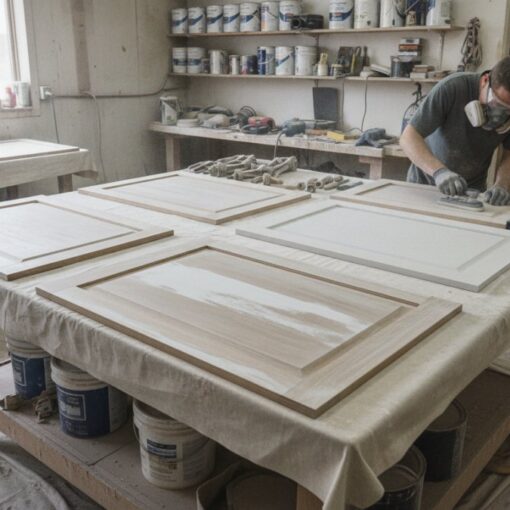
The first physical step in how to prepare cabinets for painting is full disassembly. Remove every cabinet door, drawer front, and drawer box. Take off all hinges, pulls, and knobs. Label each door with a piece of painter’s tape on the back so you know exactly where it came from during reassembly.

Work through this sequence:
- Remove all hardware (hinges, handles, knobs) and store fasteners in labeled bags
- Lift doors off hinges and lay them flat on sawhorses or a padded work surface
- Pull out all drawers and remove drawer fronts if they’re separate pieces
- Inspect each piece for damage, loose joints, or areas needing wood filler before painting
Painting cabinet doors while they’re still attached is one of the most common mistakes in DIY cabinet projects. You can’t properly coat the edges, you risk drips on adjacent surfaces, and you’ll struggle to reach all the detail areas cleanly.
Cabinet Material Identification: Wood, MDF, Laminate, and Thermofoil
Cabinet material identification is critical because different substrates require different prep approaches. Painting the wrong primer onto the wrong material is a recipe for peeling.
Solid wood and wood veneer: These are the most forgiving surfaces for painting. They accept bonding primer well and respond predictably to sanding. Fill any grain texture with grain filler if you want a smooth, furniture-grade finish.
MDF (medium-density fiberboard): MDF is dense and smooth but extremely porous on the edges. Edge grain soaks up primer aggressively. Apply an extra coat of primer to MDF edges and allow full drying before sanding. Never use water-based products excessively on MDF edges, as moisture can cause swelling.
Laminate: High-pressure laminate requires a bonding primer specifically formulated for slick surfaces. Standard primers won’t adhere without it. Scuff sand lightly with 220-grit before priming to give the surface some mechanical profile.
Thermofoil: Thermofoil is a vinyl film over MDF. It’s the trickiest surface to paint because the vinyl can delaminate, especially near heat sources. If the thermofoil is peeling at edges, address that before painting. Use a bonding primer rated for vinyl surfaces.
Degreasing Cabinets Before Painting: TSP, Degreasers, and Liquid Sandpaper
Degreasing cabinets before painting is non-negotiable. This step removes the cooking grease, hand oils, and cleaning product residue that accumulate on cabinet surfaces over years of use. According to The Spruce’s guide to cabinet cleaning and prep, skipping the degreasing step is the leading cause of premature paint failure on kitchen cabinets.
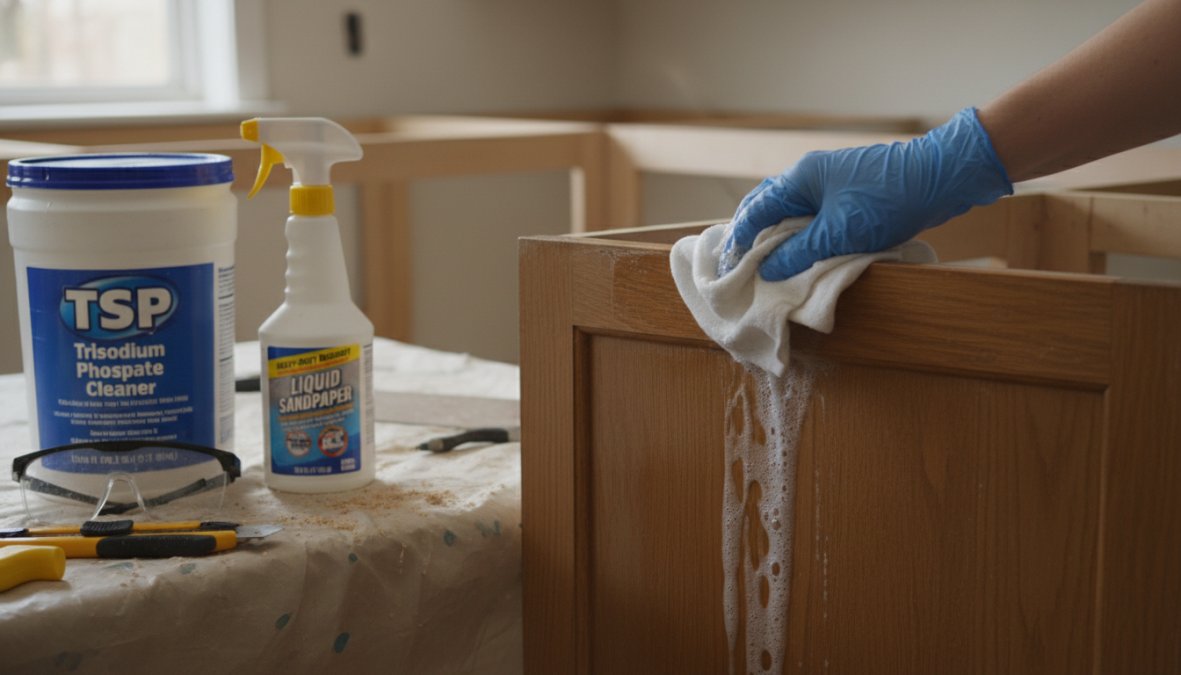
Your main options for degreasing:
TSP (trisodium phosphate): TSP is a heavy-duty cleaner that cuts through grease effectively. Mix it with warm water according to package directions, apply with a sponge, scrub thoroughly, and rinse with clean water. Wear rubber gloves and eye protection. TSP is a strong chemical and requires proper ventilation.
Dedicated cabinet degreasers: Products like Krud Kutter or similar formulations work well and are easier to handle than TSP. Apply, scrub, and wipe clean.
Liquid sandpaper (deglosser): Liquid sandpaper is a chemical deglosser that dulls the existing finish surface without mechanical sanding. It’s useful on surfaces where sanding is difficult, but it doesn’t replace actual sanding for best adhesion results.
After degreasing, rinse thoroughly and allow surfaces to dry completely before moving to sanding. Any cleaning product residue left on the surface can interfere with primer adhesion.
Environmental Safety and Ventilation During Cleaning and Painting
Environmental safety is an angle most cabinet painting guides skip entirely. TSP, oil-based primers, alkyd paints, and chemical degreasers all release fumes that require proper ventilation. Open windows and doors in the work area. Use box fans to create cross-ventilation, moving air from the work area to the outside.
Wear a respirator rated for organic vapors when working with oil-based products, not just a dust mask. Dust masks filter particles but do nothing for chemical fumes. As noted by the Environmental Protection Agency’s guide to indoor air quality, VOC-emitting products used in enclosed spaces can reach harmful concentration levels quickly without adequate airflow.
Dispose of rags soaked in oil-based products carefully. Linseed oil-based products can spontaneously combust when piled in a confined space. Spread used rags flat outside to dry before disposal.
If you’re painting in a garage with an attached house, keep the interior door closed and seal the gap at the bottom. Paint fumes migrate easily and can accumulate in living spaces.
How to Sand Kitchen Cabinets: Grit Sequence, Scuff Sanding, and Tack Cloth
Sanding kitchen cabinets properly requires working through a grit sequence, not just grabbing whatever sandpaper is nearby. The goal of sanding in cabinet prep is twofold: create surface profile for adhesion, and smooth out any imperfections before primer goes on. But the right sequence, the right tool, and the right pressure all change depending on what your cabinets are made of, a detail almost every guide ignores.
Why Grit Numbers Actually Matter
Sandpaper grit refers to the number of abrasive particles per square inch. Lower numbers (60, 80, 100) have fewer, larger particles that cut aggressively and leave deep scratches. Higher numbers (150, 180, 220) have more, smaller particles that refine the surface. The reason you work through a sequence, rather than jumping straight to 220, is that each grit removes the scratch pattern left by the previous, coarser grit. Skipping grits means the fine paper spends most of its energy trying to erase deep scratches it isn’t designed to remove, and you end up with an inconsistent surface that shows through the finish.
Grit Sequence by Cabinet Condition
Previously painted cabinets in good condition (no peeling, no thick buildup):
- 120-grit to break the gloss and create mechanical profile, you are not stripping the old paint, just dulling it
- 150-grit to smooth the scratches left by 120
- 220-grit between primer coats to knock down any raised grain or dust nibs before the finish coat
Previously painted cabinets with heavy buildup, drips, or rough texture:
- 80-grit to level the surface and remove buildup
- 120-grit to smooth the 80-grit scratches
- 150-grit before priming
- 220-grit between coats
Bare solid wood (stripped or new):
- 120-grit with the grain to smooth the surface
- 150-grit to refine
- 220-grit before priming, this is the final surface the primer bonds to, so it matters
MDF (medium-density fiberboard):
MDF faces sand similarly to bare wood, but the edges are a different story. MDF edge grain is essentially compressed wood fiber with no directional structure. Sanding MDF edges with anything coarser than 150-grit can raise and fuzz the fiber, creating a rough texture that soaks up primer unevenly. Sand MDF edges lightly with 150-grit only, then seal immediately with shellac-based primer or oil-based primer before the edge grain absorbs moisture from water-based products and swells.
Laminate:
Laminate should only be scuff-sanded, never aggressively sanded. The goal is to scratch the surface enough for bonding primer to grip, not to sand through the laminate layer. Use 220-grit by hand only. An orbital sander on laminate can cut through the thin surface layer in seconds, exposing the substrate beneath and creating an irreparable problem. Sand in small circular motions and check your progress frequently.
Thermofoil:
Do not sand thermofoil. The vinyl film is thin and will tear or delaminate under abrasive pressure. Instead, clean thoroughly, apply a bonding primer rated for vinyl surfaces, and rely entirely on chemical adhesion rather than mechanical profile.
Hand Sanding vs. Orbital Sander: When to Use Each
An orbital sander speeds up the work on large flat panel faces and is appropriate for solid wood and previously painted wood surfaces. Use a random-orbit sander (not a straight-line orbital) to avoid leaving circular scratch patterns that show through the finish. Keep the sander moving at all times, holding it stationary for even two or three seconds creates a visible depression.
Hand sanding with a sanding block is mandatory for:
- Rails and stiles (the frame members around raised-panel doors)
- Any routed or profiled edges
- MDF edges
- Laminate surfaces
- Between primer coats on any surface
A sanding block keeps pressure even across a flat surface. Sanding with bare fingers concentrates pressure at your fingertips and creates subtle waves in the surface that become visible under a gloss or semi-gloss finish. Foam sanding blocks work well for flat surfaces; flexible foam pads conform to curved profiles.
The Most Common Sanding Mistakes
Sanding across the grain on solid wood. Cross-grain scratches catch light differently than the wood grain and show through even multiple coats of paint. Always sand parallel to the grain on solid wood surfaces.
Skipping the tack cloth step. After every sanding stage, remove all dust with a tack cloth before moving to the next step. Dust left on the surface gets trapped under primer and creates a gritty texture that telegraphs through every subsequent coat. Wipe every surface with a fresh tack cloth, fold it to a clean face, and wipe again. A vacuum with a brush attachment before the tack cloth removes the bulk of the dust and extends how long your tack cloth stays effective.
Over-sanding between coats. Between primer coats, you are only knocking down dust nibs and raised grain, not re-profiling the surface. 220-grit with light hand pressure is sufficient. Pressing hard or using a coarser grit between coats can cut through the primer film and create bare spots that require another full primer coat.
Sanding too aggressively near edges. Edges and corners are where paint builds up and where it’s also easiest to sand through to bare substrate. Use lighter pressure near edges and check frequently.
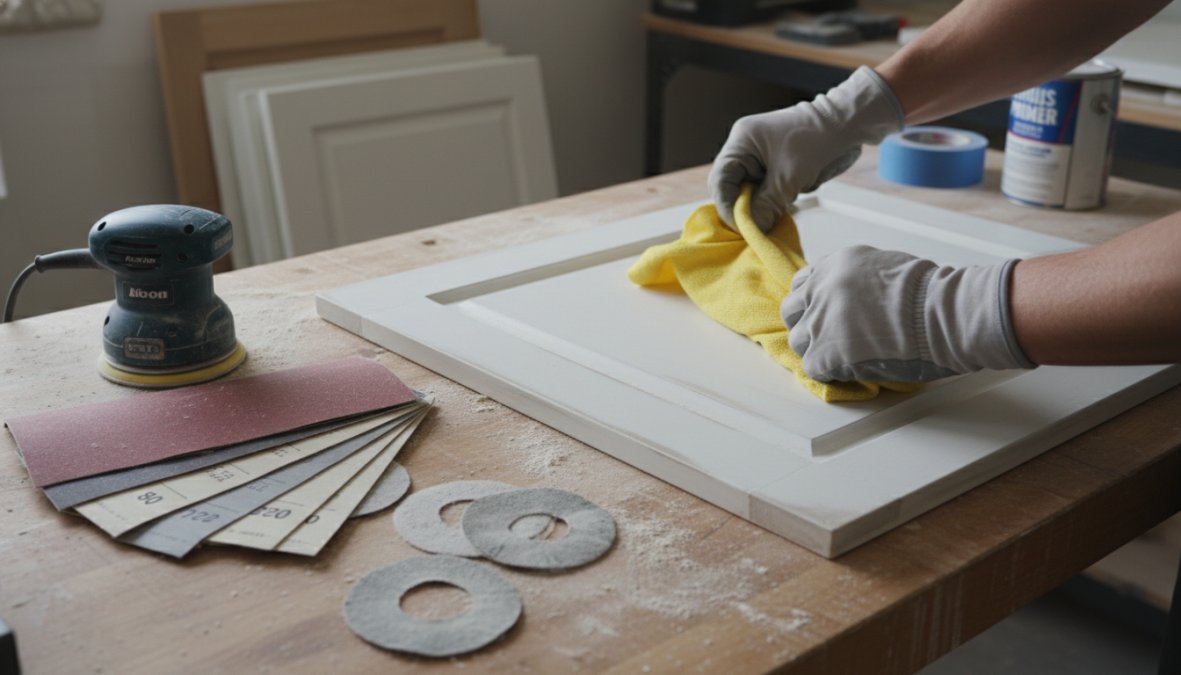
Tack cloth is the cheapest material in your toolkit and one of the most important. A single missed dust particle under primer creates a bump that telegraphs through every subsequent coat. Vacuum first, then tack cloth, in that order, every time.
Never use a tack cloth over fresh primer that hasn’t fully dried. The adhesive in the cloth can pull up partially cured primer and leave residue on the surface. Wait until the primer is fully dry to the touch, not just dry-feeling, before tacking.
How to Prepare Cabinets for Painting: Choosing Primer, Paint, and Topcoat
Choosing primer, paint, and topcoat is where many DIYers make expensive mistakes. The products need to be compatible with each other and appropriate for the cabinet material. This is also the stage where understanding how to prepare cabinets for painting correctly pays off: all the cleaning and sanding in the world won’t save a finish if the primer doesn’t bond to the substrate.
Primer selection by surface:
| Surface Type | Recommended Primer | Notes |
|---|---|---|
| Solid wood | Water-based bonding primer | Sand between coats |
| MDF | Oil-based primer or shellac | Extra coat on edges |
| Laminate | Bonding primer for slick surfaces | Scuff sand first |
| Thermofoil | Vinyl-rated bonding primer | Check for delamination first |
| Previously painted | Water or oil-based bonding primer | Degrease thoroughly first |
Apply primer in thin, even coats. Two thin coats outperform one thick coat every time. Thick primer coats sag, take longer to dry, and sand poorly.
Oil-Based vs Water-Based: Alkyd, Latex, and Urethane Enamel Options
The oil-based vs water-based debate in cabinet painting has a clear practical answer: for durability, oil-based alkyd paints and water-based urethane enamels outperform standard latex paint significantly on cabinet surfaces.
Latex paint is easy to work with and dries quickly, but it remains slightly flexible when cured. On high-use cabinet doors and drawer fronts, this flexibility means it scuffs and dents more easily than harder finishes.
Alkyd (oil-based) paint dries to a harder, more durable finish and levels exceptionally well, minimizing brush marks. The trade-offs are longer dry times, stronger fumes, and cleanup requiring mineral spirits.
Urethane enamel is the current industry preference for cabinet painting. Water-based urethane enamel combines the durability of oil-based products with the easier cleanup and lower VOC profile of water-based formulations. Brands like Benjamin Moore Advance and Sherwin-Williams Emerald Urethane Trim Enamel are widely used by professionals for exactly this reason. As documented in Fine Homebuilding’s guide to cabinet painting products, urethane enamels have largely replaced traditional alkyds in professional cabinet refinishing work.
Apply the finish coat in thin, even passes. Two coats minimum, three for high-traffic kitchens.
How Long Does Cabinet Prep Take? Dry Time, Curing Time, and Project Timeline
Cabinet prep takes longer than most people expect, and rushing the timeline is the most common cause of project failure. Here’s a realistic breakdown:
Disassembly and cleaning: 2 to 4 hours for an average kitchen
Degreasing and drying: 1 to 2 hours of active work, then allow surfaces to dry fully (minimum 1 hour, longer in humid conditions)
Sanding and dust removal: 2 to 4 hours depending on kitchen size and surface condition
Priming: 1 to 2 hours of application, then dry time. Water-based primers are typically dry to touch in 1 hour and ready to sand in 2 to 4 hours. Oil-based primers need 4 to 8 hours before sanding.
Finish coats: Two coats with appropriate dry time between each. Most cabinet paints require 4 to 8 hours between coats.
Curing time is the part that surprises people most. Dry time and curing time are different things. A cabinet door may be dry to the touch in a few hours, but full cure, the point at which the paint reaches its maximum hardness and durability, takes 2 to 4 weeks for most urethane enamels. During the curing period, treat the surfaces gently. Avoid stacking doors, hanging items on knobs, or scrubbing the finish.
Total realistic project timeline for a full kitchen: 3 to 5 days of active work spread across 7 to 10 days to allow adequate dry and cure time between stages.
Troubleshooting Common Paint Failures: Peeling, Brush Marks, and Poor Adhesion
Paint failures on cabinets fall into predictable patterns, and most trace back to the prep stage rather than the application stage. The challenge is that by the time a failure becomes visible, sometimes weeks or months after the project is complete, the root cause is buried under multiple coats of paint. Knowing how to diagnose the failure correctly determines whether you can spot-repair or whether you’re stripping back to bare substrate and starting over.
Failure 1: Peeling or Flaking Finish
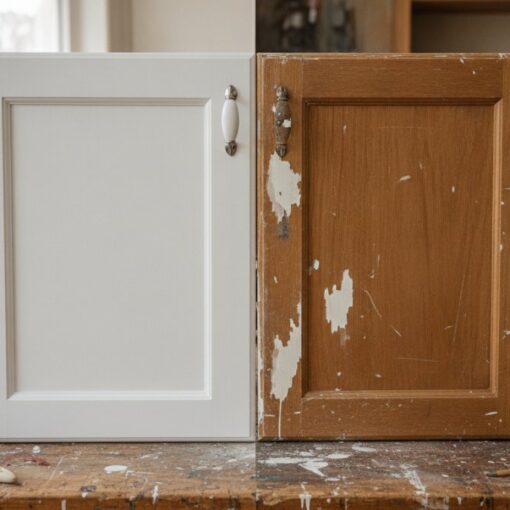
What it looks like: Paint lifts away from the surface in sheets or chips, often starting at edges, corners, or near hardware mounting points. The peeling may reveal a clean substrate beneath, or it may peel in layers (topcoat separating from primer, or primer separating from substrate).
Diagnosing the cause:
- Topcoat peeling from primer, primer still bonded to substrate: The topcoat and primer are incompatible, or the primer wasn’t scuff-sanded between coats. Oil-based primer with a water-based topcoat applied too soon is a common version of this failure.
- Primer and topcoat peeling together from the substrate: The substrate wasn’t degreased adequately, or the wrong primer was used for the surface type. This is the most common failure pattern on kitchen cabinets because cooking grease is nearly invisible but completely prevents mechanical and chemical bonding.
- Peeling concentrated near edges and corners: Insufficient primer coverage on edges, or the primer was sanded through at edges during between-coat sanding.
Remediation: There is no cosmetic fix for peeling that has compromised adhesion to the substrate. Painting over peeling paint traps the failure and guarantees it spreads. Strip the affected area back to bare substrate using a chemical stripper or heat gun, degrease thoroughly, confirm the correct primer for the substrate, and rebuild from scratch. Spot repairs are only viable if the peeling is isolated to a small area and the surrounding paint passes a tape adhesion test: press a strip of painter’s tape firmly over the painted surface, then pull it off sharply. If paint comes with it, the adhesion is compromised beyond the visible peel zone.
Failure 2: Brush Marks and Roller Texture in the Finish
What it looks like: Visible ridges, lines, or stippled texture in the cured finish that weren’t there when the paint was wet. The paint appeared to lay down smoothly during application but dried with texture.
The mechanism: Paint self-levels, meaning it flows out and flattens, during the window between application and the point where viscosity increases enough to lock the surface in place. If that window is too short (because the paint is drying too fast due to heat, low humidity, or a fast-drying formulation), the brush marks or roller stipple freeze in place before the paint can flow out. If the coat is too thick, the surface skins over while the paint beneath is still wet, trapping the texture.
Diagnosing the cause:
- Brush marks only on edges and detail areas, smooth on flat faces: Brush technique or paint viscosity issue. The brush is likely overloaded, or the paint is being worked too long after application.
- Roller texture on flat panel faces: Foam roller nap is too thick, or the paint is drying too fast. A 1/4-inch nap foam roller leaves less texture than a 3/8-inch nap.
- Texture across all surfaces uniformly: Environmental conditions, temperature above 80°F or humidity below 40%, are shortening the leveling window. Move the work to a cooler, more humid environment or paint during cooler parts of the day.
Remediation: If the finish has cured, sand the affected surface with 220-grit to knock down the texture, tack thoroughly, and apply a fresh coat under better conditions. Urethane enamels (Benjamin Moore Advance, Sherwin-Williams Emerald Urethane Trim Enamel) have longer open times and better self-leveling than standard latex, which is why professionals prefer them for cabinet work. If you’re using a brush, load it lightly and apply paint in long, single strokes, don’t go back over an area the brush has already passed once the paint starts to tack.
Failure 3: Fish-Eye (Cratering)
What it looks like: Small circular craters or dimples in the wet paint that don’t fill in as the paint dries. The finish looks like the surface of an orange peel or has small volcano-like craters scattered across it.
The mechanism: Fish-eye is caused by surface contamination, most commonly silicone from furniture polish, cleaning sprays, or hand lotion, that repels the water or oil in the paint. The paint flows away from the contamination point, creating a crater. Even a microscopic amount of silicone contamination can cause fish-eye across a large area because silicone spreads easily when you wipe a surface.
Diagnosing the cause: If fish-eye appears in the primer coat, the contamination is on the substrate surface. If it appears only in the topcoat, the contamination may have been introduced by the primer coat itself (some primers contain silicone additives) or by handling the primed surface with bare hands before painting.
Remediation: Stop painting immediately. Adding more paint over fish-eye spreads the contamination. Allow the coat to dry fully, then wipe the entire surface with a clean cloth dampened with mineral spirits (for oil-based products) or isopropyl alcohol (for water-based products) to remove the silicone. Sand lightly with 220-grit, tack thoroughly, and repaint. Going forward, avoid any cleaning products containing silicone in the work area, and handle primed surfaces only with clean gloves.
Failure 4: Bleed-Through and Staining
What it looks like: Yellow, brown, or rust-colored staining that appears through the primer or finish coat, often in patches or following the wood grain pattern.
The mechanism: Certain wood species, particularly oak, cherry, walnut, and mahogany, contain water-soluble tannins that migrate into water-based primers and discolor them. The staining is not a surface issue; the tannins are being drawn out of the wood by the water in the primer and depositing at the surface as the water evaporates.
Remediation: If you see staining coming through a water-based primer coat, do not apply another coat of water-based primer over it. Each additional water-based coat adds more water to the substrate and draws out more tannins. Instead, apply a coat of shellac-based primer (Zinsser BIN is the most widely available option) over the stained area. Shellac seals tannins effectively and is compatible with both water-based and oil-based topcoats. Allow the shellac to dry fully (typically 45 minutes), sand lightly with 220-grit, tack, and continue with your regular primer and topcoat.
If you see yellowing or staining coming through your primer coat, stop and apply a shellac-based sealer before adding more coats. Painting over bleed-through only buries the problem temporarily, the staining will eventually work its way through additional coats.
Failure 5: Poor Adhesion on MDF Edges
What it looks like: Paint or primer that chips, flakes, or peels specifically at MDF edges while the flat faces remain intact. The edge may also appear rough or porous even after multiple coats.
The mechanism: MDF edge grain is a cross-section of compressed wood fiber with no surface film. It is extremely porous and absorbs liquid primer at a much higher rate than the flat face. A standard primer coat applied to MDF edges soaks in almost entirely without building a surface film, leaving the edge unprotected and the subsequent coats with nothing to bond to.
Remediation: Apply a dedicated sealer coat to MDF edges before the main primer. Shellac-based primer (Zinsser BIN) or a straight oil-based primer applied specifically to the edges, allowed to dry fully and sanded lightly, seals the porous fiber and creates a base that subsequent coats can build on. Some practitioners apply a thin coat of wood glue diluted with water (roughly 10:1 glue to water) to MDF edges as a first sealer, allow it to dry completely, sand with 150-grit, and then prime normally. This is a lower-cost approach that works well when shellac primer isn’t available.
Quick Diagnostic Reference
| Symptom | Most Likely Cause | First Diagnostic Step |
|---|---|---|
| Peeling in sheets | Inadequate degreasing or wrong primer | Tape adhesion test on surrounding area |
| Brush marks in cured finish | Paint dried too fast or applied too thick | Check application temperature and coat thickness |
| Fish-eye craters | Silicone contamination on surface | Wipe with mineral spirits, check for spreading |
| Yellow/brown staining through primer | Tannin bleed from wood species | Apply shellac sealer, do not add more water-based coats |
| Rough, porous MDF edges | Edge grain not sealed before priming | Seal edges with shellac or oil-based primer before repriming |
| Peeling only at edges and corners | Primer sanded through at edges | Spot prime bare areas, feather edges before recoating |
Before committing to a full repaint after a failure, always do a tape adhesion test across multiple areas of the cabinet to understand how far the adhesion failure has spread. Visible peeling is almost always smaller than the actual adhesion failure zone beneath it.
Conclusion: Get a Flawless Finish With the Right Prep Work
Cabinet painting projects fail or succeed based almost entirely on what happens before the first drop of paint goes on. Proper surface preparation, including degreasing, sanding, priming, and material identification, is what separates a finish that looks professional for years from one that chips and peels within a season.
Cabinet prep done correctly is time-consuming, technically demanding, and unforgiving of shortcuts. If you’d rather have it done right the first time, Denver Cabinet Painting Colorado brings 40 years of experience to every project, with a proven process built around meticulous preparation and professional application. Their team handles cabinet painting, refinishing, and glazing for both residential and commercial clients across the Denver metro area. Get a free quote from Denver Cabinet Painting Colorado and see what a properly prepared, professionally finished cabinet looks like in your kitchen.
Frequently Asked Questions
Do I need to sand cabinets before painting?
Yes, sanding is a critical step when learning how to prepare cabinets for painting. Scuff sanding with 120- to 150-grit sandpaper breaks down the existing finish and improves adhesion so primer and paint bond properly. Skipping this step is one of the most common reasons paint peels or chips within months. Always finish with a tack cloth to remove all dust before applying primer.
What is the best degreaser for kitchen cabinets before painting?
TSP (trisodium phosphate) is widely considered one of the most effective options for degreasing cabinets before painting because it cuts through years of grease, cooking oils, and grime. TSP substitutes and dedicated cabinet degreasers are also effective and easier to handle safely. Liquid sandpaper or deglosser can serve a dual purpose, cleaning and lightly etching the surface, though they work best on less heavily soiled cabinets.
Can I paint cabinets without priming?
Priming is strongly recommended and should not be skipped. A bonding primer creates the adhesion layer that holds your topcoat to the cabinet surface, especially on slick or previously painted finishes. Without primer, paint is far more likely to peel, chip, or show uneven coverage. On porous wood or MDF, primer also seals the grain and prevents bleed-through. Skipping primer almost always leads to a paint failure that requires complete stripping and repainting.
How long does it take to prep cabinets for painting?
Cabinet prep time varies by kitchen size and cabinet condition, but most DIY projects take one to three full days before any paint is applied. Removing doors and hardware, degreasing, sanding, filling imperfections with wood filler, and applying primer all require adequate dry time between stages. Rushing these steps, especially curing time between coats, is the leading cause of finish failures. Professional crews with proper tools and ventilation can often complete prep faster.
Do I need to remove cabinet doors to paint them?
Removing cabinet doors and drawer fronts is highly recommended for a smooth, consistent finish. Painting doors flat on a work surface minimizes drips, brush marks, and uneven coverage. It also gives you full access to cabinet frames and allows hinges and hardware to be removed cleanly. While it adds time to the project, removing doors is one of the prep steps that most separates a professional-quality result from a DIY paint job that looks rushed.
This article was written using GrandRanker