Table of Contents
- Why Cleaning Painted Cabinets Requires a Gentle Touch
- Tools and Supplies You Need Before You Start
- How to Clean Painted Cabinets: A Step-by-Step Routine
- What Is the Best Cleaner for Painted Cabinets?
- How to Remove Grease from Kitchen Cabinets
- How to Clean Sticky Kitchen Cabinets Near the Stove
- Paint Finish Considerations, Hardware Care, and Stain Troubleshooting
- Drying, Moisture Prevention, and a Maintenance Schedule
Last Updated: June 4, 2026
Painted kitchen cabinets look sharp right up until you reach for the wrong cleaner. Knowing how to clean painted cabinets correctly is the difference between a finish that lasts a decade and one that chalks, peels, or scratches within a year. This guide from Denver Cabinet Painting Colorado covers every step, from daily wipe-downs to tackling stubborn grease, with a clear list of what to use and what to avoid.
Here’s what most guides get wrong: they treat all painted cabinets as identical. A matte finish behaves completely differently under a damp cloth than a semi-gloss, and the cleaner that works on one can dull or streak the other. That distinction drives every recommendation here.
Why Cleaning Painted Cabinets Requires a Gentle Touch
Painted surfaces are more vulnerable than most homeowners expect. The topcoat acts as a protective barrier, but it’s thinner than it looks. Abrasive cleaners, solvent-based products, and vigorous scrubbing can cut through it and expose the wood beneath.
According to the Kitchen Cabinet Manufacturers Association’s care guidelines, KCMA-rated paint finishes are tested for durability but still require gentle cleaning to maintain integrity. Once the topcoat is compromised, moisture damage accelerates, wood absorbs and releases humidity, causing swelling and shrinking that warps cabinet doors.
There’s also the curing time factor. Freshly painted cabinets take two to four weeks to fully cure even after they’re dry to the touch. Cleaning them aggressively during that window can leave permanent marks. Treat your painted cabinets the way you’d treat a car’s clear coat: gentle, consistent care preserves the finish far longer than periodic aggressive scrubbing.
Tools and Supplies You Need Before You Start
Getting the right supplies together before you start prevents the accidental reach for something harmful.
Safe Cleaning Supplies for Painted Surfaces
The safest toolkit is deliberately simple:
- Microfiber towels (two or three, so you always have a dry one ready)
- Soft cloth or lint-free cotton rags
- Mild dish soap (a few drops, not a squeeze)
- Warm water in a small bowl or spray bottle
- Distilled vinegar diluted 1:1 with water for light grease
- A gentle degreaser labeled safe for painted surfaces
- Cotton swabs for hardware crevices
Microfiber towels lift residue without scratching. Standard sponges with a scrubby side are a common mistake, even the soft side can be rougher than it appears on a matte finish.
Keep a dedicated microfiber cloth near the stove for cabinet wipe-downs after cooking. Catching splatters immediately prevents them from bonding to the surface and requiring a deeper clean later.
What to Avoid: Abrasive Cleaners and Harsh Solvents
Avoid these entirely on painted cabinets:
- Abrasive cleaners (powdered cleansers, scrubbing pastes)
- Solvent-based cleaners (acetone, paint thinner, mineral spirits)
- Magic eraser products on matte or flat finishes (they work by micro-abrasion and will dull the surface)
- Bleach-based sprays
- Steel wool or scrubbing pads of any kind
- Undiluted vinegar (the acidity can etch softer paint finishes over time)
The Magic Eraser issue is worth emphasizing. On semi-gloss or gloss cabinets, limited use in a hidden spot may be tolerable. On matte or satin finishes, they create visible sheen variations that cannot be reversed without repainting.
How to Clean Painted Cabinets: A Step-by-Step Routine
Cleaning painted kitchen cabinets correctly comes down to a consistent routine, not a single deep-clean session. Two levels cover almost every situation: a quick daily method and a periodic deep clean.
Daily Wipe-Down Method
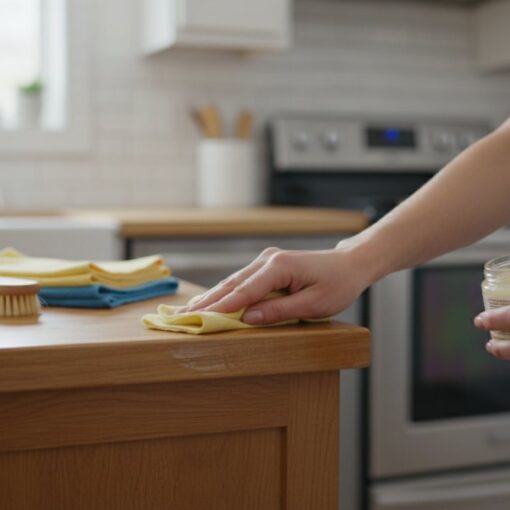
A daily or after-cooking wipe-down prevents the buildup that makes deep cleaning necessary. This takes under two minutes.
- Dampen a microfiber towel with warm water. Wring it out until barely damp, not wet.
- Add one small drop of mild dish soap to the cloth, not directly to the cabinet surface.
- Wipe cabinet doors and drawer fronts in the direction of the wood grain using light, even pressure.
- Follow immediately with a dry soft cloth to remove any remaining moisture.
- Pay extra attention to edges and areas around handles, where oils accumulate fastest.
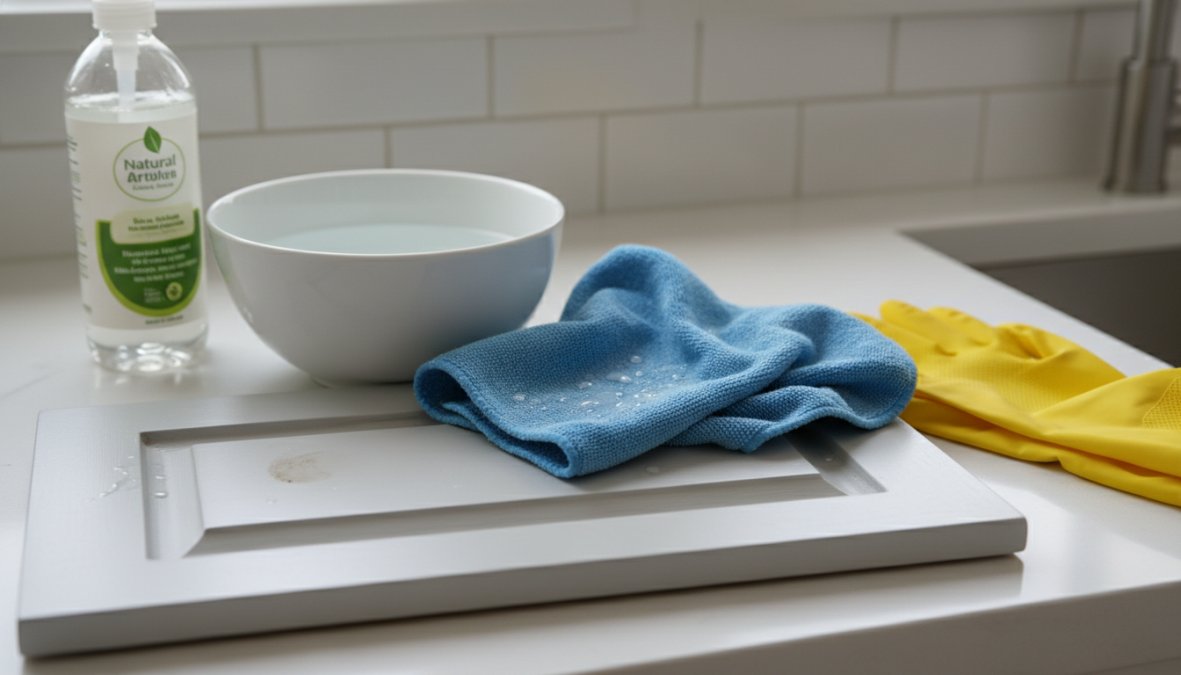
The key principle: damp, not wet. Standing moisture on painted wood is one of the fastest routes to moisture damage and cabinet warping.
Deep Cleaning Methods for Built-Up Grime
Deep cleaning is appropriate every one to three months depending on kitchen use.
- Mix warm water and a few drops of mild dish soap in a bowl.
- Dampen a microfiber towel in the solution and wring thoroughly.
- Work one cabinet door at a time, wiping in the direction of the wood grain.
- For stubborn spots, let the damp cloth rest on the area for 30 seconds to loosen residue before wiping.
- Rinse the cloth in clean water, wring again, and wipe a second time to remove soap residue.
- Dry immediately with a clean, dry microfiber towel.
- Leave cabinet doors open for 10 to 15 minutes to allow remaining moisture to evaporate.
Never let soapy water sit on painted cabinets. Soap residue left to dry creates a film that attracts more grime and dulls the finish over repeated cleanings. Always rinse and dry in the same session.
What Is the Best Cleaner for Painted Cabinets?
The best cleaner for painted cabinets is warm water with a small amount of mild dish soap. It’s effective on everyday grime, gentle enough for all finishes including matte and satin, and poses no risk to the topcoat. For heavier grease, a diluted distilled vinegar solution (equal parts vinegar and water) handles light to moderate buildup. For serious grease near the stove, step up to a purpose-made degreaser labeled safe for painted surfaces.

Eco-Friendly and Non-Toxic Cleaning Solutions
Painted cabinets are well-suited to non-toxic cleaning. The most effective options:
- Distilled vinegar and water (1:1): Cuts through light grease and leaves no chemical residue.
- Castile soap diluted in warm water: Plant-based, biodegradable, and effective on general grime without risk to the paint finish.
- Baking soda paste (baking soda and water): Use sparingly on very stubborn spots, applied with a fingertip and rinsed immediately. Mildly abrasive, limit to semi-gloss or gloss finishes only.
As documented in the EPA’s Safer Choice program guidelines, plant-based surfactants like those in castile soap are effective degreasers that pose no risk to finished surfaces when used as directed. Eco-friendly cleaners work best applied early, waiting until grease has polymerized makes even commercial degreasers struggle. Prevention is the real eco-friendly strategy.
How to Remove Grease from Kitchen Cabinets
Grease buildup is the most common and damaging cleaning challenge. Cabinets above and beside the stove accumulate grease mist with every cooking session, and over time that layer hardens into a sticky film ordinary wiping won’t touch.
The most reliable approach uses a two-step method:
- Apply a diluted degreaser (or 1:1 distilled vinegar and warm water for lighter buildup) to a soft cloth.
- Press the cloth against the greasy area and hold for 30 to 60 seconds, this is the step most people skip. Dwell time breaks down the grease rather than just pushing it around.
- Wipe in the direction of the wood grain with light pressure.
- Repeat with a clean section of cloth if needed.
- Follow with a damp cloth rinse, then dry immediately.
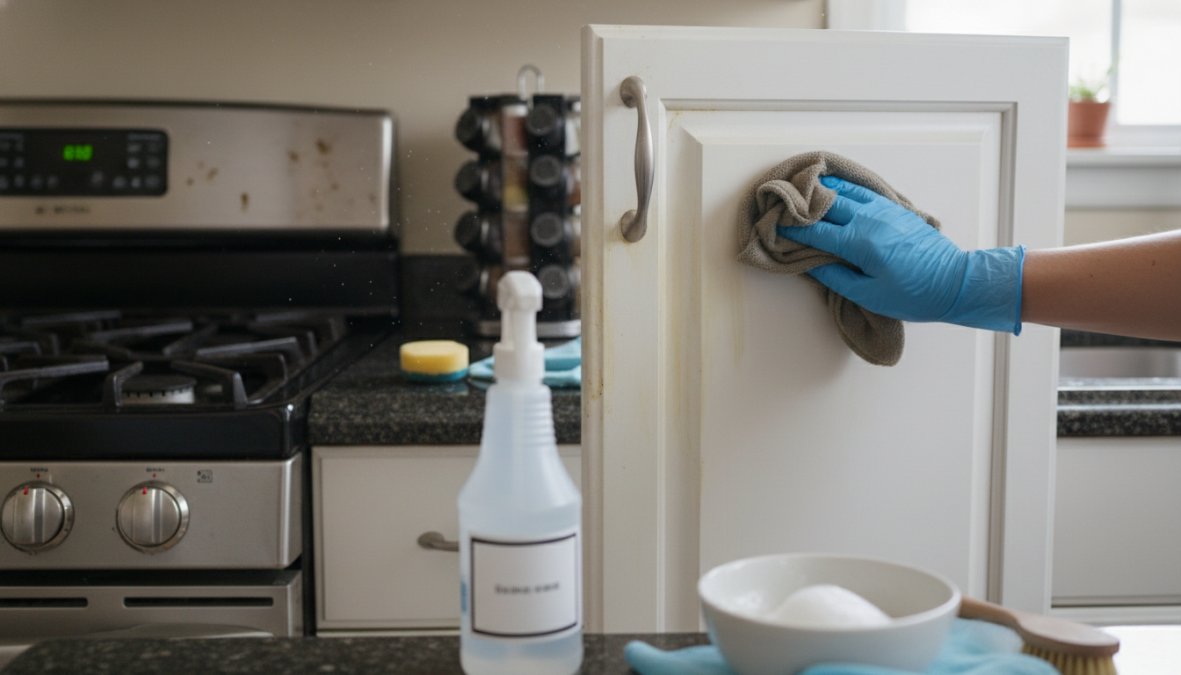
For severe buildup, a purpose-made kitchen degreaser safe for painted surfaces is appropriate. Apply the same way: dwell time first, then gentle wiping. Never scrub.
The single most effective grease-prevention strategy is running the range hood fan during every cooking session. Capturing grease-laden air before it settles on cabinet surfaces reduces cleaning frequency significantly.
How to Clean Sticky Kitchen Cabinets Near the Stove
Stickiness usually means grease has partially polymerized, a tacky layer that traps dust and feels grimy even right after wiping. Start with a warm water and dish soap solution on a microfiber towel. The warmth softens the residue. Press and hold against the sticky area for 45 to 60 seconds before wiping.
If that doesn’t resolve it, step up to a diluted degreaser applied to the cloth (not directly to the cabinet), press and hold, then wipe with the wood grain. Rinse with a clean damp cloth and dry immediately.
A common mistake is using more pressure when stickiness persists. Pressure doesn’t dissolve grease, dwell time and the right cleaner do. Increased scrubbing pressure is one of the fastest ways to create surface scratches requiring a touch-up kit. For cabinets neglected for an extended period, Denver Cabinet Painting Colorado recommends a professional assessment before attempting aggressive DIY cleaning, as some buildup is severe enough that cleaning attempts risk damaging the finish more than the grime itself.
Paint Finish Considerations, Hardware Care, and Stain Troubleshooting
The most overlooked variable in cabinet cleaning is paint finish type. A method that works perfectly on one finish can visibly damage another.
Cleaning by Paint Finish Type: Matte, Satin, and Semi-Gloss
| Finish Type | Best Cleaner | Magic Eraser Safe? | Vinegar Safe? | Scrubbing Risk |
|---|---|---|---|---|
| Matte/Flat | Warm water + dish soap only | No | Diluted only, test first | Very High |
| Satin | Warm water + dish soap; diluted degreaser for grease | No | Diluted, limited use | Moderate |
| Semi-Gloss | Warm water + dish soap; gentle degreaser | Limited, test hidden spot | Yes, diluted | Low |
| High-Gloss | Warm water + dish soap; streak-free rinse critical | Not recommended | Yes, diluted | Low |
Matte finishes require the most care, any surface scratch or dull spot is permanent without repainting. Semi-gloss and high-gloss finishes are the most durable and easiest to clean, which is why they’re popular in kitchens with heavy cooking activity.
Cleaning Cabinet Hardware Without Damaging the Finish
Hardware accumulates oils faster than the cabinet surface and requires a targeted approach to avoid letting cleaning solutions run onto the surrounding paint.
- Dip a cotton swab or soft cloth in warm soapy water.
- Clean around and behind the hardware without saturating the area.
- Use a dry cotton swab to reach into crevices.
- Dry immediately with a soft cloth.
For brushed or matte metal hardware, avoid acidic cleaners including vinegar. For polished chrome or nickel, a damp microfiber cloth is usually sufficient. Never use abrasive cleaners on hardware, they scratch metal finishes and deposit grit that then scratches the surrounding cabinet paint. According to the National Kitchen and Bath Association’s maintenance recommendations, hardware should be cleaned separately using product-specific guidance based on metal type.
Troubleshooting Specific Stains: Coffee, Grease, and Marker
Coffee and tea stains: Tannin-based stains respond well to a baking soda and water paste applied gently on semi-gloss surfaces. On matte finishes, use a diluted dish soap solution with extended dwell time instead.
Grease splatters: Blot (don’t wipe) excess while still liquid with a dry cloth, then follow with the warm soapy water method. Dried grease requires the degreaser dwell-time approach described above.
Marker or pen: On semi-gloss finishes, a small amount of rubbing alcohol on a cotton swab applied directly to the mark can lift it, test in a hidden spot first. On matte finishes, marker is extremely difficult to remove without affecting the surrounding finish; a touch-up kit matching the original paint color is often the practical solution.
Water rings: These indicate moisture has penetrated the topcoat. A touch-up kit with light sanding and a topcoat application is the correct repair, not continued cleaning.
Drying, Moisture Prevention, and a Maintenance Schedule
Moisture is the long-term enemy of painted cabinets and the most controllable risk factor. Every cleaning session must end with thorough drying, a dry microfiber towel immediately after any wet cleaning is non-negotiable. Leaving surfaces damp allows moisture to work under the topcoat at seams and edges, causing paint to bubble, crack, or peel.
Kitchen humidity matters year-round. Running the range hood during cooking and using an exhaust fan controls the ambient humidity that accelerates the swelling and shrinking cycle in wood cabinet doors.
A practical maintenance schedule for most kitchens:
- Daily: Wipe cabinet doors near the stove after cooking with a barely damp microfiber towel, then dry.
- Weekly: Wipe all cabinet doors and drawer fronts with warm water and mild dish soap, rinse, and dry.
- Monthly: Clean hardware with a targeted approach. Inspect edges and seams for moisture intrusion or paint lifting.
- Every 3 months: Deep clean all cabinet surfaces using the step-by-step method. Assess areas needing touch-up.
- Annually: Evaluate overall finish condition. Minor scratches can be addressed with a touch-up kit; more significant wear may warrant professional refinishing.
Households with heavy cooking activity or high kitchen humidity should shift weekly tasks to every few days and monthly tasks to every three weeks. The real difference between cabinets that look fresh after ten years and those that need replacement after five comes down to consistent preventative maintenance, not heroic deep-cleaning sessions.
Denver Cabinet Painting Colorado has spent 40 years watching how cabinets age in Colorado kitchens, and the pattern is consistent: the finish that gets gentle, regular attention outlasts the one that gets ignored and then scrubbed. If your cabinets have reached a point where cleaning alone won’t restore their appearance, professional refinishing is a far more cost-effective path than full replacement.
Keeping painted cabinets looking their best is straightforward with the right approach, but a professional finish is only as good as the care it receives. If your cabinets have sustained damage from harsh cleaners, years of grease buildup, or simply need a fresh start, Denver Cabinet Painting Colorado offers cabinet painting, refinishing, and glazing services backed by 40 years of experience across the Denver metro area. Their team prioritizes meticulous preparation and smooth, consistent finishes that stand up to real kitchen use. Get a free quote from Denver Cabinet Painting Colorado and find out what a professionally restored finish can do for your kitchen.
Frequently Asked Questions
What is the best cleaner for painted kitchen cabinets?
The best cleaner for painted kitchen cabinets is a simple solution of warm water and a few drops of mild dish soap applied with a soft microfiber cloth. This combination is gentle enough to protect the topcoat and wood finish while effectively removing everyday grease and splatters. For tougher buildup, a diluted distilled vinegar solution can work well on most finishes. Always avoid abrasive cleaners, magic eraser pads on matte finishes, and solvent-based cleaners, which can strip the paint or cause surface scratches.
Can you use vinegar to clean painted cabinets?
Yes, diluted distilled vinegar is generally safe for cleaning painted cabinets when used correctly. Mix equal parts white vinegar and warm water, apply with a soft cloth, and wipe dry immediately. However, use caution on matte or flat paint finishes, as repeated vinegar use can dull the sheen over time. For KCMA-rated paint finishes, a mild dish soap solution is often the safer first choice. Always test any new cleaner in an inconspicuous spot before applying it across all cabinet doors.
How do you remove sticky grease from painted cabinets?
To remove sticky grease from painted cabinets, apply a small amount of a gentle kitchen degreaser or a dish soap and warm water solution to a microfiber towel and work it into the grease buildup using light circular motions. Avoid scrubbing aggressively, as this can cause surface scratches or damage the topcoat. For stubborn grease near the stove, let the solution sit for 30-60 seconds before wiping. Always follow with a clean damp cloth rinse and dry immediately to prevent moisture damage.
How often should you clean painted cabinets?
For best results, wipe down painted kitchen cabinet doors with a damp cloth at least once a week to prevent grease buildup and splatters from bonding to the finish. Deep cleaning methods should be applied monthly or whenever you notice visible grime or stickiness. Cabinets near the stove or sink may need more frequent attention due to higher exposure to humidity levels, cooking grease, and moisture. A consistent preventative maintenance routine will extend the life of your professional finish and reduce the need for touch-up kits.
Will dish soap damage painted cabinets?
Mild dish soap will not damage painted cabinets when diluted properly in warm water and used with a soft cloth. The key is to use only a few drops in a bowl of warm water, never apply concentrated dish soap directly to the surface. After cleaning, wipe away any residue with a clean damp cloth and dry the surface immediately to prevent moisture damage or swelling and shrinking of the wood beneath. Avoid dish soaps with added degreasers or bleaching agents, as these can affect the paint's topcoat over time.
This article was written using GrandRanker