Table of Contents
- Tools and Materials You’ll Need for Bathroom Vanity Refinishing
- Preparing Your Vanity: Cleaning, Degreasing, and Surface Prep
- Refinishing Laminate Vanity: Material-Specific Priming
- Best Paint for Bathroom Vanity: Choosing the Right Finish
- Painting Techniques: Brush vs. Roller Application
- Bathroom Vanity Refinishing Cost: What to Budget
- Drying, Curing, and Troubleshooting Common Refinishing Failures
- Conclusion
Last Updated: June 21, 2026
Bathroom vanity refinishing is one of the most cost-effective ways to transform a tired bathroom without replacing functional cabinetry. At Denver Cabinet Painting Colorado, we’ve spent 40 years helping homeowners across the Denver metro area do exactly that. Below, we’ll show you how to refinish your vanity from start to finish, including material-specific details and troubleshooting advice that most DIY guides skip. The difference between a finish that lasts five years and one that peels in five months comes down to preparation and product selection.
Most people assume painting is the hard part. It isn’t. Prep work is where vanity refinishing projects succeed or fail.
Tools and Materials You’ll Need for Bathroom Vanity Refinishing
Gathering the right supplies before you start is essential. Starting without proper tools leads to shortcuts that compromise adhesion, the number one reason refinished vanities fail prematurely.
Essential Preparation Supplies
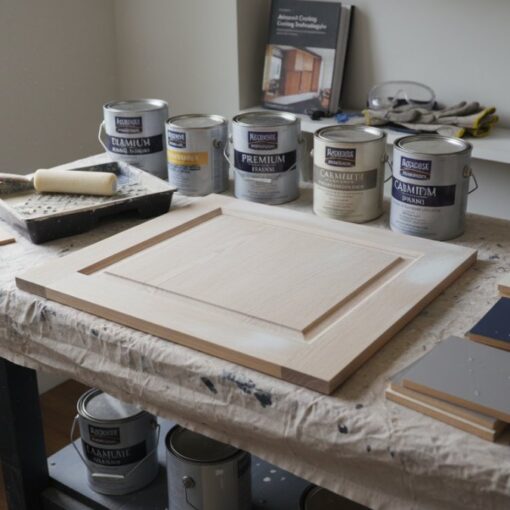
Your preparation kit should include:
- Trisodium phosphate (TSP) or a dedicated degreaser for deep cleaning
- Fine-grit sandpaper (120-grit for initial scuffing, 220-grit for final smoothing)
- Tack cloth to remove sanding dust before priming
- Wood filler or spackling compound for patching holes and dings
- Painter’s tape to protect walls, countertops, and fixtures
- Drop cloth to cover the floor and surrounding surfaces
- A deglossing solution if you prefer a chemical approach over sanding
Painting and Application Tools
The application tools you choose directly affect finish quality:
- Angled sash brush (2-inch) for detail work, edges, and recessed panels
- Foam roller (4-inch) for flat door faces and drawer fronts
- Bonding primer formulated for your specific surface material (wood, laminate, or MDF)
- Cabinet paint in your chosen finish
- A top coat or polyurethane for added moisture resistance
- Stir sticks, paint trays, and a paint can opener
Buy a quality brush. A cheap brush leaves bristle marks that no amount of sanding will fully eliminate.
Buy 20% more primer and paint than your square footage calculation suggests. Bathroom vanities have more surface area than they appear, and running out mid-project creates visible lap lines.
Preparing Your Vanity: Cleaning, Degreasing, and Surface Prep
Preparation is the throughline of every successful bathroom vanity refinishing project. Skip or rush this phase and nothing else matters.
Removing Hardware and Doors
Start by removing all cabinet doors, drawer fronts, and hardware. Number each door and its corresponding hinge location with painter’s tape and a marker for straightforward reinstallation. Remove hinges, pulls, and knobs completely. Painting over hardware produces a sloppy result.
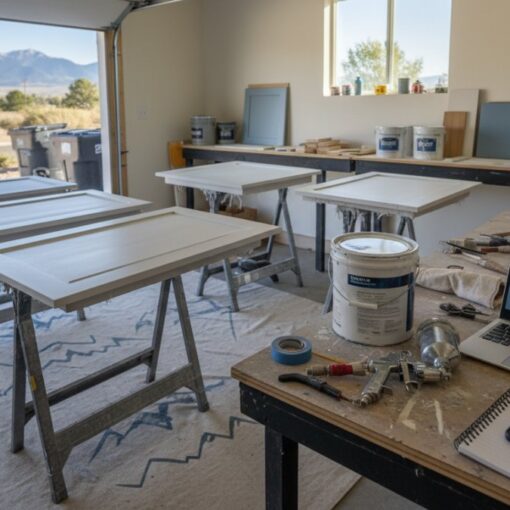
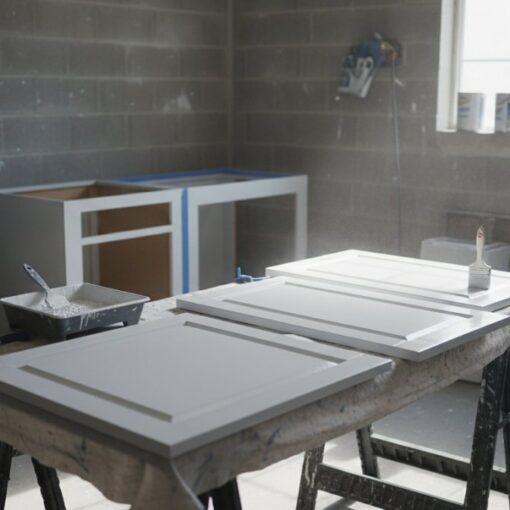
Set doors flat on sawhorses or a workbench. Painting horizontal surfaces reduces drips and gives you better control.
Degreasing and Cleaning with TSP
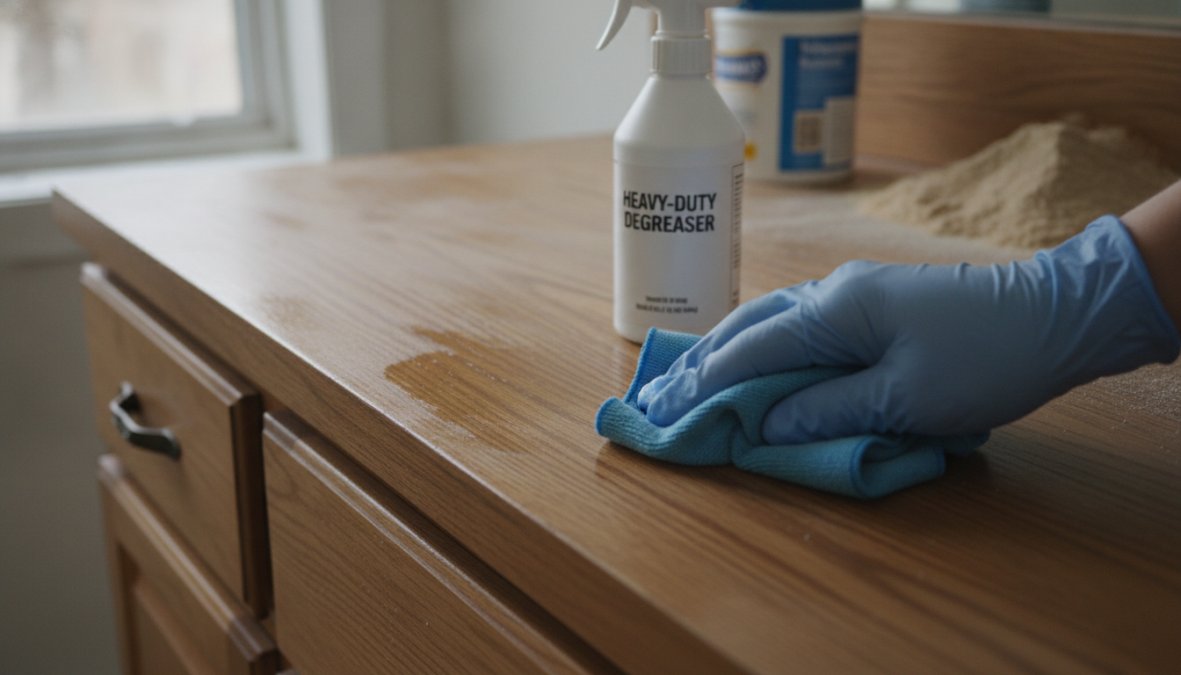
According to the Environmental Protection Agency’s guidance on surface preparation for coatings, proper surface cleaning is the most critical factor in paint adhesion. Bathrooms accumulate soap scum, body oils, and cleaning product residue that standard wiping won’t remove. TSP (trisodium phosphate) cuts through all of it.
Mix TSP according to package directions, apply with a sponge, scrub thoroughly, and rinse with clean water. Allow the surface to dry completely, typically 24 hours in a humid bathroom. If you’d rather avoid TSP, a heavy-duty degreaser formulated for cabinetry works well as an alternative.
Sanding and Deglossing
Once clean and dry, sand all surfaces with 120-grit sandpaper to scuff the existing finish. You’re creating mechanical adhesion for the primer. Follow with 220-grit for a smoother base.
Wipe every surface with a tack cloth after sanding. Dust contamination under primer causes rough, uneven finishes. If you prefer a chemical approach, apply a liquid deglossing solution instead of sanding, though sanding typically produces better adhesion on high-gloss factory finishes.
Refinishing Laminate Vanity: Material-Specific Priming
Generic advice to "just prime it" ignores the fact that laminate, MDF, and solid wood each require different priming strategies.

Why Bonding Primer Matters for Laminate
Refinishing a laminate vanity is more challenging than refinishing solid wood because laminate has almost no natural porosity. Standard primers don’t adhere reliably to its slick surface. Bonding primer is specifically formulated to chemically grip non-porous surfaces, and skipping it on laminate is the single most common cause of peeling paint on refinished vanities.
Look for a shellac-based or water-based bonding primer rated for laminate. Apply a thin, even coat and allow it to cure fully before sanding lightly with 220-grit and applying a second coat. Two thin coats of bonding primer outperform one heavy coat.
For MDF surfaces, seal the edges with an extra coat of primer, as MDF edges are extremely porous and absorb paint aggressively. For solid wood, a standard high-adhesion primer works well, but sand with the wood grain direction to avoid cross-grain scratches that show through the final finish.
Never apply bonding primer over a surface that hasn’t been degreased. Bonding primer cannot penetrate through soap film or grease, and adhesion will fail regardless of primer quality. Degreasing always comes first.
Patching Holes and Surface Imperfections
Fill any holes from old hardware, dents, or scratches with wood filler before priming. Apply filler slightly proud of the surface, let it cure fully, then sand flush with 120-grit followed by 220-grit. Prime over the patched areas before applying primer to the full surface.
Best Paint for Bathroom Vanity: Choosing the Right Finish
Paint selection for a bathroom vanity differs from interior wall paint. The environment is humid, surfaces get touched constantly, and cleaning products contact the finish regularly.
Latex vs. Oil-Based: Moisture Resistance and Durability
Both latex and oil-based cabinet paints are viable options. Oil-based paints offer superior hardness and moisture resistance, but require longer drying times and mineral spirits cleanup. Water-based (latex) cabinet paints have improved dramatically and now rival oil-based options in durability when properly applied. They dry faster, emit fewer VOCs, and clean up with water.
The critical factor is choosing paint specifically formulated for cabinetry rather than walls. Cabinet paints contain harder resins that resist scratching and moisture far better than standard interior latex.
High-Gloss, Semi-Gloss, and Satin Finishes Explained
| Finish | Sheen Level | Best For | Cleaning Ease |
|---|---|---|---|
| High-gloss | Very high | Modern, contemporary styles | Excellent |
| Semi-gloss | Medium-high | Most bathroom vanities | Very good |
| Satin | Medium | Traditional styles | Good |
Semi-gloss is the most popular choice for bathroom vanity refinishing because it balances moisture resistance, durability, and appearance without showing every fingerprint.
Eco-Friendly and Low-VOC Cabinet Paint Options
Low-VOC and zero-VOC cabinet paints have become genuinely competitive with conventional options. According to the EPA’s indoor air quality resources, standard paints can release volatile organic compounds for years after application in enclosed spaces like bathrooms. Low-VOC formulations reduce this significantly.
Brands like Benjamin Moore Advance and Sherwin-Williams Emerald Urethane offer low-VOC cabinet paints that perform comparably to conventional options in bathroom environments.
Painting Techniques: Brush vs. Roller Application
Carefully prepped surfaces can still produce disappointing results if application technique is poor. Patience pays off here.
Using an Angled Sash Brush for Precision
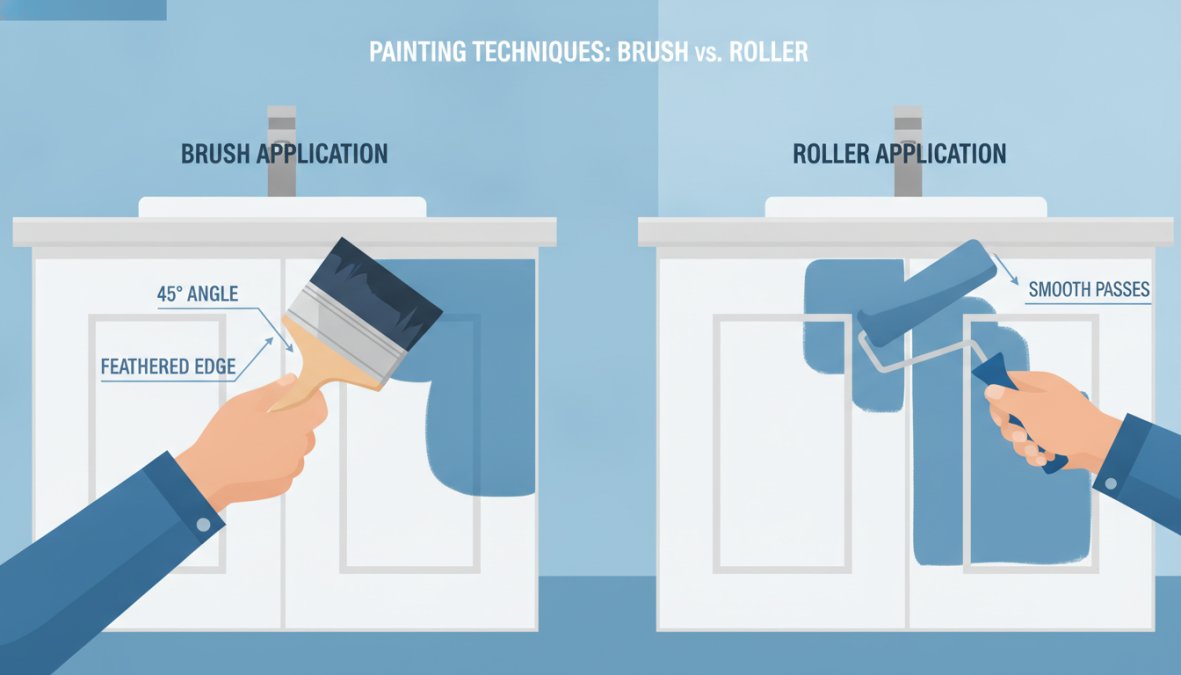
An angled sash brush is the right tool for recessed panels, edges, corners, and detail work. Load the brush moderately and use long, smooth strokes following the wood grain direction. Feather out the ends of each stroke to avoid buildup.
The common mistake is overloading the brush. Excess paint pools in corners and recessed areas, creating drips and uneven sheen once dry.
Foam Roller Method for Even Coverage
For flat surfaces like door faces and drawer fronts, a 4-inch foam roller produces a smoother finish than a brush because it eliminates brush strokes entirely. Roll in one direction using light, even pressure. Avoid pressing hard, which causes the roller to skip and leave an orange-peel texture.
The most effective technique combines both tools: brush the detail areas first, then immediately roll the flat faces while the brushed edges are still wet.
Avoiding Brush Strokes and Leveling the Finish
Brush strokes in dried paint are difficult to fix without sanding back and repainting. Prevention is far easier than correction.
Three practices that minimize brush marks:
- Apply thin coats rather than trying to achieve full coverage in one pass
- Add a paint conditioner (such as Floetrol for latex paints) to slow drying and improve leveling
- Sand lightly with 220-grit between coats and wipe with a tack cloth before applying the next coat
Two to three thin coats produce a dramatically better result than one heavy coat.
Paint your cabinet doors horizontally whenever possible. Gravity causes drips and runs on vertical surfaces. Horizontal painting gives the paint time to level before it sets.
Bathroom Vanity Refinishing Cost: What to Budget
The cost question is where most people start, but it’s more nuanced than a simple number.
DIY vs. Professional Refinishing: Cost-Benefit Analysis
DIY bathroom vanity refinishing typically costs less in materials but requires significant time investment and carries real risk of a subpar result. A realistic DIY material list for a standard two-door vanity runs through primer, paint, bonding primer, sandpaper, brushes, rollers, and TSP. The time investment is typically two to three days when accounting for drying time between coats.
Professional refinishing costs more upfront but delivers a higher-quality finish, proper surface preparation, and a result that lasts significantly longer. According to the National Association of the Remodeling Industry’s cost vs. value data, refinishing and repainting cabinetry consistently ranks among the highest-value bathroom renovation approaches by return on investment.
Material Costs and Long-Term Value
The quality of materials directly affects longevity. Choosing a premium bonding primer and a cabinet-specific paint extends the life of the finish considerably compared to budget alternatives. Refinishing a vanity, even professionally, costs a fraction of vanity replacement.
Drying, Curing, and Troubleshooting Common Refinishing Failures
Getting to this stage with a beautiful finish is satisfying. Protecting that finish through proper curing is what makes it last.
Curing Time and Top Coat Application
Drying time and curing time are not the same thing. Paint may feel dry to the touch within hours, but full cure, where the paint reaches its maximum hardness and moisture resistance, takes considerably longer. Most water-based cabinet paints reach full cure in 21 to 30 days.
During the curing period, treat the surface gently. Avoid harsh cleaning products, don’t place heavy objects on drawer fronts, and keep moisture exposure minimal. Applying a water-based polyurethane top coat adds an extra layer of protection and is particularly valuable in high-humidity bathrooms. Apply the top coat only after the paint has dried thoroughly (minimum 24 hours between final paint coat and top coat application).
Why Paint Peels and How to Prevent Adhesion Failure
Peeling is the most common refinishing failure, and it is almost always caused by inadequate degreasing, skipping bonding primer on laminate or MDF, or painting over a surface that wasn’t fully dry. Paint that peels within the first year is rarely a paint quality problem. It’s an adhesion problem rooted in prep.
According to the Paint Quality Institute’s guidance on surface preparation, the majority of paint failures trace directly to surface preparation errors rather than product defects.
Addressing Mildew and Moisture Issues
Bathrooms are inherently humid environments, and refinished vanities are vulnerable to mildew growth if the paint lacks adequate moisture resistance. Choosing a mildew-resistant cabinet paint formulation adds meaningful protection. These paints contain antimicrobial agents that inhibit mold and mildew growth on the paint film surface.
Ventilation matters as much as paint selection. A bathroom exhaust fan running during and after showers significantly reduces the moisture load on cabinet surfaces. Combine a mildew-resistant paint with adequate ventilation and your refinished vanity will hold up far longer.
A practical checklist before calling the project complete:
- All surfaces fully cured (minimum 21 days before heavy use)
- Top coat applied and dried
- Hardware reinstalled with correct hinge adjustment
- Doors aligned and operating smoothly
- Any drips or brush marks sanded and touched up
- Exhaust fan functioning properly to manage humidity
The single most important factor in bathroom vanity refinishing longevity is surface preparation: thorough degreasing, material-appropriate priming, and complete drying between every coat. No paint product compensates for skipped prep steps.
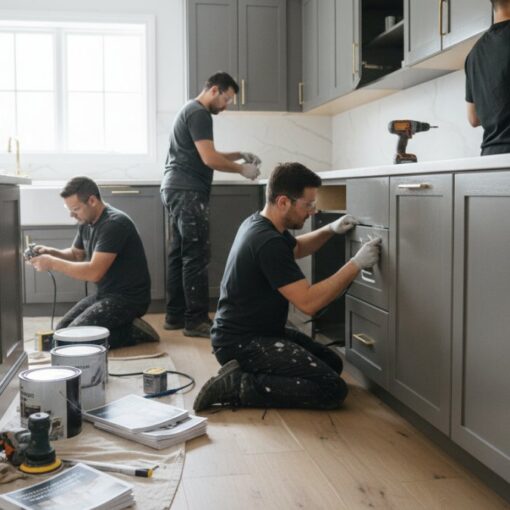
Refinishing a bathroom vanity is a genuinely achievable project, but the gap between a finish that lasts and one that fails is almost entirely in the preparation details. If you’d rather have the job done right the first time with a smooth, consistent finish that holds up to daily bathroom use, Denver Cabinet Painting Colorado brings 40 years of Colorado refinishing experience to every project, serving both residential and commercial clients across the Denver metro area. Get a free quote from Denver Cabinet Painting Colorado and see what professional cabinet refinishing can do for your bathroom.
Frequently Asked Questions
Can you refinish a laminate bathroom vanity?
Yes, laminate vanities can be refinished, but they require special preparation. A bonding primer is essential for adhesion since paint doesn't naturally stick to laminate surfaces. Clean thoroughly with trisodium phosphate (TSP) degreaser, sand with fine-grit sandpaper to degloss the surface, and use a high-quality bonding primer before applying your cabinet paint. This approach ensures long-lasting results and prevents peeling.
What is the best paint for a bathroom vanity?
The best paint for bathroom vanity refinishing is a high-quality cabinet paint with moisture-resistant properties. Semi-gloss or satin finishes are ideal for bathrooms because they resist humidity and are easier to clean than flat finishes. Choose either latex or oil-based paint depending on your preference, latex is eco-friendly and low-VOC, while oil-based provides superior durability. Ensure the paint is specifically formulated for cabinets and mildew-resistant for bathroom environments.
How long does bathroom vanity refinishing last?
With proper preparation and application, a professionally refinished bathroom vanity typically lasts 5-10 years. Durability depends on paint quality, surface preparation, curing time, and bathroom humidity levels. Using a polyurethane top coat extends longevity. Proper ventilation and regular cleaning help maintain the finish. DIY refinishing may last shorter if adhesion or moisture resistance is compromised, which is why professional-grade preparation and materials are critical.
Do I need to sand my vanity before refinishing?
Yes, sanding is essential for successful bathroom vanity refinishing. Sanding with fine-grit sandpaper degloss the existing finish, improving paint adhesion. This step prevents peeling and ensures the new paint bonds properly to the surface. After sanding, use a tack cloth to remove dust before applying primer and paint. Skipping this step is one of the most common causes of refinishing failure, especially on laminate or glossy surfaces.
This article was written using GrandRanker