Table of Contents
- Best Paint for Kitchen Cabinet Refinishing: Product Comparison
- Water-Based vs. Oil-Based Paint for Cabinets
- The Importance of Primer for Kitchen Cabinets
- Preparation and Sanding: The Foundation of Success
- Best Paint Finish for Kitchen Cabinets: Sheen Selection
- How Long Does It Take to Paint Kitchen Cabinets
- Kitchen Cabinet Painting Mistakes to Avoid
- Tools and Equipment for Professional Results
Last Updated: July 12, 2026
Best Paint for Kitchen Cabinet Refinishing: Product Comparison
Finding the best paint for kitchen cabinet refinishing can feel overwhelming with dozens of options available. According to Benjamin Moore’s 2026 cabinet refinishing guide, the right paint choice directly impacts durability, finish quality, and longevity. At Denver Cabinet Painting Colorado, we’ve spent 40 years helping homeowners transform their kitchens with premium cabinet painting services. The difference between a finish lasting five years and one lasting fifteen often comes down to paint selection and preparation.
Your cabinet material, kitchen humidity, and traffic patterns should drive your paint choice before considering color. Below, we’ll show you how to navigate major paint categories, compare top products, and avoid mistakes that lead to sticky drawers and peeling finishes within two years.
Comparison Table: Top Cabinet Paint Options
| Paint Product | Type | Best For | Key Advantage |
|---|---|---|---|
| Benjamin Moore Advance | Waterborne alkyd hybrid | Professional-quality smooth finish | Superior leveling, oil-based durability with water cleanup |
| Sherwin-Williams Emerald Urethane Trim Enamel | Water-based urethane enamel | High-traffic kitchens | Extreme durability and yellowing resistance |
| PPG Breakthrough! | Water-borne acrylic enamel | Quick turnaround projects | Dries in 15-20 minutes, excellent adhesion |
| Insl-x STIX Waterborne Bonding Primer | Bonding primer | Glossy or laminate cabinets | Adheres to nearly any surface without sanding |
| General Finishes Milk Paint | Water-based milk paint | Furniture-style finishes | Easy application and touch-up capability |
| Valspar Cabinet & Furniture Oil-Enriched Enamel | Oil-enriched water-based enamel | Budget-conscious DIYers | Good value with factory-like finish |
| Beyond Paint | All-in-one bonder and finisher | Beginner DIYers | Minimal prep required, one-product solution |
| Rust-Oleum Cabinet Transformations Kit | Complete system kit | DIYers wanting guided steps | Everything included, step-by-step instructions |
Water-Based vs. Oil-Based Paint for Cabinets
Water-based paints have dominated cabinet refinishing since the early 2020s for performance reasons beyond environmental concerns. Oil-based paints deliver a harder finish and level beautifully, but they emit strong VOCs, require mineral spirits cleanup, take 24-48 hours to dry, and yellow over time in kitchens with limited natural light.
Modern waterborne alkyd hybrids like Benjamin Moore Advance mimic oil-based performance, hard finish, excellent leveling, durability, while offering water cleanup and low VOC emissions. Urethane enamels like Sherwin-Williams Emerald Urethane Trim Enamel provide exceptional scuff resistance once fully cured in 30 days, rivaling oil-based results.
The curing time difference matters more than drying time. Water-based paint may dry to the touch in 4 hours but won’t reach full hardness for weeks. During that window, cabinets are vulnerable to fingerprints, dust, and soft spots if drawers close too forcefully.
For kitchen cabinets, water-based urethane enamels and waterborne alkyds have become the professional standard, delivering oil-based performance without VOC headaches, cleanup mess, or yellowing risk.
If your kitchen has high humidity or heavy use, invest in a water-based urethane enamel. The extra cost pays for itself in longevity, avoiding a second refinishing job in five years.
The Importance of Primer for Kitchen Cabinets
Primer is where most DIY cabinet projects fail. Homeowners either skip it or use generic primer that can’t grip glossy surfaces, resulting in paint peeling within months.

Cabinet surfaces are typically bare wood, stained wood, glossy painted finish, laminate, or veneer. Each requires different primer strategy. Bare wood needs stain-blocking primer to prevent tannins from bleeding through. Glossy surfaces need bonding primer that adheres without sanding.
Insl-x STIX Waterborne Bonding Primer is the workhorse for difficult surfaces. Its acrylic-urethane formula sticks to glossy cabinets, laminate, and veneer without extensive sanding by penetrating slightly into the surface, creating mechanical adhesion rather than relying on surface texture alone.
Apply primer with a synthetic bristle brush or HVLP sprayer, not a roller. Primer cure time is critical, wait the full recommended time, usually 4-8 hours for water-based primers, even if the surface feels dry.
Skipping primer on previously painted glossy cabinets is the #1 reason cabinet refinishing fails. Paint will peel within 6-12 months. Primer cost is negligible compared to redoing the entire project.
Preparation and Sanding: The Foundation of Success
Ninety percent of successful cabinet refinishing happens before opening the first paint can. Start with degreasing. Kitchen cabinets accumulate cooking oils, dust, and grime that prevent paint adhesion. TSP (trisodium phosphate) or commercial degreaser cuts through buildup that water alone misses. Wipe every surface, rinse thoroughly, and let dry completely, at least 24 hours.
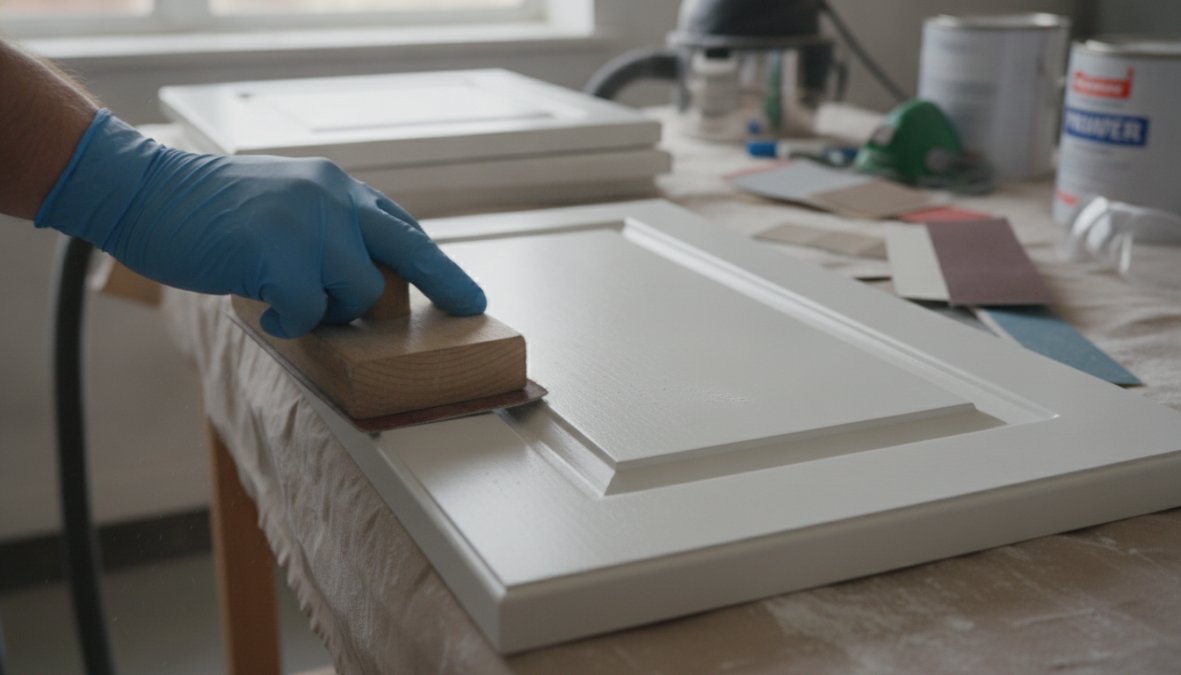
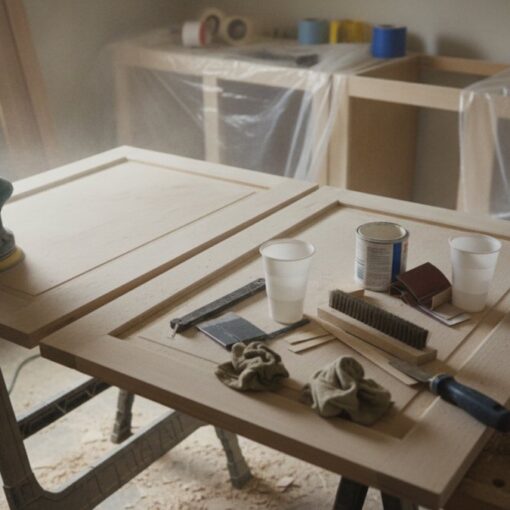
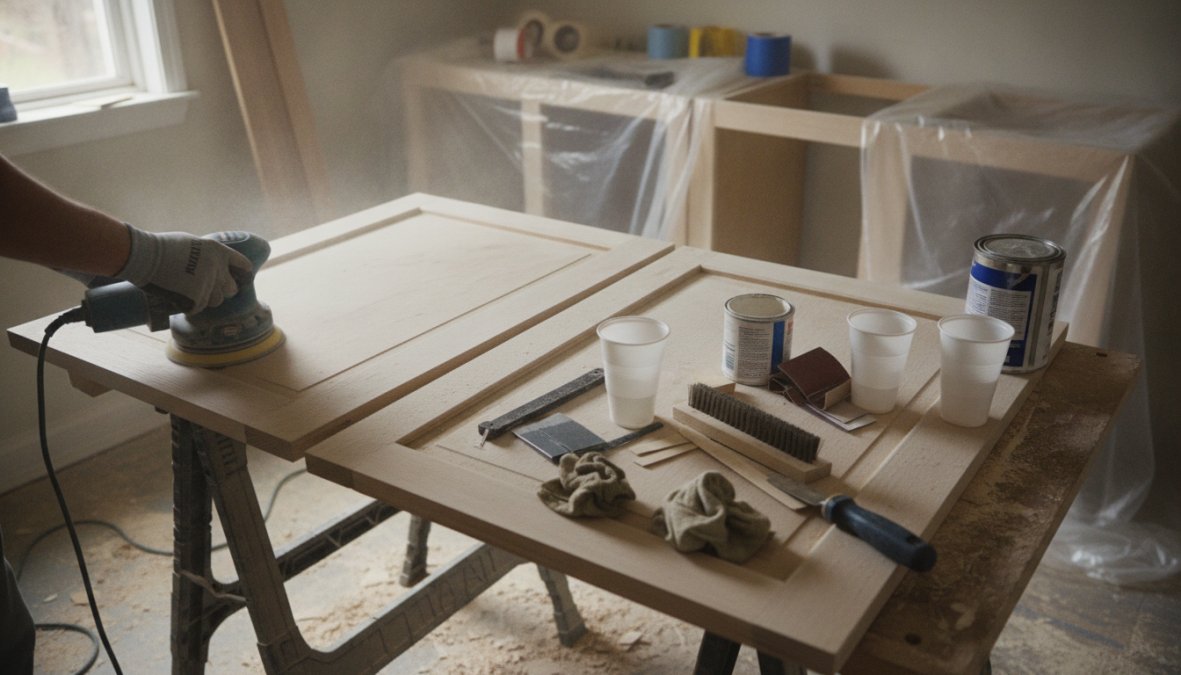
Sanding removes the glossy topcoat preventing primer adhesion and creates microscopic texture for primer and paint grip. For cabinets, scuff the existing finish rather than sanding to bare wood. A 150-180 grit sanding block works better than an orbital sander. Sand with the grain using light pressure, focusing on flat surfaces.
After sanding, remove all dust with a tack cloth, a slightly sticky cotton cloth that picks up dust a vacuum misses. Dust particles trapped under primer create bumps and rough spots in the final finish.
Cabinet material matters. Solid wood handles sanding well. MDF requires gentler pressure to avoid surface damage. Laminate and veneer demand extra care to avoid sanding through the decorative layer. Budget 2-3 days for thorough preparation on a typical kitchen.
| Prep Step | Duration | Why It Matters |
|---|---|---|
| Degreasing with TSP solution | 4-6 hours | Removes oils that block adhesion |
| Drying time after degreasing | 24 hours | Moisture under primer causes failure |
| Sanding with 150-180 grit | 6-8 hours | Creates texture for primer grip |
| Tack cloth dust removal | 1-2 hours | Prevents bumps and rough spots in finish |
Best Paint Finish for Kitchen Cabinets: Sheen Selection
Sheen is the gloss level of paint and how much light it reflects. For cabinets, sheen selection affects both appearance and durability.
Matte and flat sheens hide imperfections but are fragile in kitchens. They show fingerprints, water spots, and dust like a chalkboard and are difficult to clean without damage. Avoid flat and matte for kitchen cabinets.
Satin sheen is the sweet spot for most kitchens. It reflects enough light to look refined and clean without showing every fingerprint. Satin finishes are durable enough for cabinet doors and drawer fronts receiving daily contact. They clean easily with damp cloth and mild soap. Most professional painters default to satin.
Semi-gloss is the traditional choice for cabinets, especially formal kitchens or commercial settings. It reflects more light, creating a polished appearance, and is extremely durable and easy to clean. The tradeoff is visibility: brush marks, dust particles, and imperfect application become obvious.
Satin vs. Semi-Gloss: Which Sheen Wins
Satin wins for most homeowners, balancing aesthetics, durability, and practicality. You get refined appearance without semi-gloss maintenance demands. Semi-gloss wins if you have young children or high-traffic kitchens where maximum durability and easy cleaning matter most.
For 80% of kitchens, satin sheen delivers the best balance of appearance and durability. Semi-gloss is worth considering only if durability and easy cleaning are top priorities.
How Long Does It Take to Paint Kitchen Cabinets
Cabinet refinishing isn’t a weekend project, it’s a 2-4 week commitment when done properly. Preparation takes 3-5 days working alone. Painting takes 2-3 days for application, but curing takes weeks. You can apply primer and paint in 2-3 days with multiple coats, but paint won’t be fully cured for 14-30 days depending on the product.
When can you use your kitchen normally? Water-based urethane enamels like Sherwin-Williams Emerald require 30 days. Benjamin Moore Advance cures faster, usually 14-21 days. These aren’t arbitrary numbers, they’re the time required for the paint film to harden completely.
Drying and Curing Times by Paint Type
Drying time is when paint is dry to the touch. Curing time is when it reaches full hardness.
Benjamin Moore Advance dries in 4-6 hours, requires 24 hours between coats, and reaches full cure in 14-21 days.
Sherwin-Williams Emerald Urethane Trim Enamel dries in 4-6 hours, can be recoated after 16 hours, and fully cures in 30 days.
PPG Breakthrough! dries in 15-20 minutes, can be recoated after 1-2 hours, and fully cures in 7-10 days.
General Finishes Milk Paint dries in 3-4 hours, can be recoated after 4 hours, and cures in 7-14 days.
Water-based primers typically dry in 1-2 hours but need 4-8 hours before topcoat application for proper adhesion. Humidity and temperature affect all timelines. Cool, humid conditions slow drying and curing significantly. In winter or humid climates, add 25-50% to manufacturer timelines.
Kitchen Cabinet Painting Mistakes to Avoid
Mistakes that plague cabinet refinishing are surprisingly consistent. Knowing what to avoid is half the battle.
Mistake #1: Skipping primer. Primer isn’t optional on previously painted cabinets. It’s the difference between a finish lasting 15 years and one peeling in 12 months.
Mistake #2: Painting in wrong conditions. Most water-based paints require 50-85°F and 40-70% humidity for proper application and cure.
Mistake #3: Rushing between coats. Applying topcoat before primer fully cures traps solvents, causing adhesion failure.
Mistake #4: Using wrong applicators. Rollers create texture. Foam brushes shed fibers. Cheap brushes leave bristles in paint. Invest in quality synthetic bristle brushes or rent an HVLP sprayer.
Mistake #5: Ignoring cabinet material. MDF needs gentler sanding and primer selection than solid wood. Laminate requires bonding primer.
Mistake #6: Underestimating dust control. Dust settling on wet paint creates rough finish. Close doors, turn off HVAC systems, and use tack cloth between every coat.
Mistake #7: Applying too much paint. Thick coats run, sag, and take forever to cure. Two thin coats beat one thick coat every time.
The most common regret from DIY cabinet painters is not investing in an HVLP sprayer. Brushed finishes show brush marks up close. A rental sprayer costs $40-60 per day and produces professionally applied results.
Tools and Equipment for Professional Results
The right tools make cabinet painting dramatically easier and produce visibly better results.
A sanding block ($5-10) gives control over pressure and direction. A tack cloth ($8-12) removes dust between coats. Quality synthetic bristle brushes ($8-15 each) make the difference between good and great finishes. A paint tray with liners ($3-5) keeps cleanup manageable. Drop cloths and plastic sheeting ($15-30 total) protect floors and adjacent surfaces.
An HVLP sprayer ($40-100 rental per day, or $150-400 to buy) transforms finish quality. Sprayed cabinets look professionally painted. If refinishing more than one kitchen, buying a budget HVLP sprayer is worth the investment.
According to Fine Homebuilding’s cabinet painting guide, professional painters spend more on equipment and preparation than on paint itself. The total tool investment for a DIY project runs $100-300 if buying everything, or $50-100 if renting the sprayer. Compare that to hiring professionals ($2,000-5,000) or redoing a failed project.
Transforming outdated kitchen cabinets without full replacement requires precision, patience, and the right materials. The best paint for kitchen cabinet refinishing depends on your cabinet material, kitchen conditions, and durability priorities, but water-based urethane enamels and waterborne alkyd hybrids consistently outperform traditional options. Denver Cabinet Painting Colorado has spent four decades perfecting cabinet preparation, primer selection, and paint application to deliver smooth, consistent finishes that last. Whether tackling a DIY project or hiring professionals, prioritize preparation and primer above all else. Get a free quote from Denver Cabinet Painting Colorado to see how professional cabinet refinishing can transform your kitchen without the expense of full cabinet replacement.
Frequently Asked Questions
Is water-based or oil-based paint better for kitchen cabinet refinishing?
Water-based paints like Benjamin Moore Advance and Sherwin-Williams Emerald Urethane offer easier cleanup, low VOC formulas, and excellent durability once cured. Oil-based paints provide superior leveling and traditional hard finishes but require solvent cleanup and longer curing. For most homeowners, modern waterborne alkyd and urethane trim enamels deliver professional results with convenience. The best choice depends on your comfort with application techniques and environmental concerns.
Do I need primer before painting kitchen cabinets?
Yes, primer is essential for kitchen cabinet refinishing, especially on glossy or previously painted surfaces. A high-quality bonding primer like Insl-x STIX creates adhesion to difficult surfaces such as laminate, veneer, and glossy finishes. Bonding primers reduce blocking and improve scuff resistance of the final topcoat. Even with modern hybrid paints, proper priming ensures durability and prevents peeling in high-traffic areas where moisture and temperature fluctuate.
What is the most durable paint finish for kitchen cabinets?
Semi-gloss and satin sheens offer the best durability for kitchen cabinets. Semi-gloss provides maximum scuff resistance and is easiest to clean, making it ideal for high-traffic kitchens. Satin finishes offer a slightly softer look while still resisting moisture and wear. Professional-grade urethane enamels and waterborne alkyds in semi-gloss deliver factory-like durability. Avoid matte or flat finishes in kitchens, as they trap grease and are difficult to clean.
How many coats of paint do kitchen cabinets need?
Most cabinet refinishing projects require two topcoats after primer for optimal coverage and durability. The first topcoat establishes base color; the second provides depth, protection, and even sheen. High-build primers may reduce the need for additional topcoats on heavily damaged surfaces. Proper sanding between coats and use of quality brushes or HVLP sprayers ensures even coverage without visible brush marks or thin spots that could compromise longevity.
This article was written using GrandRanker