Table of Contents
- Why Paint Kitchen Cabinets Without Removing Doors
- How to Prep Kitchen Cabinets for Painting Without Removal
- Painting Kitchen Cabinets Without Sanding: When and How
- Best Paint for Kitchen Cabinets: Choosing the Right Product
- Step-by-Step Application Techniques for In-Place Doors
- How Long Does It Take to Paint Kitchen Cabinets Without Removing Doors
- Pros and Cons: Keeping Doors On vs. Removing Them
- Common Mistakes to Avoid When Painting In Place
Paint Kitchen Cabinets Without Removing Doors: A Pro Guide
Last Updated: July 11, 2026
Painting kitchen cabinets without removing doors is one of the most practical cabinet transformation strategies available to homeowners. This approach saves time, reduces logistics headaches, and delivers professional results that rival full-door removal projects. Below, we’ll show you exactly how to execute this technique like a pro, from prep work through final curing.
Why Paint Kitchen Cabinets Without Removing Doors
Keeping cabinet doors attached during painting offers distinct practical and financial advantages. Your kitchen remains partially functional throughout the process, and you avoid storing 15-20 cabinet doors while paint cures. Removing and reinstalling doors takes 3-4 hours of labor per cabinet set; skipping this step lets you focus entirely on surface preparation and painting. Professional cabinet painters typically charge less for in-place work because labor is simplified.
The real trade-off is precision around hinges and edges. Painting around hardware requires masking discipline and careful brush technique. But with the right approach, your final finish will be indistinguishable from doors-removed work.
How to Prep Kitchen Cabinets for Painting Without Removal
Preparation determines everything in cabinet painting. Skipping steps here creates adhesion problems, brush marks, and finishes that fail within months. The prep phase typically takes 2-3 days for a full kitchen.
Cleaning and Degreasing
Kitchen cabinets accumulate grease, dust, and cooking residue that prevents paint adhesion. Even cabinets that look clean often have a microscopic film that will cause your paint to peel.
Start by removing all hardware: knobs, pulls, hinges, and any decorative elements. Label each piece and store them in a container.
Use a degreaser designed for kitchen surfaces. A solution of warm water and dish soap works for light buildup. For heavier grease, use trisodium phosphate (TSP) or a commercial kitchen degreaser. Apply with a sponge, scrubbing in circular motions, paying special attention to cabinet tops where grease accumulates most heavily. Rinse thoroughly with clean water and allow cabinets to dry completely.
After degreasing, run your hand across the cabinet surface. It should feel slightly rough and matte, not slick or glossy. If it feels slick, degrease again before moving forward.
Sanding and Deglossing Requirements
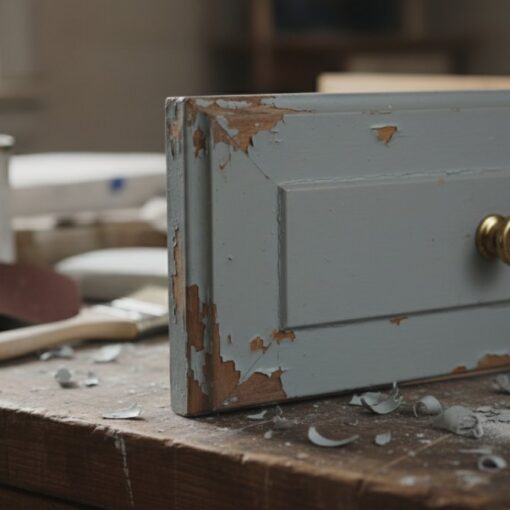
Sanding removes the existing finish’s glossy surface and opens the wood grain to accept primer. You don’t need to sand down to bare wood, just break the gloss and create tooth for paint adhesion.
For cabinets with a glossy or semi-gloss finish, use 120-150 grit sandpaper. For matte or flat finishes, 150-180 grit is sufficient. Hand sanding works fine for cabinet doors, though an orbital sander speeds up larger surfaces. Sand until the finish appears uniformly matte, without shiny spots. This typically takes 30-45 minutes per cabinet set.
After sanding, vacuum all dust thoroughly and use a tack cloth to capture fine particles. Cabinet dust will settle on paint and create a rough texture.
Sanding creates fine dust that settles on every surface in your kitchen. Close interior doors, cover countertops with plastic sheeting, and wear a dust mask. If dust lands on wet paint, your finish will be rough and require sanding and repainting.
Protecting Hinges and Hardware
Painting around hinges is where most DIY projects show weakness. Hardware left exposed gets painted over, creating a sticky mess and ruining the hinge mechanism.
If hinges remain attached, mask them completely. Use painter’s tape to cover the hinge body, the screw heads, and the area where the hinge meets the door frame. Apply tape carefully, pressing edges down firmly to prevent paint seepage. For drawer pulls and knobs you didn’t remove, mask them the same way. Alternatively, apply a thin coat of petroleum jelly around hardware before painting, the paint won’t stick to the jelly, and you can wipe it away after paint dries.
Painting Kitchen Cabinets Without Sanding: When and How
You can paint without sanding if your cabinets have a flat or matte finish (not glossy), are in good condition with no peeling paint, and you’re using a primer specifically formulated for glossy surfaces.
If your cabinets have a glossy or semi-gloss finish, skipping sanding is risky. The safer approach is light deglossing with 220-grit sandpaper or a deglossing liquid product. These provide the adhesion benefit of sanding without the dust.
For cabinets with existing paint in good condition, you can often skip sanding entirely if using a high-quality bonding primer. Test this approach on one cabinet door first. Paint it, let it cure for 48 hours, and attempt to scratch the finish with your fingernail. If paint doesn’t flake off, you can proceed with the rest.
Best Paint for Kitchen Cabinets: Choosing the Right Product
Paint selection makes the difference between a finish that lasts 5 years and one that lasts 15. Kitchen cabinets endure heat, moisture, and constant handling; standard wall paint will fail quickly.
Paint Type and Finish Selection
Cabinet paint falls into three main categories: latex (water-based), acrylic latex, and alkyd (oil-based).
Latex paint dries fast, has low odor, and cleans up with water. Acrylic latex combines water-based convenience with oil-based durability. Alkyd (oil-based) paint produces the smoothest, most durable finish with beautiful self-leveling and minimal brush marks. For professional results and maximum durability, alkyd is the gold standard, though it requires longer drying time (24-48 hours between coats) and mineral spirits for cleanup.
For finish selection, satin finish is the sweet spot for kitchen cabinets, it offers a subtle sheen that hides minor imperfections while remaining wipeable and durable.
Cabinet-specific paint matters. Don’t use standard interior wall paint on cabinets. Cabinet paints contain higher resin content and durability additives that standard paints lack. The price difference is minimal, and the durability difference is substantial.
Primer Selection and Compatibility
Primer is non-negotiable for cabinet painting. It provides the adhesion layer between existing finish and topcoat paint.
Use a bonding primer specifically formulated for glossy surfaces if your cabinets have shine. For cabinets with matte or flat finishes, a standard acrylic primer works fine. Use white or light gray primer under light paint colors, and tinted primer (the same color as your topcoat) under dark or saturated colors.
Check primer and paint compatibility. Latex paint can go over latex primer, but oil-based paint requires an oil-based primer. If you’re using alkyd topcoat, use an alkyd primer.
Step-by-Step Application Techniques for In-Place Doors
Application technique separates professional results from amateur work.
Masking Hinges and Creating Clean Edges
Before any paint touches the cabinet, mask everything you don’t want painted. Use painter’s tape to create clean lines where cabinet doors meet the frame, pressing firmly so paint can’t seep underneath. Mask hinges completely using 1-inch painter’s tape in overlapping strips, pressing tape edges down firmly with a plastic tool. For areas where tape meets irregular surfaces, use small pieces of tape to fill gaps.
Apply drop cloths under and around cabinets. Canvas drop cloths are better than plastic.
Brush vs. Roller Application Methods
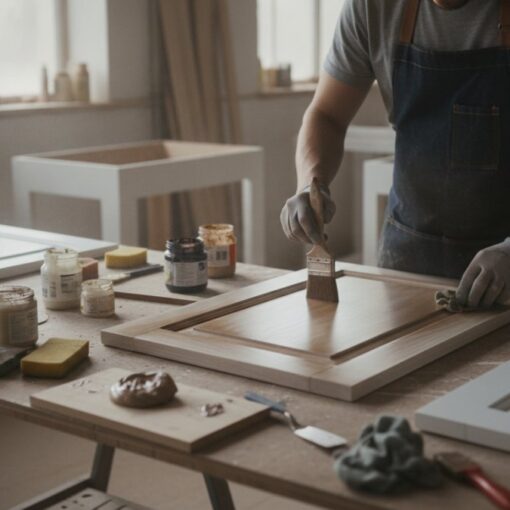
Brushes offer superior control and edge work. A quality angled sash brush (2-3 inches wide) lets you paint around hinges and edges with precision. Rollers cover large, flat surfaces quickly. A 3-4 inch foam roller applies paint evenly with minimal effort and doesn’t create brush marks.
The professional approach combines both. Use a roller for large flat cabinet door surfaces, then follow with a brush for edges and detail work. For brush application, use long, smooth strokes in the direction of the wood grain. For roller application, use light pressure and slow, overlapping passes, maintaining a wet edge.
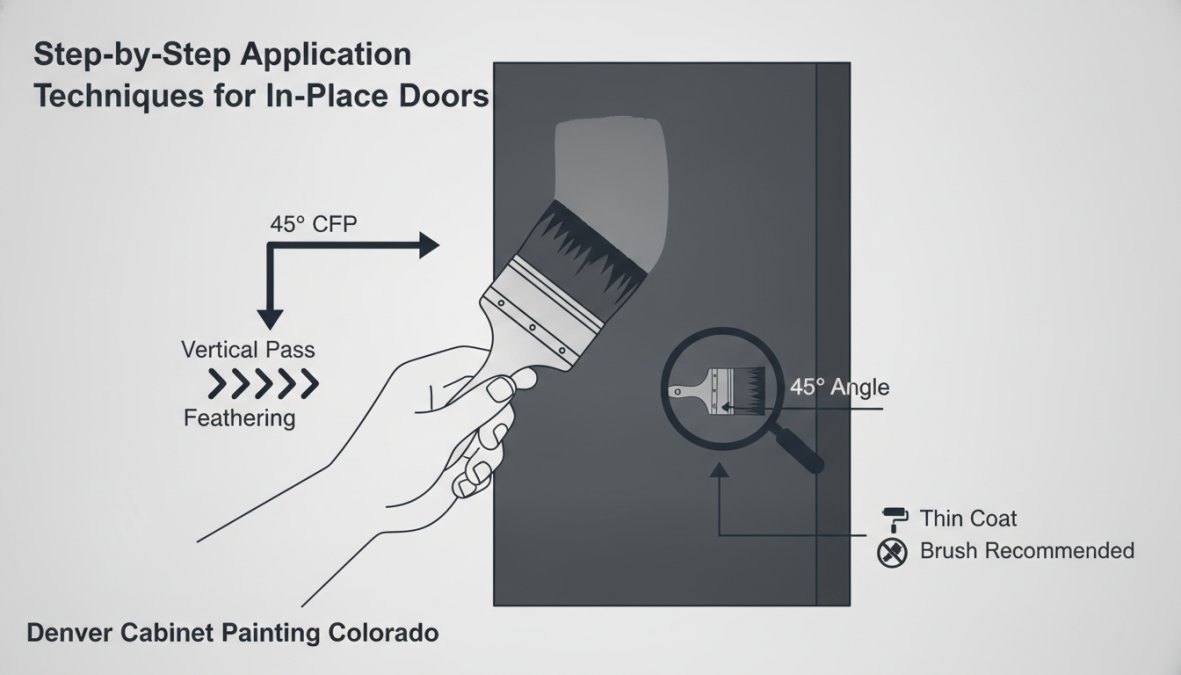
Handling Vertical Surfaces and Ergonomics
Cabinet doors are vertical surfaces, which presents challenges that horizontal surfaces don’t have. Paint flows downward, creating drips and runs if you’re not careful. Apply paint in thin coats rather than one thick coat. Work from bottom to top on vertical surfaces so any paint that drips lands on unpainted surface below.
Maintain proper ergonomics to avoid fatigue and maintain control. Stand at arm’s length from the cabinet door, keeping your wrist straight and moving from your elbow and shoulder. For upper cabinet doors, consider a small step ladder to position yourself at the right height.
Between coats, allow proper drying time. Latex paint typically dries to the touch in 1-2 hours but isn’t fully cured for 24 hours. Wait at least 4-6 hours before applying a second coat.
How Long Does It Take to Paint Kitchen Cabinets Without Removing Doors
Timeline varies based on kitchen size, existing finish condition, and paint type.
Drying and Curing Time Expectations
Drying and curing are different. Drying is when paint feels dry to the touch and you can apply a second coat. Curing is when paint reaches full hardness and durability.
Latex paint typically dries to the touch in 1-2 hours and is ready for a second coat after 4-6 hours. Full cure takes 7-14 days depending on humidity, temperature, and paint thickness. Alkyd paint dries slower, it’s dry to the touch in 6-8 hours and ready for a second coat in 24 hours, with full cure taking 14-21 days.
Temperature and humidity affect drying time significantly. Ideal conditions are 65-75°F with 40-60% relative humidity. If your kitchen is cooler or more humid, add 50% to drying time estimates. Don’t rush the curing process. Paint that isn’t fully cured is soft and vulnerable to damage.
Recoating and Full Kitchen Timeline
Most cabinet projects require two coats of paint for full coverage and durability.
For a typical 10-cabinet kitchen:
- Day 1: Cleaning and degreasing (4-6 hours)
- Days 2-3: Sanding and deglossing (6-8 hours total)
- Day 4: Priming (4-5 hours)
- Day 5: First topcoat (4-5 hours)
- Day 6: Second topcoat (4-5 hours)
- Days 7-14: Curing (no use)
Total active time: 25-30 hours spread across 6 days. For larger kitchens (15+ cabinets) or cabinets in poor condition requiring extra sanding, add 2-3 days to the timeline.
Plan cabinet painting for a period when you can minimize kitchen use. Weekends work well for DIY projects. If you’re hiring professionals, ask about their typical timeline and whether they offer expedited service using fast-drying products.
Pros and Cons: Keeping Doors On vs. Removing Them
The decision to paint in-place versus removing doors involves real trade-offs.
| Consideration | Doors On | Doors Off |
|---|---|---|
| Prep time | 2-3 days | 3-4 days (includes removal/reinstall) |
| Kitchen access | Maintained | Limited |
| Hinge masking | Required | Not needed |
| Edge precision | More challenging | Easier |
| Paint coverage uniformity | Slightly harder | Easier |
| Hardware management | Less complex | More complex |
| Risk of damage | Lower | Higher (during removal/reinstall) |
| Cost (DIY) | Lower | Higher (more time) |
| Cost (professional) | Lower labor | Higher labor |
| Total timeline | 6-8 days | 8-10 days |
Doors on is best when: You need to minimize disruption, you have limited storage space for removed doors, you’re comfortable with detailed masking work, or you want to reduce project complexity.
Doors off is best when: You prioritize finish perfection, you have adequate space to store doors safely, you want to avoid masking work, or you’re hiring professionals.
For most homeowners, painting kitchen cabinets without removing doors strikes the right balance.
Common Mistakes to Avoid When Painting In Place
Learning from others’ mistakes accelerates your success.
Skipping degreasing. This is the #1 cause of paint failure. Grease prevents primer adhesion, and paint peels within months. Degreasing is mandatory.
Insufficient sanding. If your cabinets have any gloss, sand until the surface is uniformly matte. This takes 45 minutes and determines whether your paint lasts 5 years or 15.
Using wall paint instead of cabinet paint. Standard interior wall paint isn’t formulated for the durability cabinets require. Always use cabinet-specific paint.
Applying thick coats instead of thin coats. Two thin coats produce better results and actually dry faster than one heavy coat.
Painting over inadequate primer. Use the primer manufacturer’s recommended coverage rate and allow full drying between primer and topcoat.
Inadequate masking around hinges. Paint seeping under tape and drying on hinges is frustrating to remove. Spend extra time seating tape edges firmly and filling gaps.
Not allowing adequate drying time between coats. Applying a second coat before the first is fully dry creates adhesion problems. Follow the paint manufacturer’s drying time recommendations.
Painting in poor conditions. Temperature below 50°F or above 85°F, or humidity above 85%, creates drying and adhesion problems. Choose a time when you can maintain ideal conditions.
Painting kitchen cabinets without removing doors delivers professional results when you follow proper preparation and application techniques. The process requires patience through the prep phase, but that investment pays dividends in a finish that lasts 10+ years. Meticulous preparation and careful masking around hinges are the difference between results that disappoint and results that transform your kitchen.
Frequently Asked Questions
Is it better to remove cabinet doors before painting?
Removing doors offers easier access and faster drying, but painting kitchen cabinets without removing doors saves time and keeps your kitchen functional. The choice depends on your timeline and comfort with masking hinges. In-place painting requires careful preparation and hinge protection, but many homeowners successfully complete this method with proper technique and patience.
How do you paint kitchen cabinets without getting paint on the hinges?
Use painter's tape and cardboard to mask hinges before any paint application. Apply tape carefully around hinge edges, then use a small artist's brush for precise application near hardware. Some professionals use plastic sheeting or magnetic shields. The key is creating a tight seal with your masking materials and working slowly in these sensitive areas to avoid drips.
What is the best paint to use for painting kitchen cabinets without removing doors?
Cabinet-specific paint or satin enamel formulas provide the best durability for kitchens. Look for products designed for cabinets that offer excellent adhesion and resist chipping. Pair your paint choice with a quality primer that matches your substrate type, laminate, wood, or MDF. Ensure the primer and paint are compatible for optimal finish and longevity.
How long does it take to paint kitchen cabinets without removing doors?
Prep work typically requires 1-2 days for cleaning, sanding, and masking. Actual painting takes 1-2 days depending on cabinet size and application method. Drying between coats usually requires 4-8 hours, and full curing can take 7-14 days before normal use. Total project time is typically 2-3 weeks from start to finish.
This article was written using GrandRanker