Table of Contents
- Why Proper Cabinet Sanding Matters Before Painting
- What You’ll Need: Tools and Materials for Cabinet Sanding
- How to Clean Cabinets Before Painting and Sanding
- Choosing the Best Sandpaper Grit for Cabinets
- Step-by-Step Process: How to Sand Cabinets Before Painting
- Sanding vs. Deglossing Cabinets: Which Method Is Right?
- Material-Specific Sanding: MDF vs. Solid Wood vs. Laminate
- Common Cabinet Sanding Mistakes to Avoid
Last Updated: July 10, 2026
Why Proper Cabinet Sanding Matters Before Painting
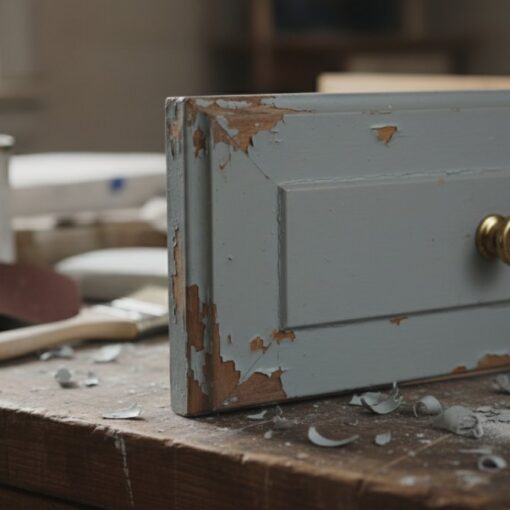
Learning how to sand cabinets before painting is the most critical step between an amateur-looking finish and professional results. When you skip proper sanding, paint sits on a glossy, slick surface with nothing to grip. Within weeks, you’ll see peeling at the edges, flaking around hardware, and a finish that looks worse than when you started.
Proper sanding creates microscopic texture that allows primer and paint to bond permanently to the wood or existing finish.
The single biggest mistake homeowners make: using the same sandpaper grit for the entire job. Different stages require different grits, and skipping grits leads to an uneven, rough surface that shows through your paint.
What You’ll Need: Tools and Materials for Cabinet Sanding
Essential Sanding Equipment
An orbital sander is your workhorse for large flat surfaces like cabinet doors and drawer fronts. For tight corners, edges, and detailed areas, a sanding block gives you the control you need. Sandpaper in multiple grits is essential: coarse grit (80-120) for removing old finishes, medium grit (150-180) for smoothing, and fine grit (220) for final preparation before primer.
Additional supplies include a tack cloth to remove dust between grits, a vacuum with HEPA filter, and dust collection bags for your orbital sander.
Safety and Dust Management Gear
Cabinet sanding produces fine wood and paint dust that becomes airborne. A respirator rated for fine dust and paint particles is non-negotiable, paper dust masks are insufficient. You need a half-mask or full-face respirator with P100 cartridges. If sanding cabinets with old paint that may contain lead, professional lead abatement is recommended for pre-1978 homes.
Safety glasses protect your eyes from dust and flying particles. Wear old clothes or a work apron, as sanding dust gets everywhere.
How to Clean Cabinets Before Painting and Sanding
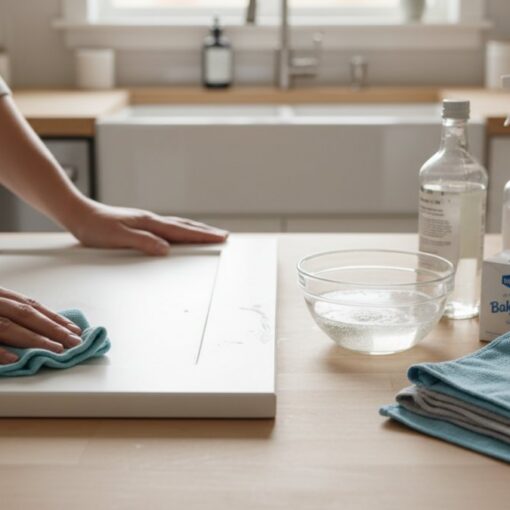
Cleaning before sanding is crucial. Dirt, grease, and grime interfere with sanding and reduce adhesion of primer and paint. Start with a degreaser or TSP (Trisodium Phosphate) solution, wiping down all cabinet surfaces with a damp cloth, paying special attention to areas near the stove or sink.
After degreasing, rinse thoroughly with clean water and let the cabinets dry completely. Allow at least 24 hours of drying time before sanding.
Sanding wet or damp wood causes the sandpaper to clog immediately and leaves a rough surface. Always verify cabinets are completely dry before starting.
Choosing the Best Sandpaper Grit for Cabinets
Sandpaper grit determines how aggressively the paper cuts and how fine the final texture becomes. The progression from coarse to fine grit is essential.
Coarse Grit for Finish Removal
Coarse grit sandpaper (80-120 grit) removes old paint, varnish, and glossy finishes quickly. Use 80-grit for heavily painted or varnished surfaces; use 120-grit if you’re just dulling the gloss. Stop when the surface has lost its shine and feels slightly rough to the touch.
Medium Grit for Surface Preparation
Medium grit sandpaper (150-180 grit) smooths the surface after coarse sanding and removes scratches left by coarser grits. Sand all surfaces with 150-grit using the same technique as the coarse grit stage. You should see a uniform, dull finish across all cabinet surfaces.
Fine Grit for Final Smoothing
Fine grit sandpaper (220 grit) is your final sanding stage. This grit produces a smooth surface that accepts primer and paint evenly. Your cabinets should feel smooth to the touch when done.
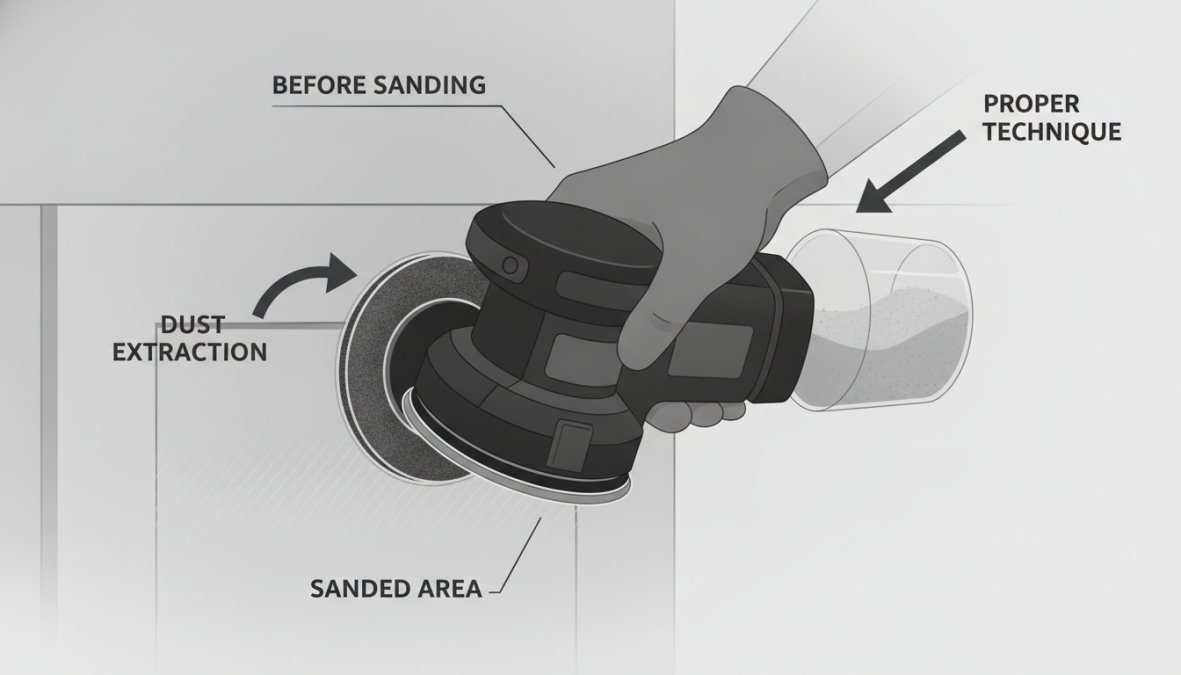
Step-by-Step Process: How to Sand Cabinets Before Painting
Step 1: Assess Your Current Finish and Determine Sanding Level
Before buying sandpaper, determine what you’re working with. Test your current finish by sanding a small, inconspicuous area with 120-grit sandpaper. If the finish comes off easily and you see bare wood underneath within minutes, you have a painted finish requiring full sanding removal. If sanding produces fine dust and the surface dulls but the finish remains, you have a lacquered or polyurethane finish requiring scuff sanding.
Step 2: Set Up Your Workspace for Dust Control
Remove cabinet doors and drawer fronts if possible. Set up a dedicated work area, ideally in a garage or workshop with good ventilation. If working in your kitchen, seal doorways with plastic sheeting to contain dust.
Set up dust collection before starting. If your orbital sander has a dust collection bag, attach it and check it frequently. For larger jobs, connect your sander to a shop vacuum with a HEPA filter.
Step 3: Sand Cabinet Doors and Drawer Fronts
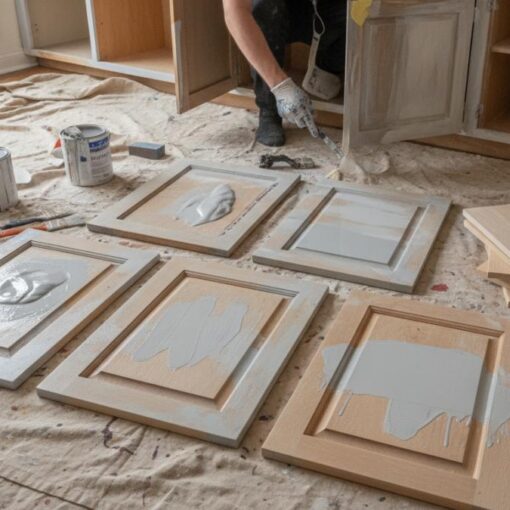
Remove doors from hinges and lay them flat on sawhorses or a work surface. Start with your coarse grit (80 or 120), working in the direction of the wood grain when possible. Sand until the surface is uniformly dull with no shiny spots.
Move to medium grit (150-180) and repeat, sanding the entire surface to remove scratches from coarse sanding. Finally, sand with fine grit (220) to produce a smooth, even surface ready for primer. Between grit stages, wipe the surface with a tack cloth to remove dust.
Step 4: Sand Cabinet Frames and Interior Surfaces
Cabinet frames and interior surfaces require the same grit progression as doors. For upper cabinet frames, a pole sander makes reaching high areas easier. Interior cabinet surfaces don’t need aggressive sanding; a quick scuff with 150-grit sandpaper is often sufficient.
Step 5: Remove Sanding Dust and Prepare for Primer
After sanding all surfaces through the fine-grit stage, remove all dust. Vacuum all surfaces with a HEPA-filter vacuum using the brush attachment. After vacuuming, wipe all surfaces with a tack cloth. Run your hand across the surface; it should feel completely smooth and dust-free.
The difference between a paint job that lasts five years and one that lasts fifteen is the dust removal stage. Rushing this step is the most common reason cabinet paint fails prematurely.
Sanding vs. Deglossing Cabinets: Which Method Is Right?
Not every cabinet project requires aggressive sanding. If your cabinets have a glossy finish but the paint or stain is in good condition, deglossing alone may suffice.
When to Use a Deglosser Instead of Sanding
A deglosser is a chemical product that dulls the gloss on a painted or stained surface without removing the finish. Deglossers work best on cabinets with intact, glossy finishes that have no peeling, cracking, or damage. However, deglossers don’t remove paint or old finishes, only dull the surface. If your cabinets have peeling paint, thick buildup, or damaged areas, sanding is necessary.
Comparing Manual Sanding vs. Power Sanding
Manual sanding with a sanding block gives you complete control and works well for detailed areas and small projects. Power sanding with an orbital sander is dramatically faster for large surface areas. The best approach combines both methods: use a power sander on large flat surfaces to save time, then switch to a sanding block for edges, corners, and detailed areas.
Material-Specific Sanding: MDF vs. Solid Wood vs. Laminate
Different cabinet materials respond differently to sanding.
Sanding MDF Cabinets
MDF (medium-density fiberboard) is softer than solid wood and can be damaged by aggressive sanding. Start with 120-grit sandpaper rather than 80-grit. Sand gently with an orbital sander, letting the tool do the work rather than pressing hard. After cleaning with TSP solution, allow extra drying time, 48 hours is better than 24 for MDF.
Sanding Solid Wood Cabinets
Solid wood cabinets present different challenges depending on the species and existing finish. Start with 120-grit for solid wood with a painted finish, or 150-grit if you’re just dulling a stained finish. Sand in the direction of the wood grain to avoid cross-grain scratches that show through paint.
Sanding Laminate Cabinet Surfaces
Laminate cabinets have a thin plastic veneer over a substrate. Sanding laminate is risky; sand too aggressively and you’ll sand through the veneer. Use 150-grit or finer sandpaper only and use a sanding block instead of an orbital sander, sanding gently by hand. If your laminate cabinets have peeling, cracking, or damaged veneer, sanding won’t fix the problem.
Common Cabinet Sanding Mistakes to Avoid
Skipping the dust removal stage. After sanding, cabinets are covered in fine dust. Painting over dust creates a rough texture and poor paint adhesion. Vacuum thoroughly and wipe with a tack cloth before priming.
Using the same grit for the entire job. Jumping directly from 80-grit to 220-grit skips intermediate smoothing. Your final surface will have visible scratches from the coarse grit.
Sanding too aggressively. Pressing hard on a sander doesn’t speed up the work; it clogs the sandpaper and can damage the surface.
Not cleaning before sanding. Greasy, dirty surfaces interfere with sanding and paint adhesion.
Sanding damp wood. Moisture causes sandpaper to clog immediately and leaves a rough surface.
Ignoring safety equipment. Sanding dust is a respiratory hazard. Wear a proper respirator rated for fine dust.
Painting immediately after sanding. Dust settles quickly after sanding. Prime the same day you sand, or cover cabinets with plastic sheeting to keep dust off.
Properly sanded cabinets are the foundation of a professional-looking paint job. The work is straightforward but requires patience and attention to detail. With 40 years of experience transforming kitchens across Colorado, Denver Cabinet Painting Colorado specializes in meticulous cabinet preparation and professional painting, ensuring smooth, durable results that last.
| Sanding Stage | Sandpaper Grit | Purpose | Surface Appearance |
|---|---|---|---|
| Finish Removal | 80-120 | Remove old paint/varnish | Dull, rough |
| Surface Smoothing | 150-180 | Smooth coarse scratches | Uniformly dull |
| Final Preparation | 220 | Create smooth, even surface | Smooth, ready for primer |
Frequently Asked Questions
Do you really need to sand cabinets before painting?
Yes, sanding is critical for how to sand cabinets before painting successfully. It removes the existing finish, opens up the wood grain, and creates a surface texture that allows primer and paint to adhere properly. Even if your cabinets appear smooth, the old finish often has a glossy coating that prevents paint bonding. Skipping this step typically results in paint failure, peeling paint, or an uneven finish that won't last.
What grit sandpaper should I use for kitchen cabinets?
The best sandpaper grit for cabinets depends on your starting point. For removing old finish, start with 80-grit or 100-grit coarse sandpaper. Progress to 120-grit for medium surface preparation, then finish with 220-grit fine sandpaper for a smooth final surface. This multi-grit approach ensures proper finish removal while maintaining a surface texture ideal for primer adhesion without over-sanding or sanding through the finish.
Can I use a deglosser instead of sanding my cabinets?
A deglosser can work as an alternative to sanding for lightly glossed surfaces, but traditional sanding is more effective for how to sand cabinets before painting when dealing with thick finishes or bare wood exposure. Deglossers like TSP (Trisodium Phosphate) solutions work well for scuff sanding and removing gloss, but they don't remove finish as aggressively. Many professionals recommend using both methods: deglosser for cleaning and degreasing, followed by light sanding for optimal paint adhesion.
How do I remove sanding dust effectively before painting?
After sanding, use a vacuum with HEPA filtration to remove bulk dust, then wipe surfaces with a tack cloth to capture remaining particles. For stubborn dust, lightly dampen a microfiber cloth, avoid oversaturating. Allow cabinets to dry completely before primer application. Proper dust removal is essential for smooth paint finish and primer adhesion. Consider eco-friendly dust containment solutions like sealed work areas or dust shrouds around power sanders to minimize cleanup.
This article was written using GrandRanker