Table of Contents
- Avoiding Common Cabinet Painting Mistakes: The Foundation
- Mistake 1: Skipping or Rushing Surface Preparation
- How to Prep Cabinets for Painting: Step-by-Step
- Mistake 2: Choosing the Wrong Paint Type and Best Primer for Kitchen Cabinets
- Mistake 3: Ignoring Wood Grain and Texture Issues
- Kitchen Cabinet Painting Tools: Brush vs. Roller vs. Spray
- Mistake 4: Applying Paint Too Thick or With Improper Technique
- How Long Does It Take to Paint Kitchen Cabinets: Timeline and Curing
Last Updated: July 2, 2026
Avoiding Common Cabinet Painting Mistakes: The Foundation
Cabinet painting offers a cost-effective alternative to full replacement, but success depends on avoiding critical errors. At Denver Cabinet Painting Colorado, we’ve seen countless projects fail due to skipped preparation, wrong materials, or improper application. The difference between a finish that lasts five years and one that chips within months comes down to understanding these mistakes before you start.
This guide covers the seven most common mistakes and practical solutions to prevent them. Whether tackling this as DIY or evaluating professional services, understanding these pitfalls will help you avoid costly do-overs.
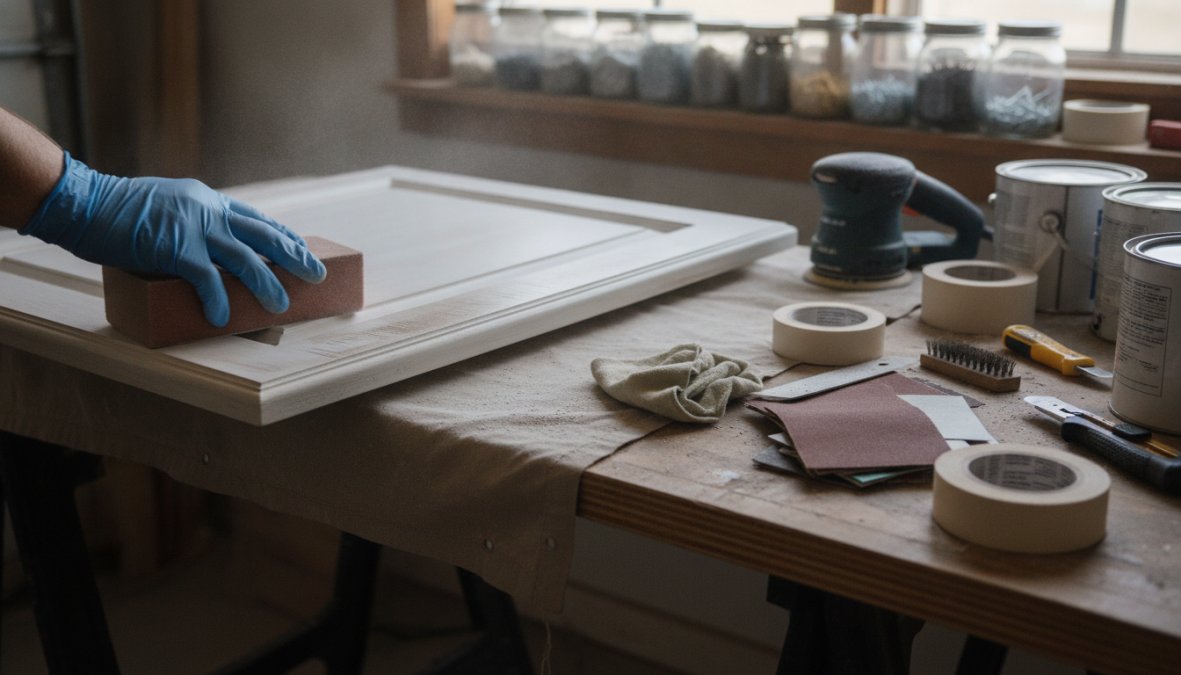
Mistake 1: Skipping or Rushing Surface Preparation
The most common cabinet painting mistake is treating surface preparation as optional. Without proper prep, paint fails quickly, peeling, chipping, and bubbling typically start within weeks.
Surface preparation determines whether paint adheres to the cabinet or sits on top of it. Cabinets accumulate years of grease, dust, and cooking residue that prevent adhesion. Sanding alone won’t solve this; you must degrease before sanding so contaminants don’t get embedded into the sanded surface.
Paint adheres through mechanical bonding (filling microscopic valleys created by sanding) and chemical bonding (requiring a clean surface free of oils). Skipping either step compromises both types of adhesion.
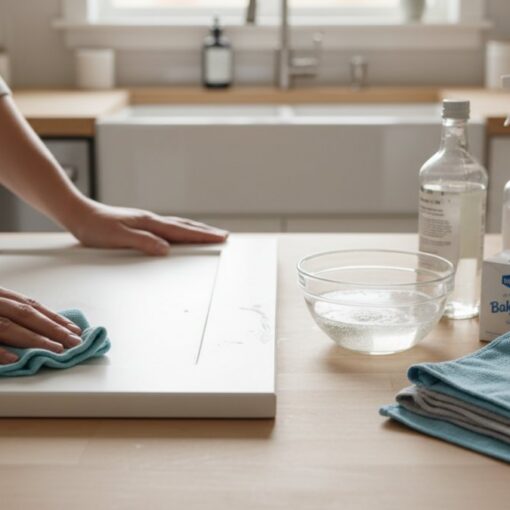
Degreasing with TSP: Trisodium phosphate (TSP) is the industry standard for cabinet degreasing. Mix one cup of TSP per gallon of hot water and apply with a sponge, working in sections. TSP cuts through cooking grease, soap film, and mineral deposits that regular soap won’t touch. Rinse thoroughly and allow 24 hours to dry completely before sanding.
Skipping TSP degreasing is the #1 reason cabinet paint fails within the first year. Grease buildup prevents primer adhesion, causing the entire paint system to fail.
How to Prep Cabinets for Painting: Step-by-Step
Proper cabinet preparation takes time but saves weeks of frustration later.

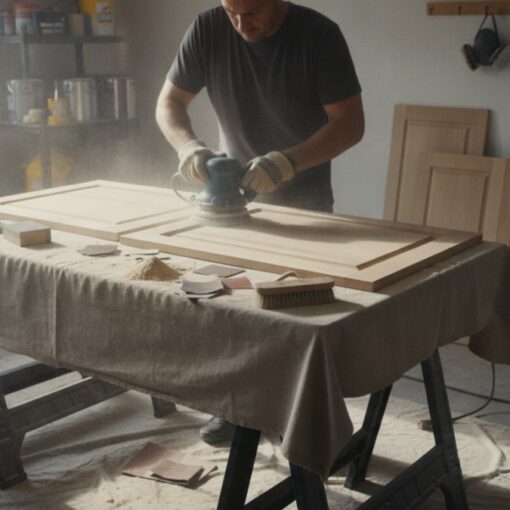
Sanding block selection and grit progression: Use a sanding block rather than power sanders on cabinet faces; power tools remove material too aggressively. Start with 120-grit sandpaper to remove the existing finish and create texture for primer adhesion. Follow with 180-grit to smooth the surface and remove 120-grit scratches. Sand with light pressure in circular motions, working with the wood grain when possible. The goal is to dull the surface and create slight texture, not sand through to bare wood.
Removing hardware and labeling doors: Remove all cabinet hardware, hinges, knobs, handles, and drawer pulls. Paint around hardware traps moisture and prevents proper curing. Number each door and drawer on the inside edge with a pencil before removal and create a simple diagram showing which number goes where. Store hardware in labeled plastic bags organized by cabinet location.
Final tack cloth and cleanliness check: After sanding, use a tack cloth to wipe down all surfaces. Regular cloth leaves lint behind; tack cloths pick up dust without leaving residue. Work from top to bottom, letting the tack cloth do the work. Allow surfaces to sit for at least 4 hours after tack-clothing before applying primer.
Label your cabinet doors on the INSIDE edge with a permanent marker, writing the location (e.g., “Upper left, second from end”) rather than just numbers. This prevents mistakes during reinstallation.
Mistake 2: Choosing the Wrong Paint Type and Best Primer for Kitchen Cabinets
Selecting the right paint type is critical. Kitchen and bathroom cabinets need finishes that withstand moisture, heat, and frequent cleaning.
Latex vs. oil-based paint: Latex (water-based) paints now dominate the cabinet market. They dry faster, emit fewer fumes, clean up with water, and offer excellent durability when applied correctly. Oil-based paints offer superior flow but require mineral spirits for cleanup and take 24+ hours to cure between coats.
For kitchens and bathrooms, latex enamel paints specifically formulated for cabinets outperform standard latex wall paint. Cabinet-grade latex enamels contain higher resin content and hardeners that create a more durable finish. Latex alternatives now match or exceed oil-based performance while offering faster drying and easier cleanup.
Enamel finishes and top coat protection: Enamel refers to the paint formulation. Enamel paints cure harder than standard paints, creating a finish that resists scratches, stains, and moisture better. For cabinets, always specify enamel-based paint rather than standard latex or acrylic paint.
Many cabinet painters add a polyurethane top coat after the final paint coat cures. This protective layer adds durability and makes cabinets easier to clean. Water-based polyurethane works with latex paint systems and cures clear. Oil-based polyurethane yellows slightly but offers superior hardness.
Why primer adhesion is non-negotiable: Primer bridges the gap between the sanded cabinet surface and the topcoat paint. Cabinet primer must be specifically formulated for glossy surfaces; standard wall primers don’t grip cabinet finishes effectively.
Use a bonding primer designed for cabinets. These primers contain extra adhesion promoters that grab onto glossy surfaces. Apply primer in thin, even coats using a quality brush or foam roller. Two coats of primer are standard.
Cabinet-grade latex enamel with a bonding primer is the best combination for most residential cabinet projects. This pairing offers durability, ease of application, and fast curing without sacrificing finish quality.
Mistake 3: Ignoring Wood Grain and Texture Issues
Raw wood grain and surface imperfections become magnified under paint. Ignoring these defects leads to a bumpy, unprofessional finish.
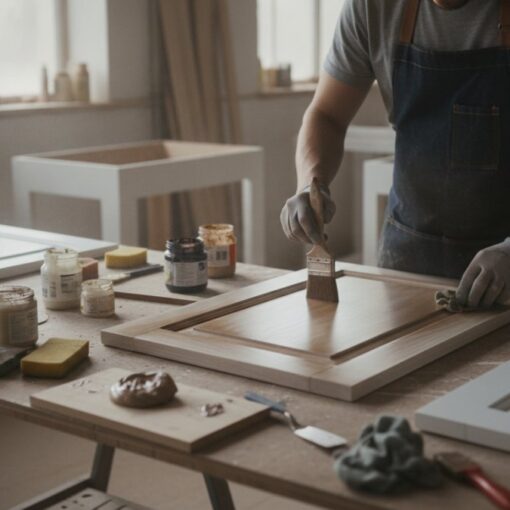
Wood filler for grain and imperfections: Open-grain woods like oak have pronounced grain patterns that show through paint unless filled. Use paintable wood filler to level the grain before sanding. Apply filler with a putty knife, working it into the grain lines. After drying, sand flush with the surface using 120-grit sandpaper.
Dents, dings, and small gouges should also be filled. Use wood filler for deeper dents and spackle for small surface dings. Sand smooth after drying.
Sanding between coats to prevent bubbles and drips: After primer dries, sand lightly with 220-grit sandpaper to remove dust nibs and create a smooth surface for topcoat. Sand lightly in circular motions; you’re not trying to remove primer, just smooth it. Tack cloth again before applying paint.
Kitchen Cabinet Painting Tools: Brush vs. Roller vs. Spray
Each application method has advantages and limitations.
Brush strokes and quality bristles: A quality angled brush with natural bristles (for oil-based paint) or high-quality synthetic bristles (for latex) creates the smoothest finish. Cheap brushes shed bristles and leave visible marks. Invest in a 2-inch angled sash brush for cabinet doors and a 1.5-inch brush for frames and edges.
Apply paint with long, smooth strokes in the direction of the wood grain. Maintain a wet edge by overlapping slightly with each stroke. Brush application takes longer than rolling but produces superior results on cabinet doors.
Roller nap selection and overspray control: Foam rollers with 0.25-inch nap create smooth finishes without texture. Rolling covers large flat surfaces quickly and evenly. However, rollers don’t work well on edges or detailed areas. Most cabinet projects combine brushing for detailed areas and rolling for large flat surfaces.
Spray application offers the fastest coverage and smoothest finish but requires skill and equipment. Spray guns create overspray that settles on surrounding areas, requiring plastic sheeting to protect floors and adjacent surfaces. For DIY projects, the overspray risk and cleanup requirements often outweigh the speed advantage.
Spray gun nozzle size and air pressure: Professional cabinet painters use HVLP (high-volume, low-pressure) spray systems that minimize overspray. Smaller nozzles (1.3mm) work for detail areas; larger nozzles (1.5mm) cover flat surfaces faster. Air pressure should be adjusted per manufacturer specs, typically 25-40 PSI for HVLP systems.
Spray application requires practice to avoid drips and uneven coverage. For first-time cabinet painters, brush and roller combinations deliver professional results with less risk.
For cabinet doors, combine a foam roller for the flat center panel with a brush for the frame and edges. This hybrid approach balances speed with precision.
Mistake 4: Applying Paint Too Thick or With Improper Technique
Thick paint coats seem logical, but they cause more problems than they solve.
Understanding curing time and multiple thin coats: Paint cures through solvent evaporation. Thick coats trap solvents inside, slowing curing and creating soft spots that remain tacky for weeks. Thin coats cure faster and harder because solvents escape evenly.
Apply paint in thin, even coats rather than one or two thick coats. A standard cabinet project needs two to three paint coats over primer, with each coat about 2-3 mils thick. This layering approach produces a harder, more durable finish.
Allow full curing time between coats. Most latex cabinet paints cure in 4-6 hours for recoating, but full hardness takes 7-14 days. Rushing to use cabinets before full curing compromises durability.
Preventing peeling and chipping with proper layering: Peeling occurs when paint loses adhesion to the surface below. Proper layering prevents peeling: bonding primer → thin paint coat → thin paint coat → polyurethane (optional).
Each layer should be thin enough to cure completely before the next coat. Thick coats trap moisture and prevent proper adhesion, leading to peeling within months.
How Long Does It Take to Paint Kitchen Cabinets: Timeline and Curing
Understanding the complete timeline prevents mistakes caused by rushing.
Drying vs. curing: Drying refers to when paint is dry to the touch, typically 2-4 hours for latex paint. Curing refers to when paint reaches full hardness, typically 7-14 days for cabinet-grade latex enamel. Cabinets are dry to the touch after 4 hours but won’t resist scratches or stains until fully cured.
Polyurethane top coats extend curing time significantly. Water-based polyurethane cures in 24-48 hours between coats and 2-3 weeks for full hardness. During the curing period, cabinets should remain closed and undisturbed.
Realistic project timeline from prep to final finish:
| Phase | Duration | Critical Notes |
|---|---|---|
| Degreasing & sanding | 2-3 days | Allow 24 hours drying after TSP |
| Primer (2 coats) | 1 day | 4-6 hours between coats |
| Paint (2-3 coats) | 2-3 days | 4-6 hours between coats |
| Polyurethane (optional) | 2-3 days | 24-48 hours between coats |
| Full curing | 14-21 days | Do not use cabinets during this period |
Total elapsed time from start to finish is typically 3-4 weeks. Rushing any phase compromises the final result.
Cabinet painting success hinges on respecting the process. The mistakes covered in this guide, skipping prep, choosing wrong materials, ignoring texture issues, and rushing application, account for nearly every cabinet painting failure. Denver Cabinet Painting Colorado has spent 40 years perfecting these techniques, centering our approach on meticulous preparation, proper materials, and patient application. If you’re considering cabinet painting for your kitchen or bathroom, get a free quote from Denver Cabinet Painting Colorado to see how professional execution transforms your space without the expense of full cabinet replacement.
Frequently Asked Questions
What is the biggest mistake when painting kitchen cabinets?
Skipping or rushing surface preparation is the most critical mistake. Inadequate cleaning, degreasing with TSP, and insufficient sanding prevent proper primer adhesion, leading to peeling and chipping. Even high-quality paint and primer cannot adhere to a contaminated or glossy surface. Proper surface prep is the foundation of a durable cabinet finish.
Do you need to sand cabinets before painting and what grit should you use?
Yes, sanding is essential for adhesion. Start with 120-150 grit to remove the existing finish, then progress to 180-220 grit for smoothing. Use a sanding block for flat surfaces to avoid rounding edges. Sand lightly between primer and paint coats. Proper sanding removes gloss, opens the wood grain, and creates a mechanical bond for primer to grip.
What is the best primer for kitchen cabinets and why does it matter?
Choose a bonding primer specifically formulated for cabinet work, oil-based or shellac-based primers offer superior adhesion on glossy surfaces. High-quality primers block stains, improve paint durability, and reduce the number of paint coats needed. Primer creates a stable base that prevents peeling and chipping, making it non-negotiable for long-lasting cabinet finishes.
How long does it take to paint kitchen cabinets from start to finish?
Plan 1-2 weeks total. Surface prep takes 2-3 days, primer application 1 day, paint coats 2-3 days, and curing 7-14 days depending on product. Oil-based paints require longer curing than latex. Do not reinstall hardware or use cabinets until full curing is complete. Rushing this timeline risks soft finishes, drips, and poor durability.
This article was written using GrandRanker