Table of Contents
- Understanding the Cabinet Staining Process
- How to Prep Cabinets for Staining
- Cabinet Staining Tools List: What You’ll Need
- Surface Preparation: Cleaning, Sanding, and Finishing
- Choosing and Applying Stain in the Cabinet Staining Process
- How Long Does Cabinet Stain Take to Dry?
- Common Cabinet Staining Mistakes and How to Avoid Them
- Finishing and Long-Term Cabinet Maintenance
Last Updated: June 20, 2026
The cabinet staining process is one of the most rewarding kitchen upgrades you can tackle, but it’s also one of the most unforgiving if you skip steps. At Denver Cabinet Painting Colorado, we’ve spent 40 years watching homeowners rush the prep work and wonder why their beautiful new stain looks blotchy three weeks later. The good news: every common staining failure has a predictable cause and a straightforward fix. Below, we’ll walk you through the complete process, from workspace setup to long-term maintenance, so you get professional results the first time.
What most guides get wrong is burying the most important insight: staining cabinets is 70% preparation and 30% application.
Understanding the Cabinet Staining Process
The cabinet staining process is the sequence of steps used to apply pigmented finish to wood cabinet surfaces, enhancing grain visibility while protecting the underlying material. Unlike paint, stain penetrates the wood fiber itself rather than forming an opaque film on top, which means surface quality matters far more than it does with painted finishes.
Solid wood cabinets take stain beautifully and evenly. Veneer surfaces require a lighter touch because the wear layer is thin. If your cabinets are MDF or particleboard with a vinyl wrap, staining is not a viable option.
The staining process typically involves seven distinct phases: disassembly, cleaning, sanding, conditioning, stain application, drying, and topcoat. Skipping or rushing any phase cascades into problems downstream.
Staining vs. Painting: Which Is Right for Your Cabinets?
Staining is the right choice when you have solid wood or high-quality veneer cabinets and want to showcase the natural wood grain. Painting is the better option when you’re working with lower-grade wood, MDF components, or cabinets with significant surface damage.
| Situation | Recommended Finish | Reason |
|---|---|---|
| Solid wood, visible grain | Stain | Grain enhancement, natural look |
| Veneer with intact surface | Stain (careful sanding) | Preserves wood character |
| MDF or particleboard | Paint | No grain to enhance |
| Heavy scratches or gouges | Paint | Filler visible under stain |
| Matching existing stained cabinets | Stain | Color continuity |
| Complete color change desired | Paint | Covers existing tone fully |
The honest answer is that paint hides more sins. Stain reveals everything, including the craftsmanship of whoever does the prep work.
How to Prep Cabinets for Staining
Preparation is where the cabinet staining process is won or lost. Professional finishers spend more time on prep than on any other phase combined.
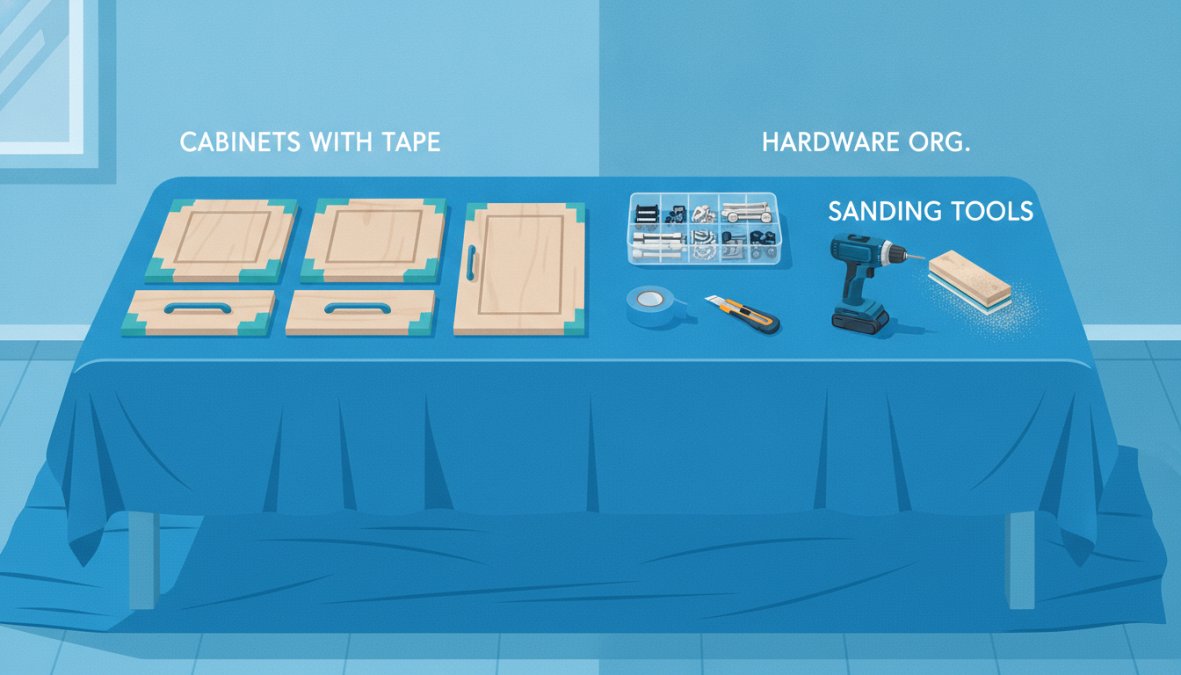
Workspace Setup and Safety
Set up your workspace before touching a single cabinet. Ventilation is non-negotiable. Oil-based stains and wood strippers release volatile organic compounds (VOCs) that accumulate quickly in enclosed spaces. Open windows, run a fan to create cross-ventilation, and wear a respirator rated for organic vapors.
Lay a drop cloth across the entire work area. Stain migrates farther than you expect, and it bonds permanently to concrete floors. Cover countertops and appliances with plastic sheeting secured with painter’s tape.
Gather your materials before starting:
- Drop cloth (canvas or plastic)
- Painter’s tape
- Respirator (organic vapor cartridge)
- Safety glasses
- Nitrile gloves
- Degreaser
- Lint-free cloths
- Orbital sander
- Sandpaper (80, 120, 150, 220 grit)
- Tack cloth
- Wood filler
- Wood conditioner
- Stain (gel stain or oil-based stain)
- Natural bristle brush or foam applicator
- Polyurethane topcoat
Removing Hardware, Doors, and Drawers
Remove every piece of cabinet hardware before doing anything else. Use a bag-and-label system: zip-lock bags labeled with the cabinet location keep hardware organized.
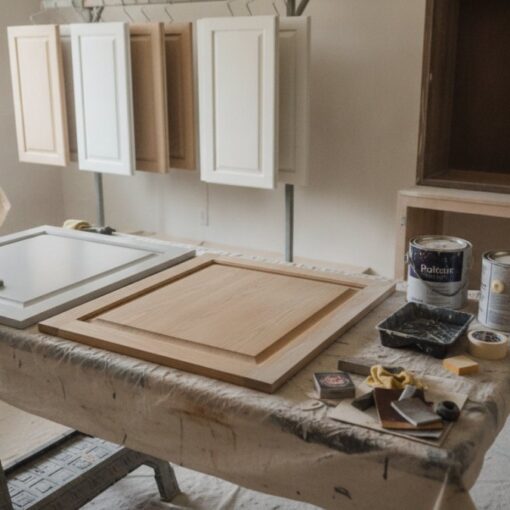
Pull all doors from their hinges and remove drawer fronts. Staining doors horizontally on sawhorses produces dramatically better results than staining them vertically in place. Number each door with painter’s tape on the interior face to ensure proper reinstallation.
Never skip the hardware removal step to save time. Stain that seeps under hinges or around pulls creates permanent discoloration that’s nearly impossible to correct without full stripping and re-staining.
Cabinet Staining Tools List: What You’ll Need
The right tools make the cabinet staining process significantly more predictable.

Essential Equipment and Materials
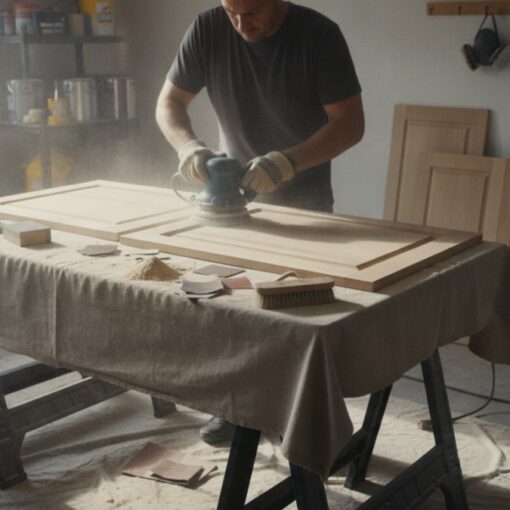
Sanding tools: An orbital sander handles flat surfaces efficiently and reduces hand-fatigue. Hand-sanding blocks work for corners, edges, and raised panel details where the orbital sander can’t reach.
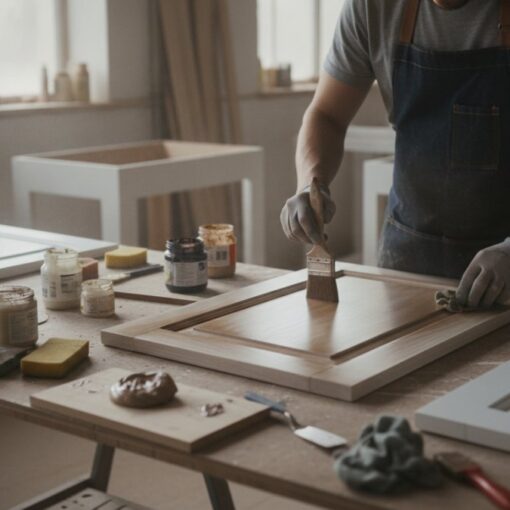
Application tools: Natural bristle brushes work best with oil-based stains. Foam brushes are acceptable for gel stains. Lint-free cloths (old T-shirts work well) are essential for wiping back excess stain.
Protective gear: Keep eye protection on during sanding. Wood dust is a respiratory irritant.
Finishing materials: Tack cloth removes the fine dust that regular cloths leave behind. This step is critical: dust particles trapped under stain create a gritty texture in the final finish.
According to the Environmental Protection Agency’s guidance on VOC safety in residential settings, proper ventilation and appropriate respirator use are essential when working with solvent-based wood finishes indoors.
Surface Preparation: Cleaning, Sanding, and Finishing
The surface looks clean to the naked eye, but cooking grease, furniture polish residue, and hand oils are invisible until they cause the stain to bead and reject. Thorough surface prep is the difference between a professional result and a frustrating redo.
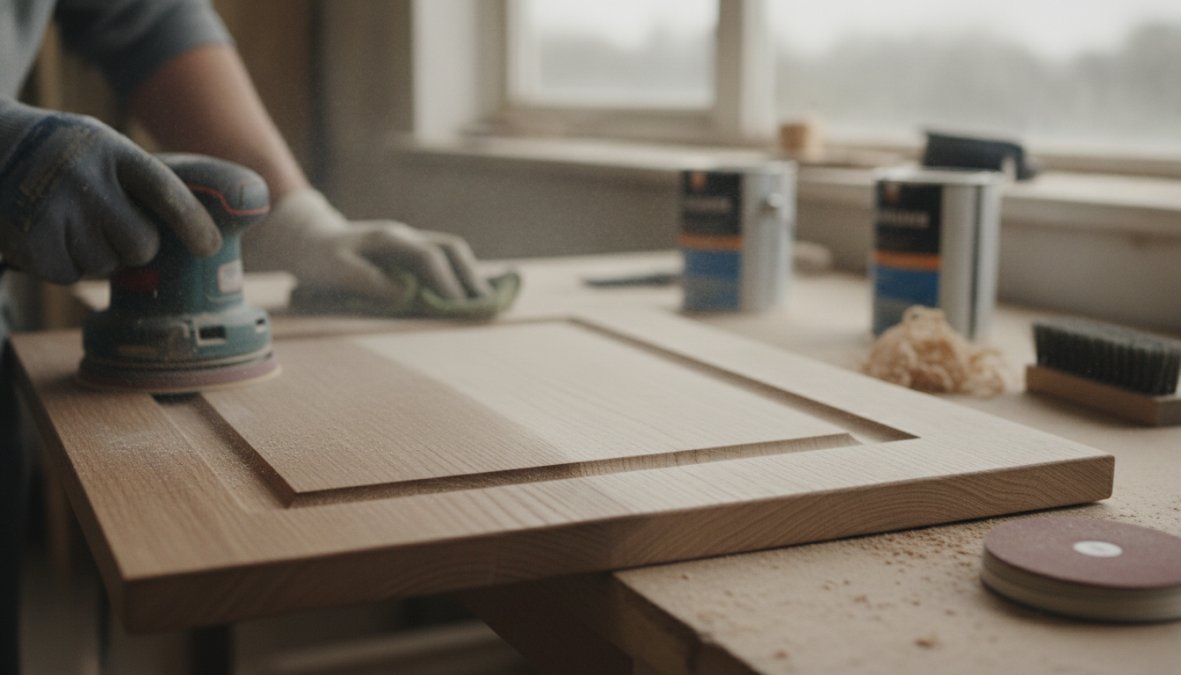
Degreasing and Cleaning Surfaces
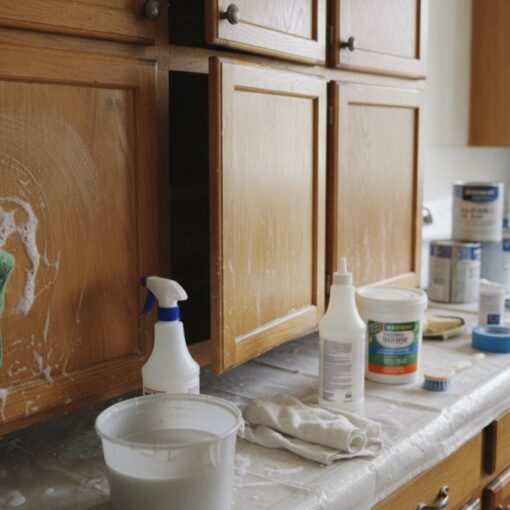
Start with a dedicated degreaser, not dish soap. Mineral spirits work well for oil-based contamination. TSP (trisodium phosphate) substitute products are effective for general kitchen grease.
Apply the degreaser with a lint-free cloth, working in sections. Wipe in the direction of the wood grain. Follow with a clean, damp cloth to remove degreaser residue, then allow surfaces to dry completely before sanding.
Sanding Techniques and Grit Selection
Sanding sequence matters as much as the grits you choose. Start with 80-grit sandpaper to remove the bulk of the old finish on previously finished cabinets. Progress to 120-grit to remove the scratches left by 80-grit. Finish with 150 or 180-grit to create the smooth surface that accepts stain evenly.
Always sand with the wood grain, never across it. Cross-grain scratches catch stain and appear as dark lines in the finished surface. On flat panels, the orbital sander handles the majority of the work. On raised panel edges and detailed profiles, hand-sand with a folded piece of sandpaper.
After the final sanding pass, wipe the entire surface with a tack cloth to remove all dust.
Between sanding grits, wipe the surface with a slightly damp cloth and let it dry. The moisture raises the grain slightly, and the subsequent sanding knocks those fibers back down, producing a noticeably smoother final surface.
Removing Old Finish and Applying Wood Conditioner
Re-staining over an existing finish requires complete removal of the old topcoat. Wood stripper is the most efficient method. Apply it liberally with a brush, allow it to dwell according to the product directions (typically 15-30 minutes), then scrape with a plastic scraper to avoid gouging the wood.
After stripping, neutralize the surface according to the stripper manufacturer’s instructions. Sand lightly with 150-grit to remove any remaining residue.
Wood conditioner is the step most DIYers skip, and it shows. It’s a pre-stain treatment that partially seals the wood surface, reducing the rate of stain absorption to create more even color. Apply conditioner with a lint-free cloth, allow it to penetrate for the manufacturer’s recommended time (usually 5-15 minutes), then wipe off the excess. Apply stain within two hours of conditioning for best results.
Choosing and Applying Stain in the Cabinet Staining Process
The stain selection decision shapes everything that follows. Get this choice right, and the application phase becomes straightforward.
Gel Stain vs. Oil-Based Stain: Making the Right Choice
Gel stain has a thick, pudding-like consistency that sits on the surface rather than penetrating deeply. This makes it forgiving on problematic wood species and excellent for achieving consistent color on surfaces with uneven grain density.
Oil-based stain penetrates the wood fiber directly, producing a richer, more natural-looking result on solid wood with open grain. It takes longer to dry (typically 8-24 hours between coats) and has higher VOC content than water-based alternatives.
For most kitchen cabinet staining projects on solid wood, oil-based stain produces the best long-term results. For veneer cabinets or situations requiring precise color matching, gel stain offers more control.
Stain Application Techniques
Always test your stain on an inconspicuous area or a scrap piece of the same wood before committing to the full project.
Apply stain in thin, even coats working with the wood grain:
- Load a natural bristle brush or lint-free cloth with stain.
- Apply in long, even strokes following the grain direction.
- Work in manageable sections (one door at a time).
- Allow the stain to penetrate for 3-5 minutes (or per product instructions).
- Wipe back the excess with a clean lint-free cloth, again following the grain.
- Check for pooling in corners and recessed areas, wiping out any accumulation.
- Allow to dry completely before evaluating color depth.
For darker color, apply a second coat after the first has dried fully.
The “wipe back” step is where stain color is actually controlled. Leaving more product on the surface produces a darker result; wiping more aggressively produces a lighter one. Consistent wipe-back pressure across the entire surface is what creates even color.
How Long Does Cabinet Stain Take to Dry?
Cabinet stain drying time depends on the stain type, the ambient temperature, humidity levels, and the wood species being stained. Rushing this phase is the single most common cause of finish failures.
Drying Time by Stain Type and Environmental Factors
Oil-based stains require 8-24 hours of drying time between coats in typical conditions (65-75°F, 40-60% relative humidity). In cold or humid conditions, that extends to 24-48 hours.
Gel stains typically dry to the touch within 2-4 hours but require 8-12 hours before recoating. Full cure takes 72 hours to one week depending on conditions.
Water-based stains dry faster, often within 1-2 hours, but raise the wood grain more aggressively than oil-based products, requiring a light sanding pass between coats.
A few practical rules for drying:
- Never stain cabinets in a garage in winter without supplemental heat.
- High humidity (above 70%) extends drying times and can cause water-based products to blush.
- Good ventilation accelerates drying but means you need to keep the workspace free of dust during the process.
The "press test" is a reliable field check: press your knuckle firmly against the stained surface. If it leaves a mark, the stain hasn’t dried sufficiently.
Common Cabinet Staining Mistakes and How to Avoid Them
After 40 years of professional cabinet work, the team at Denver Cabinet Painting Colorado has seen every staining mistake in the book. Most of them are preventable with a few minutes of extra care.
Troubleshooting Uneven Absorption and Brush Strokes
Blotchy stain is the most common complaint from DIYers. The cause is almost always insufficient conditioning or sanding that left varying surface textures across the panel. The fix on an unfinished surface is to strip back to bare wood, condition properly, and re-stain.
Brush strokes visible in the dried stain indicate the product was applied too thickly or not wiped back before it began to set. Work in smaller sections if you’re finding the product is setting before you can wipe it back.
Dark end-grain areas are normal on solid wood and not a defect. Pre-treating end grain with a diluted coat of wood conditioner reduces this contrast.
| Mistake | Cause | Fix |
|---|---|---|
| Blotchy color | Skipped conditioner | Strip, condition, re-stain |
| Visible brush strokes | Too thick, late wipe-back | Work in smaller sections |
| Dark end grain | High absorption at cut ends | Pre-treat end grain with conditioner |
| Peeling topcoat | Stain not fully cured | Allow full cure (72+ hours) before topcoat |
| Gritty texture | Dust not removed before staining | Tack cloth after every sanding step |
Environmental and VOC Safety Considerations
Oil-based stains and most wood strippers contain significant VOC concentrations. VOC-laden vapors are flammable. Never stain near open flames, pilot lights, or space heaters. Keep the work area ventilated continuously throughout the project.
Water-based stains and water-based polyurethane topcoats have substantially lower VOC content and are a reasonable choice for homeowners with sensitivity concerns or limited ventilation options.
Dispose of stain-soaked rags carefully. Oil-soaked rags are a spontaneous combustion risk. Spread them flat outdoors to dry completely before disposal, or submerge them in water in a metal container before placing in the trash.
Finishing and Long-Term Cabinet Maintenance
Stain alone provides minimal protection against moisture, abrasion, and the daily wear of kitchen use. A proper topcoat is what transforms a beautiful stain job into a durable, long-lasting finish.
Applying Topcoat and Polyurethane Protection
Polyurethane is the standard topcoat for stained cabinets because it provides excellent abrasion resistance and moisture protection. Oil-based polyurethane produces a harder, more durable film than water-based versions and adds a warm amber tone that many homeowners find appealing on wood. Water-based polyurethane dries clear and faster, with lower VOC content.
Apply topcoat in thin, even coats using a high-quality natural bristle brush for oil-based products or a synthetic brush for water-based. Thin coats level better and are less prone to runs than thick applications. Three thin coats outperform two thick ones.
Between topcoat coats, sand lightly with 220-grit sandpaper to remove any dust nibs or brush marks, then wipe with a tack cloth before the next application.
Allow the final topcoat to cure for at least 72 hours before rehanging doors and reinstalling hardware. Full cure takes longer, typically one week.
Maintaining Your Stained Cabinets Over Time
Stained and topcoated cabinets are durable, but they’re not indestructible. The right maintenance habits extend the life of the finish significantly.
Daily care: Wipe spills immediately. Standing moisture is the primary enemy of wood finishes. Use a soft, slightly damp cloth for routine cleaning, followed by a dry cloth to remove any remaining moisture.
Cleaning products: Avoid abrasive cleaners, ammonia-based products, and anything with bleach. These degrade polyurethane over time. A mild dish soap solution on a damp cloth handles most kitchen grime without damaging the finish.
Annual inspection: Check cabinet surfaces annually for areas where the topcoat is wearing thin, particularly around handles and high-traffic areas. Light sanding and a fresh topcoat coat on worn areas prevents the stain beneath from being exposed to moisture and abrasion.
Touch-ups: Keep a small amount of the original stain and topcoat for touch-ups. Minor scratches that penetrate the topcoat but not the stain can often be addressed with a careful topcoat application. Deeper scratches that reach bare wood require spot-sanding, conditioning, staining, and topcoating.
Many homeowners find that a full cabinet refinishing project every 8-12 years, combined with annual maintenance, keeps kitchen cabinets looking fresh without the expense of full replacement. The cabinet staining process, done correctly the first time with proper topcoat protection, is genuinely a long-term investment in your home.
Tackling the cabinet staining process yourself is absolutely achievable with the right preparation and patience. Denver Cabinet Painting Colorado brings 40 years of professional cabinet refinishing experience to every project, with a focus on meticulous surface preparation and smooth, consistent finishes that hold up for years. Whether you need full cabinet staining, refinishing, or glazing services across the Denver metro area, reach out for a free quote and see what a professional result looks like.
Frequently Asked Questions
Do you need to sand cabinets before staining?
Yes, sanding is essential in the cabinet staining process. It removes the old finish, opens the wood grain, and ensures proper stain absorption. Start with medium-grit sandpaper (120-150 grit) and progress to fine grit (180-220 grit) for a smooth surface. Proper sanding prevents blotchy stain absorption and creates a professional-looking finish.
What's the difference between gel stain and oil-based stain for cabinets?
Gel stain is thicker, easier to control, and less likely to drip or run, making it ideal for vertical surfaces like cabinet doors. Oil-based stain penetrates deeper into the wood grain and offers richer color but requires more ventilation and longer drying times. Choose based on your comfort level and desired finish, gel stain is often preferred for DIY cabinet staining projects.
How long does cabinet stain take to dry before applying polyurethane?
Drying time varies by stain type and conditions. Oil-based stains typically require 24-48 hours, while gel stains may dry in 4-8 hours. Temperature, humidity, and ventilation affect drying speed. Always check the manufacturer's instructions and ensure wood is completely dry before applying topcoat or polyurethane to prevent adhesion problems.
What are common cabinet staining mistakes I should avoid?
Common mistakes include inadequate surface preparation, applying stain too thickly, not using a wood conditioner on softwoods, poor ventilation, and skipping the topcoat. Uneven brush strokes and blotchy absorption result from rushing the process. Take time with prep work, apply thin coats, and use lint-free cloths for a professional cabinet staining result.
This article was written using GrandRanker