Table of Contents
- What Happens If You Don’t Sand Cabinets: The Core Risks
- Why Sanding Is Traditionally Recommended for Cabinet Painting
- How to Paint Kitchen Cabinets Without Sanding
- How to Prep Cabinets for Painting Without Sanding
- Best Deglosser for Cabinets: Chemical Alternatives to Sanding
- Material-Specific Failure Rates: What Surfaces Are at Risk
- Long-Term Durability: Case Studies and What to Expect
- Signs That Sanding Is Absolutely Necessary
Last Updated: July 9, 2026
What Happens If You Don’t Sand Cabinets: The Core Risks
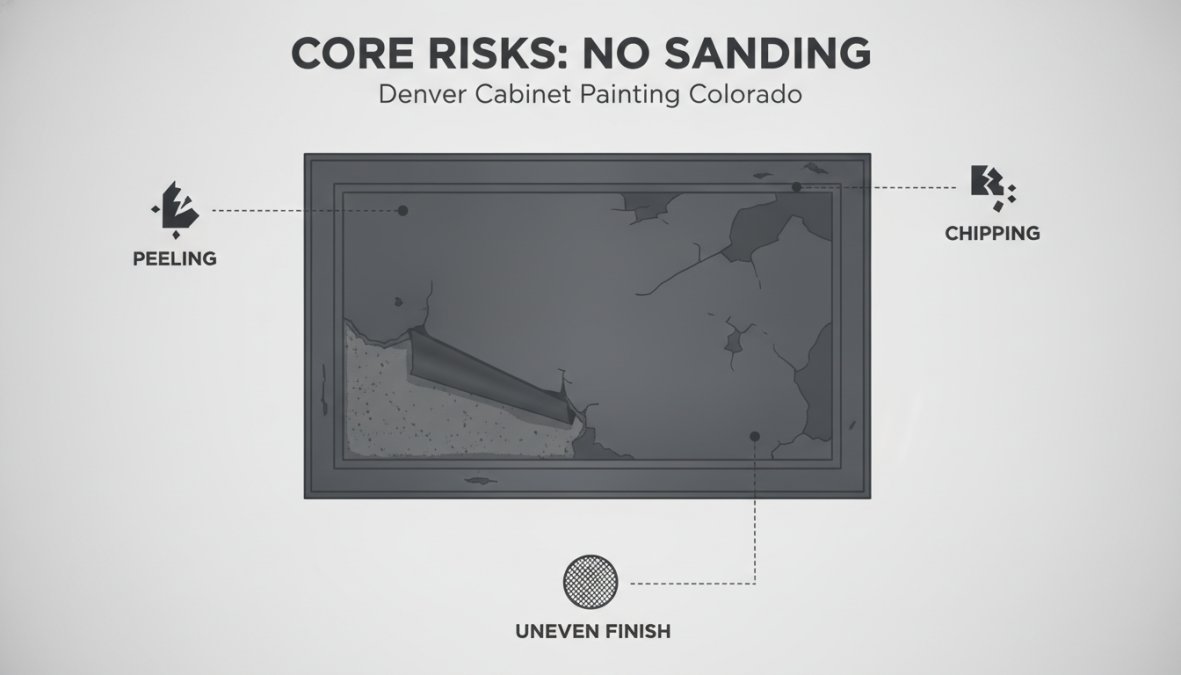
When you paint over a glossy or sealed finish without sanding, you’re applying paint to a slippery surface with nothing to grip. Paint adhesion fails because the new coating cannot form a mechanical bond with the existing finish. Within weeks or months, you’ll see peeling, chipping, and flaking that makes your cabinets look worse than before you started.
Paint Adhesion Failure and Peeling
Paint adhesion is the foundation of any lasting cabinet finish. When you skip sanding, the glossy surface acts as a barrier, and the new paint sits on top rather than bonding with the substrate. This separation creates a weak point that fails under daily stress.
Peeling typically begins at edges and corners where moisture and temperature fluctuations stress the paint bond most severely. Kitchen cabinets face constant exposure to humidity, heat, and temperature swings. Once peeling begins, moisture seeps underneath the remaining paint, accelerating failure across the entire cabinet door. What started as a small corner becomes widespread within months.
Paint peeling on cabinets typically becomes visible within 3-6 months of application if adhesion was compromised during prep. Once peeling starts, the damage spreads quickly, requiring complete stripping and repainting to fix properly.
Chipping and Durability Issues
Cabinet doors and drawer fronts endure constant contact from hands, dishes, and occasional bumps. When paint doesn’t bond properly, it becomes brittle and prone to chipping at stress points. High-traffic areas like edges, corners, and handle areas show damage first.
A properly prepared cabinet finish lasts 5-10 years with normal kitchen use. Skip the sanding step, and you’re looking at visible wear within 12-24 months. The paint simply cannot withstand daily cabinet use without a solid bond to the substrate.
Why Sanding Is Traditionally Recommended for Cabinet Painting
Surface sanding creates the mechanical profile necessary for paint adhesion. When you sand a glossy finish, you create thousands of tiny peaks and valleys that lock the new paint in place. This is why sanding has been the industry standard for decades.
Sanding removes the glossy topcoat, opens the wood grain for primer penetration, levels minor imperfections, and creates the physical texture that allows paint to grip the substrate. Different sanding grits serve different purposes: coarse grits (80-120) remove old finishes, medium grits (150-180) smooth the surface, and fine grits (220+) create the final profile ready for priming.
A typical cabinet door requires 15-30 minutes of sanding. For a full kitchen with 20-30 cabinet doors and drawer fronts, sanding can consume 8-15 hours of labor. This is why some homeowners explore alternatives, but the alternatives come with significant risks.
Use a vacuum with a HEPA filter or a dust collection system to minimize airborne particles during cabinet prep work. This protects both your respiratory health and your home’s cleanliness.
How to Paint Kitchen Cabinets Without Sanding
Painting kitchen cabinets without sanding is possible but requires meticulous attention to surface preparation and the right products. The key is creating adhesion through chemical means rather than mechanical sanding. This approach works best on cabinets in good condition without heavy damage or multiple old paint layers.
The no-sand method relies on two critical components: powerful degreasers and bonding primers specifically formulated for glossy surfaces. Success depends entirely on execution. Any shortcuts in the deglazing or priming steps will result in peeling and chipping problems.
The Role of Degreasers and Cleaning Agents
Degreasers are the foundation of any no-sand cabinet painting approach. Kitchen cabinets accumulate grease, dust, and cooking residue that prevent paint adhesion just as effectively as a glossy finish does.
TSP (Trisodium Phosphate) is the traditional degreaser for cabinet painting. Mix one cup per gallon of water and apply with a scrub brush, working thoroughly, then rinse completely with clean water. Incomplete rinsing leaves residue that interferes with paint adhesion.
Liquid deglossers offer an alternative that’s gentler than TSP. These products chemically dull the glossy finish without heavy scrubbing. Apply according to product directions and allow adequate drying time before priming. Liquid deglossers work particularly well on laminate and veneer cabinets where aggressive sanding might cause damage.
Best Primers for Non-Sanded Surfaces
Bonding primers are essential for no-sand cabinet painting. These primers are specifically formulated to adhere to glossy surfaces and create a base that accepts topcoat paint. Standard primers won’t work on glossy surfaces.
Look for primers labeled as bonding primers, adhesion primers, or primers for glossy surfaces. Quality matters significantly. Premium bonding primers contain higher resin content and better adhesion agents than budget options. Oil-based primers offer excellent adhesion to glossy surfaces, while latex bonding primers have improved significantly and now offer comparable adhesion with easier cleanup.
Apply thin, even coats rather than one thick coat. Two thin coats of bonding primer provide better adhesion than one thick coat. Allow full drying time between coats, typically 4-8 hours for latex primers and overnight for oil-based primers.
Bonding primer is the critical step that makes no-sand cabinet painting work. Without it, you’re essentially painting over a glossy surface, which will fail. Premium bonding primers cost 20-40% more than standard primers but are non-negotiable for success.
How to Prep Cabinets for Painting Without Sanding
Proper preparation without sanding requires systematic attention to detail. Start by removing cabinet doors and drawer fronts, labeling each so you can reinstall them correctly. Set up a workspace where doors can dry between steps.
Step-by-Step Prep Process
Step 1: Clean with Degreaser (2-3 hours for full kitchen)
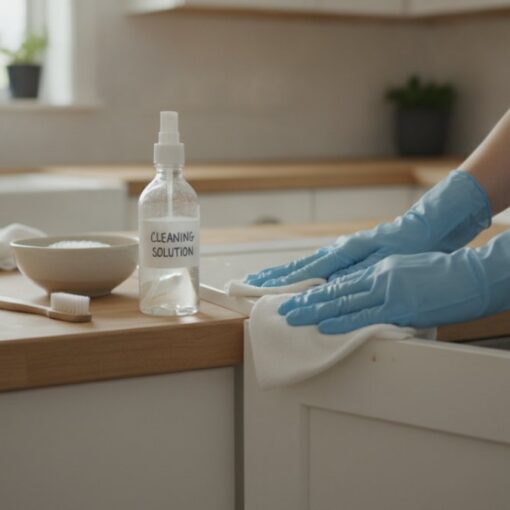
Mix your chosen degreaser according to directions. Apply with a cloth or soft brush, working in small sections. Scrub gently but thoroughly, paying special attention to areas around handles and edges where grease accumulates. Wipe clean with a damp cloth and allow doors to dry completely, at least 4-6 hours or overnight.
Step 2: Apply Liquid Deglosser (1-2 hours)
If using a liquid deglosser, apply it according to product instructions. Most require 10-30 minutes of drying time before the next step. This step is optional if you’ve used TSP but provides additional surface profile for paint adhesion.
Step 3: Prime with Bonding Primer (2-3 hours plus drying)
Apply bonding primer using a quality brush or foam roller in thin, even coats. Work from top to bottom to catch drips. Allow 4-8 hours drying time for latex primers or overnight for oil-based primers. Apply a second coat for maximum adhesion.
Step 4: Apply Topcoat Paint (2-3 hours plus drying)
Use high-quality cabinet paint formulated for kitchen use. These paints resist moisture, grease, and wear better than standard wall paint. Apply thin, even coats and allow adequate drying time between coats, typically 4-8 hours for latex paints.
Step 5: Reinstall Hardware and Doors (1-2 hours)
After paint has fully cured, typically 7-14 days for latex paint, reinstall hardware and cabinet doors using your labels to ensure correct placement.
Common Mistakes to Avoid During Prep
Incomplete degreasing is the most common mistake. Spend extra time on areas around handles and edges where grease concentrates. If unsure whether a surface is clean, wipe it with a white cloth; if residue appears, clean it again.
Inadequate drying time between steps causes paint failure. Follow product instructions for drying time and add extra time in humid conditions. Skipping the bonding primer is another critical error that virtually guarantees paint failure within months.
Applying paint too thick creates adhesion problems and extends drying time. Multiple thin coats work better than one heavy coat. Using low-quality paint and primer on cabinets is a false economy; cabinet paint must resist moisture, grease, and mechanical wear.
Best Deglosser for Cabinets: Chemical Alternatives to Sanding
Degreasers and deglossers provide chemical alternatives to sanding that work effectively when applied properly.
Liquid Deglosser works well on cabinets in good condition. These products chemically dull the glossy finish without heavy scrubbing. Liquid deglossers work particularly well on laminate and veneer cabinets where aggressive sanding might damage the surface.
TSP (Trisodium Phosphate) is the most aggressive chemical prep option. It cuts through heavy grease, grime, and oxidation while chemically etching the surface. TSP is ideal for heavily soiled cabinets and is the most economical option. Use gloves and ensure good ventilation.
Scuff Sanding with fine-grit sandpaper (220-320) creates a surface profile for paint adhesion without removing the existing finish. This hybrid approach combines chemical degreasing to remove grease with light sanding to create surface profile, providing excellent results while reducing dust.
| Prep Method | Best For | Effort Level | Cost | Results |
|---|---|---|---|---|
| Liquid Deglosser | Good-condition cabinets, laminate | Low | Medium | Excellent on clean surfaces |
| TSP | Heavily soiled cabinets | Medium | Low | Excellent adhesion, requires thorough rinsing |
| Scuff Sanding | Hybrid approach, optimal results | Medium | Low | Superior adhesion and durability |
| Full Sanding | Maximum control, damaged surfaces | High | Low | Best long-term durability |
The choice depends on your cabinets’ condition and your priorities. For good-condition cabinets with minimal grease buildup, liquid deglosser provides adequate preparation. For heavily soiled cabinets, TSP’s aggressive degreasing power is worth the extra effort. For maximum confidence in results, scuff sanding combined with chemical degreasing offers the best approach.
Material-Specific Failure Rates: What Surfaces Are at Risk
Different cabinet materials respond differently to painting without sanding.
Oak Cabinets and Wood Grain Challenges
Oak cabinets present specific challenges due to their pronounced grain structure. The deep grain pores trap dust and grease, making thorough degreasing essential. Oil-based stains commonly used on oak create a particularly slippery surface that resists paint adhesion.
Painting oak cabinets without sanding requires extra attention to surface preparation. Many professionals recommend light scuff sanding in addition to chemical degreasing. This combination ensures paint adhesion both to the topcoat and into the grain structure itself.
Laminate and Glossy Finishes
Laminate cabinets are actually ideal candidates for no-sand painting because the glossy laminate surface is uniform and doesn’t require grain penetration. Bonding primers specifically designed for laminate work well, as do liquid deglossers that chemically dull the surface without damaging it.
Glossy painted cabinets with existing paint in good condition are suitable for no-sand painting. However, if the existing paint shows signs of peeling, chipping, or poor adhesion, those problems will transfer to the new paint. Stripping to bare wood or sanding through the old paint becomes necessary.
Veneer cabinets require careful handling because aggressive sanding can damage the thin veneer layer. For veneer cabinets, chemical degreasing combined with light scuff sanding offers the best approach.
Laminate cabinets with visible damage, peeling edges, or delamination cannot be successfully painted over without repair. These structural issues must be addressed before painting.
Long-Term Durability: Case Studies and What to Expect
Properly prepared cabinets painted without sanding can last 7-10 years with normal kitchen use. Inadequately prepared cabinets fail within 12-24 months regardless of paint quality.
A typical failure scenario involves a homeowner using quality paint but skipping proper degreasing. The cabinets look beautiful for the first few months. By month four, fine peeling appears at cabinet edges. By month twelve, the cabinets look worse than before the project started.
Contrast this with proper preparation: thorough degreasing with TSP, liquid deglosser application, bonding primer, and quality cabinet paint. The cabinets maintain their appearance through years of daily use. Minor touch-ups might be needed after 5-7 years, but the finish remains intact. By year ten, the paint shows expected wear but hasn’t failed.
The difference isn’t the paint, it’s the preparation. Temperature and humidity fluctuations accelerate paint failure when adhesion is compromised. Kitchens with significant humidity variations stress paint adhesion. Properly prepared and adhered paint withstands these stresses without issue.
Signs That Sanding Is Absolutely Necessary
Certain cabinet conditions make sanding non-negotiable.
Peeling or flaking existing paint indicates that sanding is necessary. You must sand through the failing paint to bare wood or use a chemical stripper to remove it completely before repainting.
Multiple layers of old paint suggest sanding is the better approach. With three or more paint layers, the cumulative adhesion problems make sanding more reliable than chemical methods alone.
Rough, uneven surfaces benefit from sanding to level them. Chemical degreasing alone cannot address structural surface issues. Sanding removes high spots and fills low spots with filler before painting.
Stains that bleed through paint require sanding to address properly. Sanding removes the affected surface layer, and stain-blocking primer prevents the problem from recurring.
Cabinets with heavy, baked-on grease and grime may require sanding despite chemical prep. Sanding removes this buildup completely and ensures paint adhesion.
Cabinet painting without sanding is achievable with meticulous preparation and the right products, but it demands more care and higher-quality materials than traditional sanding methods. For cabinets in good condition with minimal damage or buildup, no-sand methods work well when you follow each step carefully. For cabinets showing signs of damage, multiple paint layers, or heavy grease buildup, sanding remains the most reliable approach.
Denver Cabinet Painting Colorado brings four decades of experience transforming kitchens with cabinet painting and refinishing services. Their meticulous preparation process, whether using traditional sanding or advanced no-sand methods, ensures smooth, consistent finishes that last. Contact Denver Cabinet Painting Colorado for a free quote and learn which preparation approach is right for your cabinets.
Frequently Asked Questions
What happens if you don't sand cabinets before painting?
Without proper sanding or surface preparation, paint may fail to adhere properly to glossy or sealed cabinet surfaces. This can result in peeling, chipping, and flaking paint within months or years, depending on the cabinet material and finish. The new paint sits on top of the old finish rather than bonding to it, making durability significantly shorter than a properly prepared surface.
Can I paint kitchen cabinets without sanding them first?
Yes, but with important caveats. You can use chemical alternatives like liquid deglosser or TSP (Trisodium Phosphate) to degloss the surface and improve adhesion. However, this method works best on cabinets in good condition with moderate glossiness. Heavily varnished, stained oak cabinets or laminate surfaces may still require light scuff sanding for reliable long-term results. Success depends on the cabinet material and existing finish.
What is the best deglosser for cabinets?
Liquid deglosser products are popular chemical alternatives that reduce surface shine and improve paint bonding without creating dust. TSP (Trisodium Phosphate) is another effective degreasing option. However, effectiveness varies by cabinet material, glossy painted cabinets respond better than stained wood or laminate. For maximum durability, light scuff sanding combined with a bonding primer often outperforms deglosser alone, especially on high-traffic kitchen cabinets.
How long does paint last on unsanded cabinets?
Paint durability on unsanded cabinets depends heavily on surface preparation method and cabinet material. With proper deglossing, cleaning, and a quality bonding primer, paint may last 3-5 years or longer. Without any preparation, paint can begin peeling or chipping within 6-12 months. High-traffic kitchen cabinets experience faster wear. Professional-grade primers and paints improve longevity significantly compared to standard DIY products.
This article was written using GrandRanker