Table of Contents
- Kitchen Cabinet Refinishing Process Explained: The Complete Overview
- Best Tools for Cabinet Refinishing: What You’ll Actually Need
- Step 1: Remove Cabinet Doors and Hardware
- Step 2: Clean, Degrease, and Prepare Surfaces
- Step 3: Sand and Scuff for Adhesion
- Step 4: Fill Damage and Prime the Cabinets
- Step 5: Paint Application Techniques and Paint Chemistry
- How Long Does It Take to Refinish Kitchen Cabinets?
Last Updated: June 23, 2026
Kitchen Cabinet Refinishing Process Explained: The Complete Overview
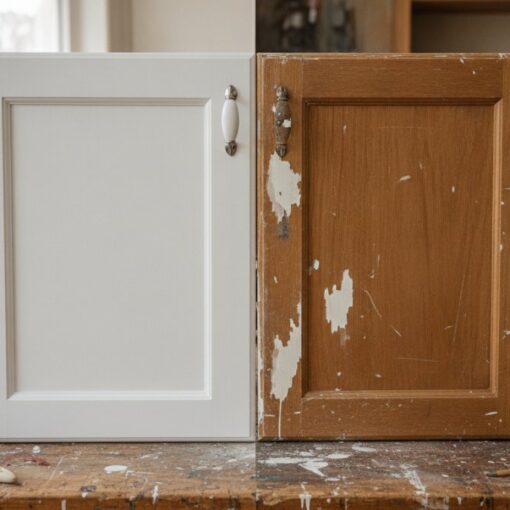
Kitchen cabinet refinishing, stripping, sanding, priming, and repainting existing cabinets, can transform a kitchen at a fraction of replacement cost. Done correctly, the result is indistinguishable from new cabinetry. The critical lesson: preparation determines everything. Most refinishing failures trace back to skipped prep steps, not bad paint.
This guide walks through every stage of the refinishing process in precise detail, including paint chemistry most DIY articles skip and a realistic timeline so you know what you’re committing to.
Why Preparation Is the Foundation of Success
Poor surface preparation is the number one cause of peeling, chipping, and uneven finishes. Kitchen cabinets accumulate years of grease, cooking vapors, and cleaning product residue. Paint applied over contaminated surfaces will not bond properly, regardless of paint quality.
According to the EPA’s guidance on interior painting and surface preparation, proper surface cleaning and degreasing before painting is essential for adhesion and finish longevity. Each step exists to create the ideal surface condition for the next one. Skip a step and you compromise everything that follows.
Best Tools for Cabinet Refinishing: What You’ll Actually Need
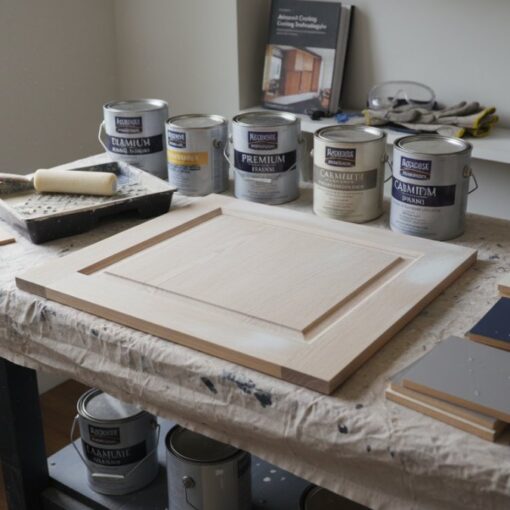
Gather supplies before you remove a single door. Running to the hardware store mid-project doubles timelines.
Cleaning and prep:
- Trisodium phosphate (TSP) or TSP substitute degreaser
- Scrub sponges and clean rags
- Drop cloths
- Painter’s tape (2-inch width)
- Tack cloth for dust removal
Sanding:
- 120-grit sandpaper for initial scuff sanding
- 320-grit sandpaper for between-coat smoothing
- Sanding block or orbital sander
- Dust mask rated N95 or higher
Painting:
- High-density foam roller (4-inch for flat panels)
- Angled sash brush (2.5-inch for edges and frames)
- HVLP sprayer (optional but produces the best finish)
- Bonding primer
- Cabinet-specific paint (water-based alkyd preferred)
Essential Safety and Protective Equipment
Cabinet refinishing involves chemical degreasers, sanding dust, and paint fumes that carry real health risks. Wear nitrile gloves when handling TSP or solvent-based products. Use safety glasses during sanding. Ensure cross-ventilation: open windows on opposite walls to create airflow rather than cracking one window. If using an HVLP sprayer or oil-modified paints, a respirator rated for organic vapors is appropriate.
Trisodium phosphate is a strong alkaline cleaner. Skin contact causes irritation and eye contact requires immediate flushing. Always wear gloves and eye protection when mixing and applying TSP solutions.
Step 1: Remove Cabinet Doors and Hardware
Empty cabinets and clear countertops. Remove all cabinet doors using a screwdriver or drill, then remove all hardware: hinges, drawer pulls, and decorative elements. Painting around hardware always shows in the final result.

Lay doors flat on sawhorses or a clean work surface in a well-ventilated area. Never lean doors against a wall; gravity causes runs.
Labeling and Organization Tips
Cabinet doors look nearly identical once removed. Use a simple labeling system before disassembly:
- Number each door with a pencil on the interior edge (1, 2, 3, etc.)
- Mark the corresponding cabinet opening with the same number using painter’s tape
- Photograph the kitchen from multiple angles before disassembly
- Store all hardware for each door in a labeled zip-lock bag
This 10-minute step saves hours of frustration at reassembly.
Step 2: Clean, Degrease, and Prepare Surfaces
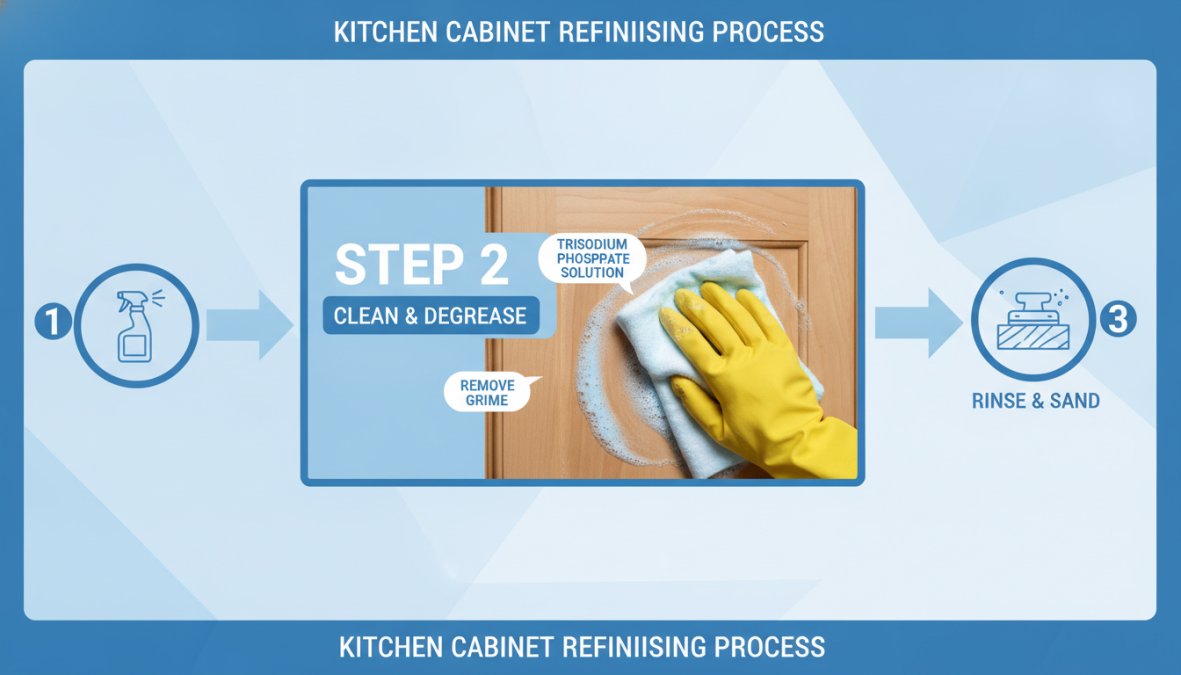
Kitchen cabinet surfaces carry a film of cooking vapors and cleaning product residue that repels paint adhesion. Mix trisodium phosphate according to package directions (typically one tablespoon per gallon of warm water). Wipe down every surface that will be painted: door fronts, backs, cabinet box interiors, and frame surfaces. Use a clean rag for the final wipe to remove TSP residue. The surface should feel slightly rough and matte after cleaning, not slick.
Using Trisodium Phosphate and Degreasing Methods
Trisodium phosphate is the professional standard for cabinet degreasing because it cuts through polymerized grease without leaving residue that interferes with paint adhesion. For wood veneer surfaces, apply TSP carefully and avoid saturating the wood. Wipe on, let sit for 60 seconds, then wipe off with a clean damp cloth. For laminate cabinets, TSP is safe but you’ll need a deglossing step afterward since laminate is non-porous.
Allow surfaces to dry completely, typically 30 to 60 minutes in ventilated space. Don’t rush this step. Painting over damp wood traps moisture under the primer and causes adhesion failure.
For cabinets near the stove with heavy grease buildup, a second TSP pass is worth the extra 20 minutes. You’ll know the surface is clean when a white rag wiped across it comes away without any yellow or brown residue.
Step 3: Sand and Scuff for Adhesion
Sanding creates mechanical tooth so the primer has something to grip. Scuff sanding is the correct approach: a light pass with 120-grit sandpaper to dull the existing finish and open the surface. Sand with the wood grain. Wipe down with a tack cloth after sanding to remove all dust. Any dust left on the surface will be encapsulated in the primer and create rough, uneven texture.
Grit Selection: When to Use 120-Grit and 320-Grit Sandpaper
- 120-grit sandpaper is used for the initial scuff sanding pass before priming. It’s coarse enough to cut through existing finish and create adhesion texture without gouging the wood.
- 320-grit sandpaper is used between coats: after the primer dries and between paint coats. It knocks down raised grain or brush texture without cutting through the coat below.
For laminate cabinets, use 150-grit for the initial pass to avoid sanding through the laminate layer. For wood veneer, the same caution applies. After the final 320-grit pass between paint coats, wipe with a fresh tack cloth before applying the next coat.
Step 4: Fill Damage and Prime the Cabinets
Surface repairs come before priming. Priming over unfilled dents, gouges, or cracks will not hide them; primer is not a filler.
Applying Wood Filler and Bonding Primer
Wood filler is a paintable compound used to fill dents, gouges, nail holes, and minor cracks. Apply it with a putty knife, slightly overfilling the repair. Allow it to cure fully per manufacturer directions (typically 2 to 4 hours for water-based fillers). Sand the repair flush with 120-grit, then follow with 220-grit to blend edges into the surrounding surface.
Bonding primer is the professional choice for cabinet refinishing because it adheres to slick, previously painted, or minimally porous surfaces. Standard drywall primers will not grip cabinet surfaces adequately. Apply primer in thin, even coats. Two thin coats outperform one thick coat. Allow each coat to dry fully before sanding lightly with 320-grit and applying the next.
According to the Forest Products Laboratory’s wood finishing guide, proper priming is the most critical factor in paint adhesion to wood surfaces, particularly in high-humidity environments like kitchens.
Bonding primer is not interchangeable with standard primer for cabinet work. Bonding primers contain adhesion promoters specifically designed for non-porous and previously painted surfaces.
Step 5: Paint Application Techniques and Paint Chemistry
Cabinet paint is a specialized category, and the chemistry directly affects the final result.
Brush vs. Roller vs. HVLP Sprayer: Technique Comparison
| Method | Finish Quality | Skill Required | Best For |
|---|---|---|---|
| Angled sash brush | Good (shows brush strokes) | Low | Edges, frames, detail areas |
| High-density foam roller | Very good (minimal texture) | Low-Medium | Flat door panels, box faces |
| HVLP sprayer | Excellent (factory-smooth) | High | Full door and box refinishing |
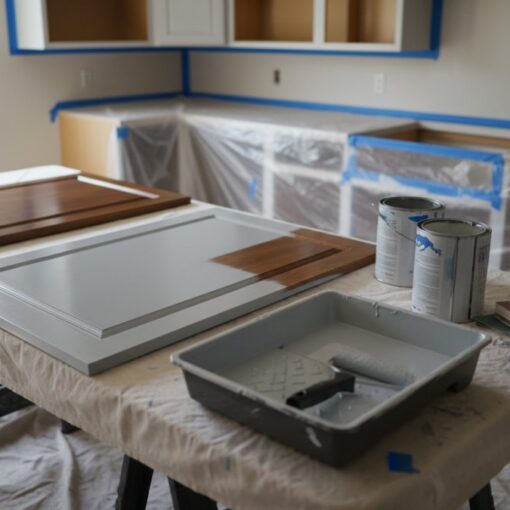
A high-density foam roller produces a noticeably smoother finish than a standard nap roller because it doesn’t introduce fiber texture into wet paint. For most DIY projects, combining a foam roller for flat panels with an angled sash brush for frames and edges is the practical standard.
An HVLP sprayer produces the smoothest finish but requires significant setup: masking everything in the spray area, thinning paint to correct viscosity, and maintaining consistent gun distance and speed. If you’ve never used an HVLP sprayer, practice on scrap material first.
Water-Based Alkyd and Polyurethane Topcoat Selection
Water-based alkyd paints are the current professional standard for cabinet refinishing. They combine easy cleanup and low VOC profile with the hard, leveling finish of traditional oil-based alkyds. Water-based alkyds flow out beautifully after application, meaning brush strokes and roller texture largely self-level as the paint dries.
Polyurethane topcoat adds an additional layer of durability over the painted surface. For high-traffic kitchens, a water-based polyurethane topcoat applied over the final paint coat significantly extends resistance to moisture, cleaning products, and daily wear. Apply it with a foam roller in thin coats and sand lightly with 320-grit between coats.
Avoid standard latex wall paint for cabinets. It remains soft and tacky for weeks, making doors stick to frames. Cabinet-specific formulations cure to a hard film.
According to the American Coatings Association’s guide to architectural paint chemistry, water-based alkyd hybrid paints have largely replaced traditional oil-based cabinet paints in professional applications due to improved environmental profile and equivalent performance.
VOC content matters in enclosed kitchen spaces. High-VOC oil-based paints in poorly ventilated kitchens can reach concentrations that cause headaches, dizziness, and respiratory irritation. Choose low-VOC water-based alkyds and maintain active ventilation throughout the project.
How Long Does It Take to Refinish Kitchen Cabinets?
Refinishing a typical kitchen (10 to 20 cabinet doors plus boxes) takes most DIYers between 3 and 5 full days of active work, spread across 1 to 2 weeks to accommodate dry and cure times.
Curing Time, Dry Time, and Project Timeline
Dry time refers to when the surface is no longer tacky to the touch. Most cabinet paints are dry to the touch within 1 to 4 hours under normal conditions (65-75°F, moderate humidity).
Cure time refers to when the paint film has fully hardened to maximum durability. Water-based alkyds typically reach full cure in 21 to 30 days. During this period, the finish is vulnerable to scratching, denting, and marking. Reinstalling doors and hardware before adequate cure time results in visible damage.
| Phase | Tasks | Typical Duration |
|---|---|---|
| Disassembly and cleaning | Remove doors, hardware, degrease | Day 1 (4-6 hours) |
| Repair and prime | Fill damage, apply 2 primer coats | Day 2-3 (includes dry time) |
| First paint coat | Apply and allow to dry | Day 3-4 |
| Sand and second coat | 320-grit, second paint coat | Day 4-5 |
| Topcoat and reassembly | Polyurethane coat, reinstall after cure | Day 6-7 + cure period |
The cure period before heavy use should be at least 7 days, with full hardness reached at 21 to 30 days.
Refinishing kitchen cabinets is a project where the gap between a mediocre result and a professional one comes down almost entirely to preparation discipline and paint selection, not talent. If you want the work done right the first time, with 40 years of Colorado experience behind every project, Denver Cabinet Painting Colorado delivers premium cabinet refinishing with meticulous surface preparation and smooth, consistent finishes that last. Their team serves the full Denver metro area and offers free quotes to get you started.
Frequently Asked Questions
Is it better to paint or refinish kitchen cabinets?
Refinishing and painting are often used interchangeably in cabinet work. Refinishing typically involves the complete kitchen cabinet refinishing process explained step-by-step: cleaning, sanding, priming, and painting. This approach provides superior adhesion and durability compared to simply painting over existing finishes. Professional refinishing ensures smooth, consistent finishes that last longer and resist wear better than quick paint jobs.
How long does the kitchen cabinet refinishing process take from start to finish?
The timeline depends on project scope and conditions. Preparation (removal, cleaning, sanding) typically takes 2-4 days. Priming requires 24 hours dry time, and paint application takes 1-2 days. Curing time for polyurethane topcoats ranges from 7-30 days depending on the product. Total project duration is usually 2-4 weeks when accounting for proper dry time between coats and full curing before cabinet use.
Do you need to sand cabinets before refinishing, and what grit should you use?
Yes, sanding is critical for paint adhesion. Start with 120-grit sandpaper for heavy deglossing and removing old finishes, then finish with 320-grit sandpaper for a smooth surface. This scuff sanding process opens the wood grain and allows primer and paint to bond properly. Skip this step and you risk peeling paint and poor durability. Always use a tack cloth after sanding to remove dust before priming.
What paint type works best for kitchen cabinets, water-based or oil-based?
Water-based alkyd paints offer excellent durability, quick dry times, and low VOC levels, making them ideal for kitchens. Polyurethane topcoats provide additional protection against moisture and wear. Oil-based options provide durability but have higher VOCs and longer curing times. For most cabinet projects, water-based alkyd with a polyurethane topcoat strikes the best balance between performance, health safety, and environmental impact.
This article was written using GrandRanker