Table of Contents
- Assess the Damage: Identifying Your Cabinet Paint Problems
- What You’ll Need: Tools and Materials for Cabinet Refinishing
- Step 1: Strip or Sand, Choosing the Right Removal Method
- Step 2: Clean, Degrease, and Prepare Surfaces
- Step 3: Repair Wood Imperfections and Damage
- Step 4: Prime for Maximum Paint Adhesion
- Step 5: Apply Cabinet-Grade Paint and Avoid Brush Marks
- Fixing Drips and Runs in Cabinet Paint: Correction Techniques
Last Updated: June 24, 2026
A bad cabinet paint job is one of the most frustrating renovation outcomes a homeowner can face. Knowing how to fix bad cabinet paint job results before they get worse is the difference between a quick repair and a full strip-down. At Denver Cabinet Painting Colorado, we’ve seen every paint failure imaginable across 40 years of refinishing work, and the good news is that most problems are fixable with the right sequence of steps. Below, we’ll show you exactly how to diagnose the damage, remove the failed coating, and apply a finish that actually lasts.
Here’s what most guides get wrong: they jump straight to repainting without addressing why the original job failed. Skipping that diagnostic step guarantees the same problem comes back within months.
Assess the Damage: Identifying Your Cabinet Paint Problems
Start by identifying the specific type of failure before touching a single tool. Cabinet paint problems fall into three main categories, and each one points to a different root cause.
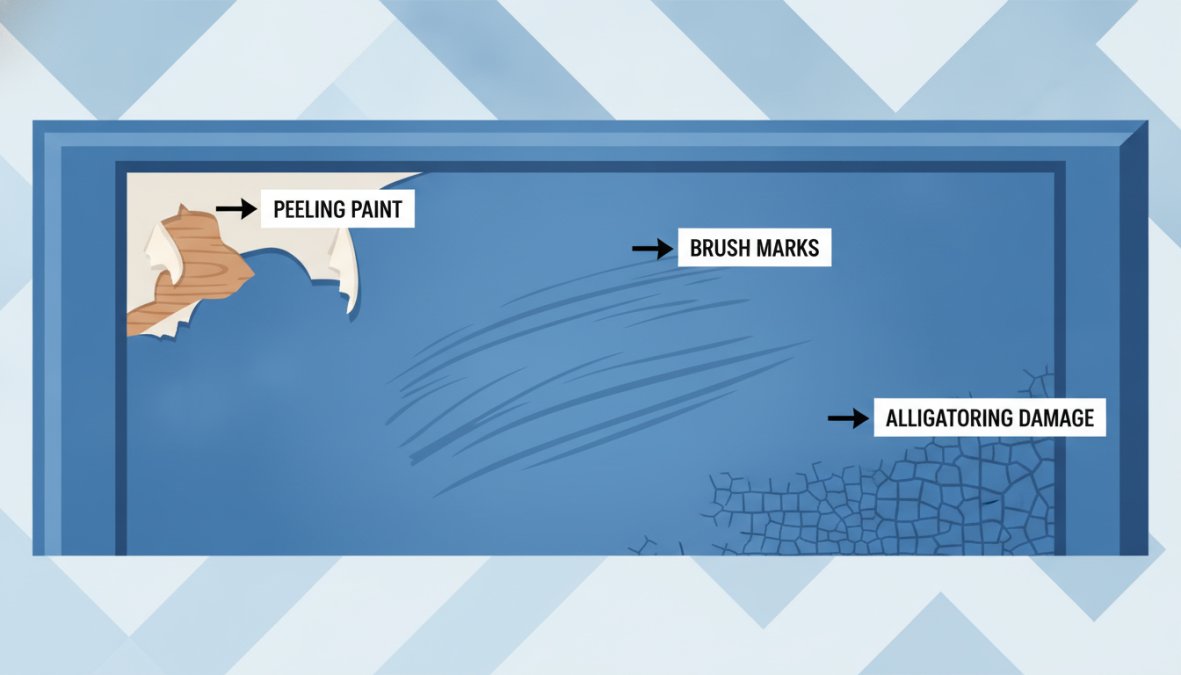
Peeling paint is the separation of a paint film from the substrate, typically caused by poor surface preparation, moisture infiltration, or incompatible primer. Alligatoring is a paint failure pattern where the surface develops a scaly, reptilian texture, almost always the result of applying a hard topcoat over a softer, still-flexible undercoat. Brush marks are ridges left in the finish from incorrect application technique or paint that dried too quickly.
Run your fingernail across a peeling area. If the paint lifts cleanly in sheets, adhesion failure is the primary issue. If the surface feels gritty and the paint crumbles, moisture damage to the substrate is likely involved.
Common paint failures: peeling, alligatoring, and brush marks
Most cabinet paint failures trace back to skipped degreasing, wrong primer, inadequate dry time between coats, or applying paint in conditions that are too cold or too humid. Brush marks are usually a technique problem, fixable with the right applicator and paint viscosity. Peeling and alligatoring require more aggressive intervention.
Never paint over alligatoring without full removal. Painting over a compromised surface traps the failure underneath and the new coat will fail within weeks.
Testing for lead paint before you start
Cabinets in homes built before 1978 may contain lead-based paint. Testing is not optional. According to EPA guidelines on lead paint testing in older homes, any sanding or stripping of lead paint without proper containment creates a serious health hazard. Purchase a swab test kit from a hardware store, and if the test returns positive, consult a certified lead abatement professional before proceeding.
What You’ll Need: Tools and Materials for Cabinet Refinishing
Gathering the right materials before starting saves significant time and prevents mid-project trips to the hardware store. Here is a complete supply list for fixing a bad cabinet paint job:
| Item | Purpose | Notes |
|---|---|---|
| Gel stripper | Chemical paint removal | Best for detailed profiles and moldings |
| Heat gun | Thermal paint softening | Use on flat panels only |
| Orbital sander | Mechanical surface prep | 80, 120, 150, 220 grit pads needed |
| Sanding block | Hand sanding flat areas | Keeps pressure even |
| TSP degreaser | Surface cleaning | Mix per label instructions |
| Liquid sandpaper / deglosser | Chemical deglossing | Alternative to light sanding |
| High-adhesion bonding primer | Paint adhesion base | Shellac-based for problem surfaces |
| Cabinet-grade enamel | Final finish coat | Water-based alkyd hybrid preferred |
| Foam roller | Smooth application on flat panels | 4-inch, 3/16 nap |
| Synthetic bristle brush | Detail work on edges and frames | 2-inch angled sash brush |
| Tack cloth | Pre-paint dust removal | Use before every coat |
| Wood filler | Gap and damage repair | Sandable, paintable formula |
Safety equipment and ventilation setup
Chemical strippers and oil-based primers produce VOC levels that exceed safe indoor thresholds quickly. Set up cross-ventilation with at least two open windows and a box fan exhausting outward. Wear nitrile gloves rated for chemical resistance, safety glasses, and an N95 respirator at minimum. For shellac-based primers, upgrade to a half-face respirator with organic vapor cartridges. The OSHA guidance on ventilation for painting operations recommends air changes that most residential kitchens cannot achieve naturally, making mechanical ventilation non-negotiable.
Step 1: Strip or Sand, Choosing the Right Removal Method
The right removal method depends on the extent of the failure and the profile complexity of the cabinet doors.

When to use gel stripper vs. sanding
Use gel stripper when the paint failure is widespread, when multiple layers of old paint exist, or when the cabinet doors have routed profiles and decorative edges that a sander cannot reach cleanly. Gel stripper clings to vertical surfaces without running, giving it dwell time to penetrate fully. Apply a thick coat with an old brush, cover with plastic wrap to slow evaporation, and wait the full time listed on the product label before scraping.
Use sanding when the paint failure is localized, such as a single peeling section or a run that dried hard. A heat gun is useful for flat panel sections where you need to work quickly, but keep it moving constantly and hold it at a 30-degree angle to avoid scorching the wood.
Best sander for kitchen cabinets and grit selection
The best sander for kitchen cabinets is a random orbital sander for flat panel work, combined with a detail sander for corners and recessed areas. Start with 80-grit to remove the bulk of the failed coating, move to 120-grit to level the surface, then 150-grit to refine. Before priming, finish with 220-grit to open the wood grain just enough for primer to penetrate without creating deep scratches that show through the topcoat.
Wrap a sanding block with your chosen grit paper when working flat sections by hand. A block distributes pressure evenly and prevents the finger-shaped dips that a bare hand creates, which telegraph through the final finish.
Step 2: Clean, Degrease, and Prepare Surfaces
Surface preparation is the single biggest factor in paint adhesion. A surface that looks clean is not necessarily ready for primer.
Using TSP degreaser and liquid sandpaper effectively
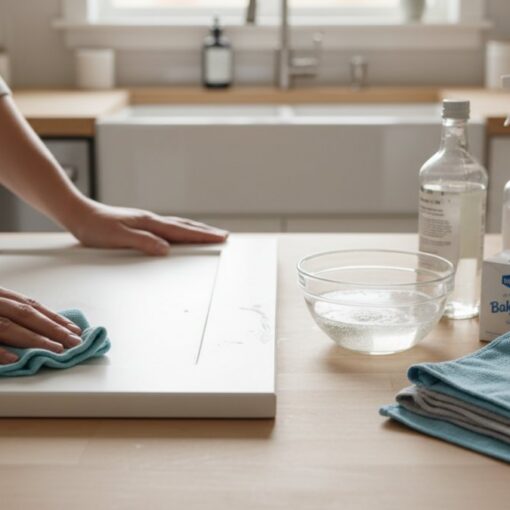
TSP (trisodium phosphate) is a heavy-duty degreaser that removes cooking grease, fingerprint oils, and airborne contaminants that accumulate on kitchen cabinet surfaces over time. Mix TSP with warm water according to the label ratio, scrub the surface with a coarse sponge, then rinse thoroughly with clean water. Allow the surface to dry completely before moving forward.
Liquid sandpaper, also called deglosser, is a chemical alternative to light mechanical sanding. It etches the existing surface to improve paint adhesion without removing material. Apply it with a lint-free cloth in the direction of the wood grain, let it flash off per the product instructions, and proceed immediately to priming.
Step 3: Repair Wood Imperfections and Damage
This is the part that separates a professional-looking result from a DIY finish that always looks slightly off.
Filling gaps and wood grain damage with filler
Wood filler is used to address gaps at joints, dents, gouges, and areas where the wood grain has opened up from moisture or aggressive sanding. Apply filler with a flexible putty knife, slightly overfilling the damaged area. Allow it to cure fully per the manufacturer’s instructions. Sand flush with 120-grit, then blend with 150-grit. Wipe clean with a tack cloth.
Open wood grain on MDF cabinet doors and certain softwoods telegraphs through paint as a bumpy texture. Skim the entire panel with a thin coat of water-based wood filler, sand smooth at 150-grit, and the surface will accept paint like a factory-finished door.
Proper wood filler application and sanding is what makes painted cabinets look sprayed rather than brushed. Skipping this step is why many DIY cabinet paint jobs look handmade even with good paint.
Step 4: Prime for Maximum Paint Adhesion
Primer is not optional when fixing a bad cabinet paint job. It is the layer that makes everything else work.
Selecting high-adhesion and bonding primer
A high-adhesion bonding primer chemically bonds to difficult surfaces including previously painted wood, MDF, and laminate. Shellac-based primers, such as BIN, are the professional standard for problem surfaces because they seal stains, block tannin bleed from wood species like oak and cherry, and adhere to nearly any substrate without sanding. Water-based bonding primers are a lower-VOC alternative that perform well on surfaces that have been properly sanded and deglossed.
Apply primer with a foam roller on flat panels and a synthetic bristle brush on frames and profiles. Two thin coats outperform one heavy coat every time. Sand lightly with 220-grit between coats, remove all dust with a tack cloth, and allow full cure time before topcoating. According to The Wood Finisher’s Guide from the Woodworking Institute, bonding primers need a minimum of two hours dry time before topcoating in normal conditions, but humidity above 60% can extend that window significantly.
Step 5: Apply Cabinet-Grade Paint and Avoid Brush Marks
Cabinet-grade enamel is a purpose-formulated finish designed for the demands of kitchen and bathroom cabinetry: repeated cleaning, moisture exposure, and high-contact use. Standard wall paint does not have the film hardness or durability to hold up in these conditions.
Foam roller vs. synthetic bristle brush techniques
Use a 4-inch foam roller with a 3/16-inch nap for all flat panel surfaces. The foam roller lays paint with minimal texture and virtually eliminates brush marks on flat areas. Roll in one direction, then lightly tip off with a dry synthetic bristle brush in long, even strokes to release any air bubbles the roller introduces.
Use a 2-inch angled synthetic bristle brush for frames, edges, and any detailed profiles. Synthetic bristles are essential with water-based paints because natural bristle brushes absorb water and go limp. Load the brush lightly, work wet-edge to wet-edge, and never go back over paint that has begun to set.
Cabinet-grade enamel may feel dry to the touch within two hours, but full cure time that produces a hard, cleanable surface takes considerably longer. Many water-based alkyds require 21 to 30 days to reach full hardness. Reinstalling doors and hardware before that window closes risks denting and marring the finish permanently.
Fixing Drips and Runs in Cabinet Paint: Correction Techniques
Drips and runs are the most visible evidence of a bad cabinet paint job, and they are also among the most straightforward to correct once the paint has fully cured.
Sanding out imperfections between coats
Wait until the drip or run is completely hard before touching it. Once cured, use a sanding block with 220-grit paper and sand the drip flat using light, even pressure. Feather the edges of the repair into the surrounding surface. Wipe with a tack cloth and apply a thin coat of paint to the repaired area, feathering it into the surrounding finish. On a flat panel, re-roll the entire panel surface rather than spot-patching, which almost always leaves a visible edge.
Using tack cloth for debris removal
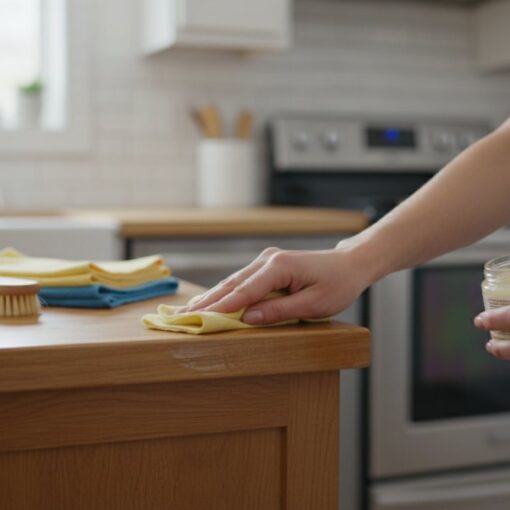
A tack cloth is a resin-impregnated cloth that picks up sanding dust, lint, and fine debris that a dry cloth leaves behind. Use it before every single coat of primer and paint. Fold it into a pad, wipe in the direction of the wood grain, and replace it when it stops picking up debris. Wait a minimum of one week before rehanging doors in a low-humidity environment, and longer if your kitchen runs humid. The paint film needs time to cross-link and harden to its full durability.
| Paint Failure | Root Cause | Fix | Impact if Ignored |
|---|---|---|---|
| Peeling | Poor adhesion / no primer | Strip, prime, repaint | Spreads to adjacent areas |
| Alligatoring | Incompatible coats | Full strip required | Cannot be painted over |
| Brush marks | Wrong applicator / thick paint | Sand, thin coat, foam roller | Visible in raking light |
| Drips and runs | Over-application | Sand when cured, recoat | Harden into permanent ridges |
| Poor adhesion on MDF | Unsealed substrate | Shellac primer, two coats | Bubbling and delamination |
The throughline across every step here is the same: preparation determines outcome. Paint is the last 20 percent of the job. The other 80 percent is everything that happens before the first coat goes on.
Fixing a bad cabinet paint job is achievable with the right sequence, but it demands patience and the willingness to do the preparation work properly. If the damage is extensive, the substrate is compromised, or you want results that genuinely look professional, Denver Cabinet Painting Colorado brings 40 years of refinishing experience and a meticulous preparation process to every project. The team serves residential and commercial clients across the Denver metro area and throughout Colorado, specializing in cabinet painting, refinishing, and glazing with smooth, consistent finishes. Get a free quote from Denver Cabinet Painting Colorado and find out what your cabinets could look like.
Frequently Asked Questions
Can you paint over a bad cabinet paint job without stripping?
Yes, but only if the existing paint is in good condition with strong adhesion. If you have peeling, alligatoring, or poor paint adhesion, you must strip or sand the surface first. Use a deglosser or light sanding to dull the finish, then apply a high-adhesion primer before repainting. Skipping this step will likely result in the same problems recurring.
What's the best sander for kitchen cabinets when fixing a bad paint job?
An orbital sander with 120-150 grit sandpaper works best for cabinet refinishing. For detailed areas and edges, use a sanding block. Start with coarser grit (80-100) to remove old paint, then finish with fine grit (150-180) for a smooth surface. Always sand with the wood grain to avoid cross-grain marks that show through paint.
How long should cabinet paint cure before use after fixing a bad paint job?
Most cabinet-grade enamel paints require 24-48 hours of surface drying, but full cure time is 2-4 weeks depending on VOC levels and humidity. Low-VOC paints may take longer. Avoid placing items on shelves or closing cabinet doors tightly during the first week. Check manufacturer instructions for your specific paint, as cure time directly affects finish durability and resistance to peeling.
How do I fix brush marks on painted cabinets?
Prevent brush marks by using a foam roller or high-quality synthetic bristle brush with cabinet-grade enamel. If marks already exist, lightly sand the area with 220-grit sandpaper between coats, then apply another thin coat. For severe brush marks, you may need to strip the affected section and repaint. Maintain a wet edge while painting and avoid overworking the paint to minimize visible marks.
This article was written using GrandRanker