Table of Contents
- 7 Common DIY Cabinet Painting Mistakes to Avoid (And How to Fix Them)
- Mistake 1: Skipping Proper Surface Preparation and Degreasing
- Mistake 2: Neglecting to Remove Cabinet Doors, Drawer Fronts, and Hardware
- Mistake 3: Not Using Primer Before Painting
- Mistake 4: Using the Wrong Type of Paint for Kitchen Cabinets
- Mistake 5: Applying Paint Too Thickly and Ignoring Drying Time
- Mistake 6: Painting in Poor Lighting or Unfavorable Conditions
- Mistake 7: Not Labeling Doors and Drawers Before Disassembly
- How to Prep Cabinets for Painting: A Step-by-Step Surface Preparation Guide
- Best Paint for Kitchen Cabinets: Water-Based vs. Alkyd vs. Oil-Based Enamel
- Brush vs. Spray for Cabinets: Budget-Friendly vs. Pro-Grade Tool Comparisons
- Cabinet Painting Drying Time, Curing Time, and Troubleshooting Tacky Paint
- Post-Painting Maintenance and Touch-Up Guide for Long-Lasting Cabinet Finishes
- When These DIY Cabinet Painting Mistakes to Avoid Become Too Costly to Risk
- Conclusion
Last Updated: June 17, 2026
Painting your kitchen cabinets is one of the most cost-effective home renovation projects you can tackle, but the 7 common diy cabinet painting mistakes to avoid are responsible for most of the peeling, chipping, and tacky finishes that send frustrated homeowners back to square one. Denver Cabinet Painting Colorado has spent 40 years watching these exact mistakes derail otherwise promising DIY projects. Below, we’ll walk through each one, show you how to fix them, and give you the technical knowledge to achieve a finish that actually lasts.
Here’s what most guides get wrong: they treat cabinet painting as a speed project. It isn’t. The prep work is where the outcome is decided, not the painting itself.
7 Common DIY Cabinet Painting Mistakes to Avoid (And How to Fix Them)
Cabinet painting mistakes fall into two categories: preparation failures and application failures. Preparation failures account for the vast majority of long-term problems, chipping, peeling, and adhesion loss almost always trace back to something that went wrong before the brush ever touched the wood.
Mistake 1: Skipping Proper Surface Preparation and Degreasing
The most destructive mistake is failing to degrease before sanding or priming. Kitchen cabinets accumulate cooking grease, airborne oils, and food residue over years of use. Paint will not bond to a greasy surface, no matter how good your primer is. Use a dedicated degreaser like Krud Kutter or trisodium phosphate (TSP) dissolved in warm water. Rinse thoroughly and allow surfaces to dry completely before sanding.
Skipping degreasing and going straight to sanding pushes grease deeper into the wood grain, creating a contaminated surface that primer cannot seal properly, leading to fish-eye failures and peeling within months.
Mistake 2: Neglecting to Remove Cabinet Doors, Drawer Fronts, and Hardware
Painting doors while still attached creates uneven edge coverage, drips on the interior, and permanently stuck hinges. Remove every door, drawer front, and piece of hardware before you start. Lay doors flat on sawhorses to paint them horizontally, which dramatically reduces runs and drips. This is also the right time to implement Mistake 7 prevention: label everything before it comes off.
Mistake 3: Not Using Primer Before Painting
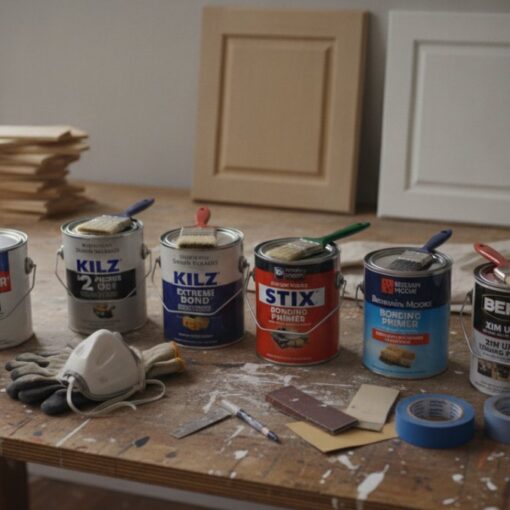
Without a proper bonding layer, even the best topcoat will chip and peel under daily kitchen stress. INSL-X Stix Waterborne Bonding Primer provides exceptional adhesion to difficult surfaces including laminate and previously lacquered finishes. For stains, tannin bleed, or strong odors, Zinsser B-I-N Shellac-Based Primer is the industry standard. Apply in thin, even coats, two thin coats outperform one heavy coat every time.
On previously painted or glossy cabinets, apply a liquid deglosser before priming. This opens the surface chemically without sanding dust, improving primer adhesion significantly on slick finishes.
Mistake 4: Using the Wrong Type of Paint for Kitchen Cabinets
Standard wall paint has no place on kitchen cabinets. The finish must withstand scrubbing, moisture, heat, and daily physical contact. Use cabinet-specific enamels or waterborne alkyds: Benjamin Moore Advance Waterborne Alkyd self-levels to reduce brush marks and cures to a hard, furniture-like finish. Sherwin-Williams Emerald Urethane Trim Enamel offers excellent chip and scratch resistance with a non-yellowing formula.
Mistake 5: Applying Paint Too Thickly and Ignoring Drying Time
Thick coats cause runs, sags, and finishes that never fully cure, the outer skin dries while the interior stays wet, creating tacky surfaces that dent and mark easily. Apply two to three thin coats with proper drying time between each. The critical distinction between drying time and curing time is addressed in the drying and curing section below.
Mistake 6: Painting in Poor Lighting or Unfavorable Conditions
Dim light means you’ll miss drips and brush marks until the paint has already dried. Position a work light at a low angle to reveal every imperfection as you go. Paint applied below 50°F or above 90°F, or in high humidity, will not cure correctly. Ensure adequate airflow to carry solvent vapors away and wear a respirator when spraying.
Mistake 7: Not Labeling Doors and Drawers Before Disassembly
Cabinet doors are not interchangeable, hinges wear in specific positions and wood expands in ways that make a door fit one opening and bind in another. Use painter’s tape and a marker to number each door and its corresponding opening before removing anything. This takes five minutes and saves hours of reassembly frustration.
How to Prep Cabinets for Painting: A Step-by-Step Surface Preparation Guide
Proper surface preparation is the single variable that separates a cabinet paint job that lasts a decade from one that fails within a year. The sequence matters as much as the individual steps.
- Empty all cabinets and remove doors, drawer fronts, and hardware
- Label everything before it comes off (see Mistake 7)
- Degrease all surfaces with TSP or a dedicated degreaser
- Rinse thoroughly and allow to dry completely
- Sand with 120-grit sandpaper to scuff the existing finish
- Progress to 150-grit for smoothing
- Wipe all surfaces with a tack cloth to remove every particle of sanding dust
- Apply bonding primer in thin, even coats
- Light sand between primer coats with 220-grit
- Final tack cloth wipe before topcoat application
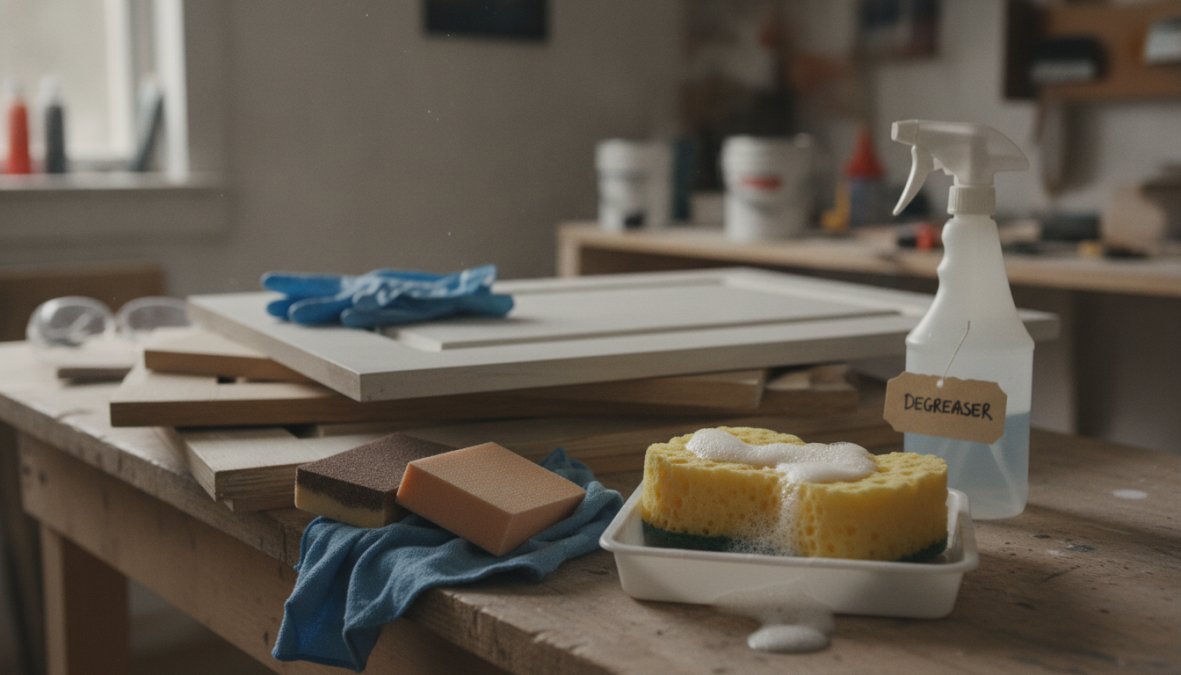
Cleaning with TSP or a Dedicated Degreaser
TSP removes grease, wax, and grime while etching the surface slightly for better adhesion. Mix according to package directions, apply with a sponge, and rinse with clean water. For a less aggressive option, Krud Kutter works well on moderate grease buildup and is biodegradable.
According to EPA guidance on surface preparation for paint adhesion, proper surface cleaning is the foundational step for any coating application, directly affecting long-term performance.
Sanding Grit Sequence and Using a Tack Cloth
Starting with 120-grit creates mechanical tooth on the existing finish; moving to 150-grit smooths those scratches to a level where primer adheres without telegraphing through the topcoat. 3M Sanding Sponges are particularly useful for cabinet profiles and edges where flat sandpaper cannot conform, preventing over-sanding of corners that causes chipping. After sanding, a tack cloth is non-negotiable, dust left on the surface embeds in your primer and creates gritty texture that shows through every subsequent coat.
Best Paint for Kitchen Cabinets: Water-Based vs. Alkyd vs. Oil-Based Enamel
The best paint for kitchen cabinets depends on durability requirements, odor tolerance, and curing time. Each paint chemistry has a distinct performance profile.

| Paint Type | Durability | Dry Time | Cleanup | Yellowing Risk |
|---|---|---|---|---|
| Water-Based Acrylic Latex | Moderate | 1-2 hours | Water | None |
| Waterborne Alkyd (e.g., BM Advance) | High | 4-6 hours | Water | Minimal |
| Oil-Based Enamel | Very High | 8-24 hours | Mineral spirits | Yes, over time |
| Water-Based Urethane Enamel | High | 2-4 hours | Water | None |
Understanding Paint Chemistry and Chemical Compatibility
Oil-based paint applied over a water-based primer is generally acceptable. Water-based paint applied over oil-based paint requires proper scuffing and a bonding primer, or the topcoat will not adhere. Shellac-based primers like Zinsser B-I-N are chemically compatible with both oil and water-based topcoats, making them the safest universal option. The real risk is applying a water-based topcoat over an oil-based finish that hasn’t been properly scuffed, it looks fine initially but peels in sheets within weeks.
As documented in Benjamin Moore’s technical coating guide for interior wood surfaces, waterborne alkyd formulas combine the easy cleanup of water-based products with the hard-curing properties of traditional alkyd chemistry, making them the preferred choice for high-traffic cabinet surfaces.
Brush vs. Spray for Cabinets: Budget-Friendly vs. Pro-Grade Tool Comparisons
The tool you use determines the finish quality ceiling, but technique determines whether you reach it.
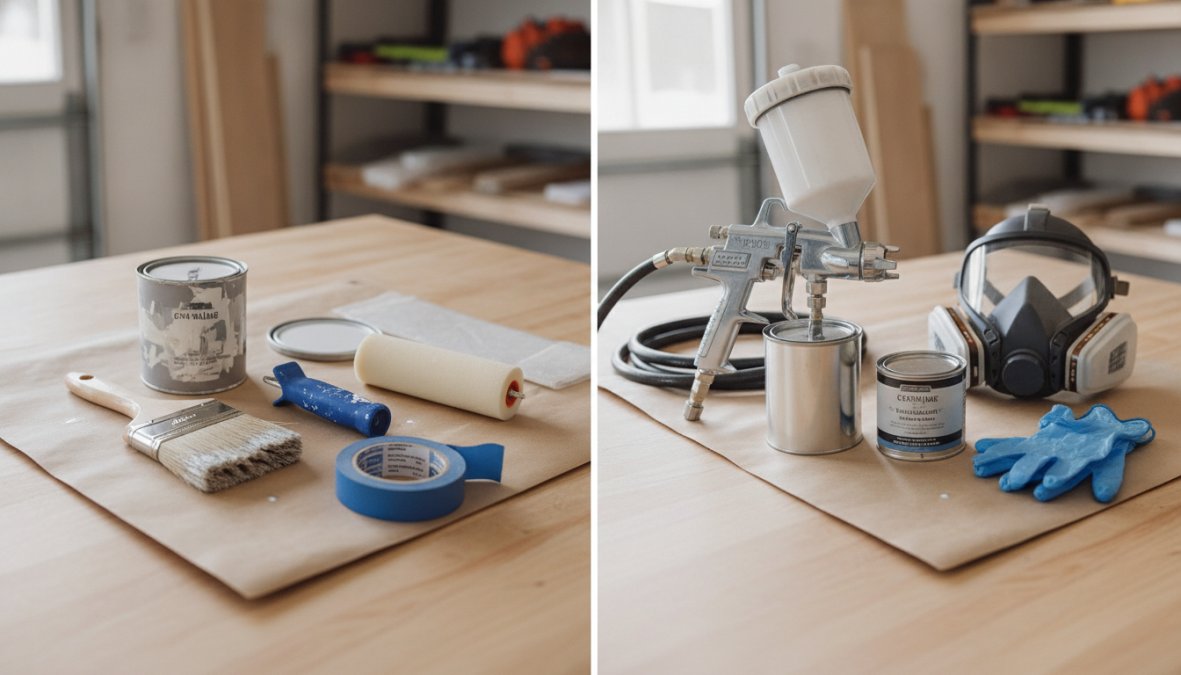
Brushing with a quality synthetic brush like the Purdy Nylox Glide gives you control with minimal setup; nylon filaments minimize brush marks with enamels, though some texture remains. Spraying with an HVLP sprayer like the Wagner FLEXiO 5000 produces a factory-like finish with zero brush marks, the trade-off is setup time: thorough masking, thinning paint to correct viscosity, and practicing technique before committing to the actual cabinets.
| Tool | Cost | Finish Quality | Setup Time | Best For |
|---|---|---|---|---|
| Quality Brush (Purdy Nylox) | $12-$18 | Good, some texture | Minimal | Detail work, frames |
| Foam Roller | $5-$10 | Moderate, slight stipple | Minimal | Flat cabinet faces |
| HVLP Sprayer (Wagner FLEXiO 5000) | $150-$200 | Excellent, smooth | High | Doors, drawer fronts |
| Pro Airless Sprayer | $300+ | Professional | Very High | Full kitchen projects |
The practical recommendation: brush the cabinet frames and interior surfaces, and spray the doors and drawer fronts flat on sawhorses. This hybrid approach delivers the best finish quality where it’s most visible without the full masking burden of spraying everything.
The biggest tool-related mistake is using a cheap brush with thick bristles. A $15 quality brush outperforms a $5 brush dramatically. For flat cabinet faces, use a 4-inch foam roller with a smooth nap to minimize texture.
Cabinet Painting Drying Time, Curing Time, and Troubleshooting Tacky Paint
Drying time is how long before the surface is dry to the touch and can be recoated, typically 1-4 hours for most water-based enamels. Curing time is how long before the paint reaches full hardness and chemical resistance. For waterborne alkyds, full cure can take 2-4 weeks. During this period, cabinets are vulnerable to denting and scratching even though they look and feel dry.
Why Your Paint Feels Tacky or Is ‘Melting’: Causes and Fixes
Cause 1: Applied too thickly. Thick coats form a dry skin over wet paint beneath; the interior never cures. Fix: sand back to bare wood or primer and reapply in thin coats.
Cause 2: Incompatible products. A water-based topcoat over an oil-based product that wasn’t fully cured will remain soft. Fix: strip back to a stable layer and rebuild with compatible products.
Cause 3: Temperature too low. Paint applied below 50°F will not cure correctly. Fix: maintain room temperature above 65°F for at least 48 hours after the final coat.
Cause 4: High humidity. Humidity above 85% prevents proper evaporation and curing. Fix: use a dehumidifier and ensure adequate ventilation.
As noted in Sherwin-Williams technical data on paint application conditions, ambient temperature and humidity at application directly affect the curing chemistry of enamel paints, with deviations from recommended ranges causing measurable hardness failures.
Post-Painting Maintenance and Touch-Up Guide for Long-Lasting Cabinet Finishes
The first two weeks: Treat cabinets gently, the finish is still curing. Use a soft cloth dampened with water only; avoid scrubbing or harsh cleaners.
Ongoing cleaning: Once fully cured, clean with a mild dish soap solution and a soft microfiber cloth. Avoid abrasive scrubbers and ammonia-based cleaners, which degrade paint over time.
Touch-up strategy: Keep a small amount of the original topcoat in a sealed container. When chips occur, lightly sand the damaged area with 220-grit, wipe with a tack cloth, and apply a thin coat with a small artist’s brush, feathering the edges to blend.
When to apply a topcoat: For high-traffic cabinets, a water-based polyurethane topcoat adds a sacrificial layer that absorbs daily abuse. Apply in thin coats and buff lightly with 400-grit between coats for a smooth, durable finish.
When These DIY Cabinet Painting Mistakes to Avoid Become Too Costly to Risk
There’s a point where the accumulated risk of mistakes exceeds the cost of professional help. For cabinet painting, that threshold is typically a full kitchen with 30 or more doors, existing finish compatibility questions, or cabinets with significant damage requiring repair before painting.
The 7 common diy cabinet painting mistakes to avoid outlined here are manageable for a motivated DIYer tackling a bathroom vanity or small kitchen. A full kitchen with complex profiles, dark existing finishes, and laminate surfaces is a different challenge entirely. According to National Association of the Remodeling Industry’s project complexity guidelines, projects involving chemical compatibility issues, structural repairs, and multi-surface environments are where professional involvement most significantly reduces failure rates and total project cost. A failed DIY paint job on 30 cabinet doors means stripping and repainting, which costs more in materials and time than hiring a professional from the start.
Cabinet painting done wrong is expensive to fix and demoralizing to live with. Denver Cabinet Painting Colorado has spent 40 years perfecting the preparation and application process that makes the difference between a finish that lasts and one that fails. With expertise in cabinet painting, refinishing, and glazing across the Denver metro area, and a commitment to meticulous surface preparation as the foundation of every project, the team delivers smooth, consistent finishes without the risk of starting over. Get a free quote from Denver Cabinet Painting Colorado and get the kitchen finish you actually wanted the first time.
Frequently Asked Questions
What is the biggest mistake when painting kitchen cabinets?
The single biggest DIY cabinet painting mistake is skipping proper surface preparation. Kitchen cabinets accumulate grease, cooking residue, and grime that prevent paint from bonding correctly. Without thorough degreasing using a product like trisodium phosphate (TSP) or a dedicated cleaner, followed by sanding and priming, even premium paint will chip and peel within months. Meticulous prep work is the foundation of any professional, long-lasting cabinet finish.
Do I really need to sand cabinets before painting?
Yes, sanding is essential when learning how to prep cabinets for painting. Lightly sanding with 120-150 grit sandpaper scuffs the existing finish, giving the primer and topcoat something to grip. This step is especially critical on glossy or previously lacquered surfaces. After sanding, always wipe surfaces with a tack cloth to remove all dust before applying primer. Skipping sanding is one of the most common reasons DIY cabinet paint jobs fail prematurely through peeling and poor adhesion.
What kind of paint is best for kitchen cabinets?
The best paint for kitchen cabinets is a waterborne alkyd or urethane enamel, such as Benjamin Moore Advance or Sherwin-Williams Emerald Urethane Trim Enamel. These paints combine the easy water-based cleanup of latex paint with the hard, durable curing properties of oil-based enamel. They self-level to minimize brush marks and resist chipping in high-use areas. Traditional oil-based enamel also works well but has longer drying times and stronger fumes requiring better ventilation.
Is it better to brush or spray paint kitchen cabinets?
Spraying with an HVLP sprayer produces the smoothest, most professional finish on cabinet doors and drawer fronts by eliminating brush marks entirely. However, it requires practice, significant masking with drop cloths, and proper ventilation. Brushing with a high-quality synthetic brush like a Purdy Nylox is more accessible for beginners and works well for cabinet frames. Many DIYers use a hybrid approach: spray doors and drawer fronts flat, and brush or roll cabinet boxes in place.
How long should I let painted cabinets cure before normal use?
Cabinet painting drying time and curing time are very different. Most water-based paints feel dry to the touch within 1-2 hours and can be recoated after 4-6 hours. However, full curing, when the finish reaches maximum hardness and durability, takes 21 to 30 days. During this curing period, handle cabinets gently, avoid hanging heavy items on doors, and clean only with a soft, damp cloth. Rushing this phase is a common DIY mistake to avoid, as it leads to scratching and denting the soft finish.
Why does my cabinet paint feel sticky or tacky after drying?
Tacky or 'melting' cabinet paint is usually caused by one of three issues: applying coats too thickly before the previous coat fully dried, painting in high humidity or low temperatures that slow solvent evaporation, or using an incompatible primer and topcoat combination. For example, applying a latex topcoat over an oil-based undercoater without proper compatibility testing can cause adhesion failure. Ensure adequate ventilation, follow recommended drying times between coats, and always confirm your primer and paint are chemically compatible.
This article was written using GrandRanker