Table of Contents
- Why Do My Painted Cabinets Chip? The Real Reasons Behind Paint Failure
- How to Prep Cabinets for Painting to Prevent Chipping
- The Best Primer for Kitchen Cabinets and Why It Prevents Chipping
- Paint Chemistry: Oil-Based vs. Water-Based Enamel and Durability
- How Long Does Cabinet Paint Take to Cure, and Why Rushing Causes Chips
- Environmental Factors: How Humidity and Temperature Cause Paint to Chip
- Why Do My Painted Cabinets Chip: Normal Wear vs. Poor Workmanship
- How to Touch Up Chipped Cabinet Paint the Right Way
Last Updated: June 7, 2026
Why Do My Painted Cabinets Chip? The Real Reasons Behind Paint Failure
If you’ve ever stared at a freshly painted cabinet and wondered why do my painted cabinets chip within weeks of finishing, you’re not alone. At Denver Cabinet Painting Colorado, we’ve seen this problem across hundreds of kitchens, and the answer almost always traces back to the same handful of preventable causes. Paint failure on cabinets is not random, it follows predictable patterns, and understanding those patterns is the fastest way to fix it permanently.
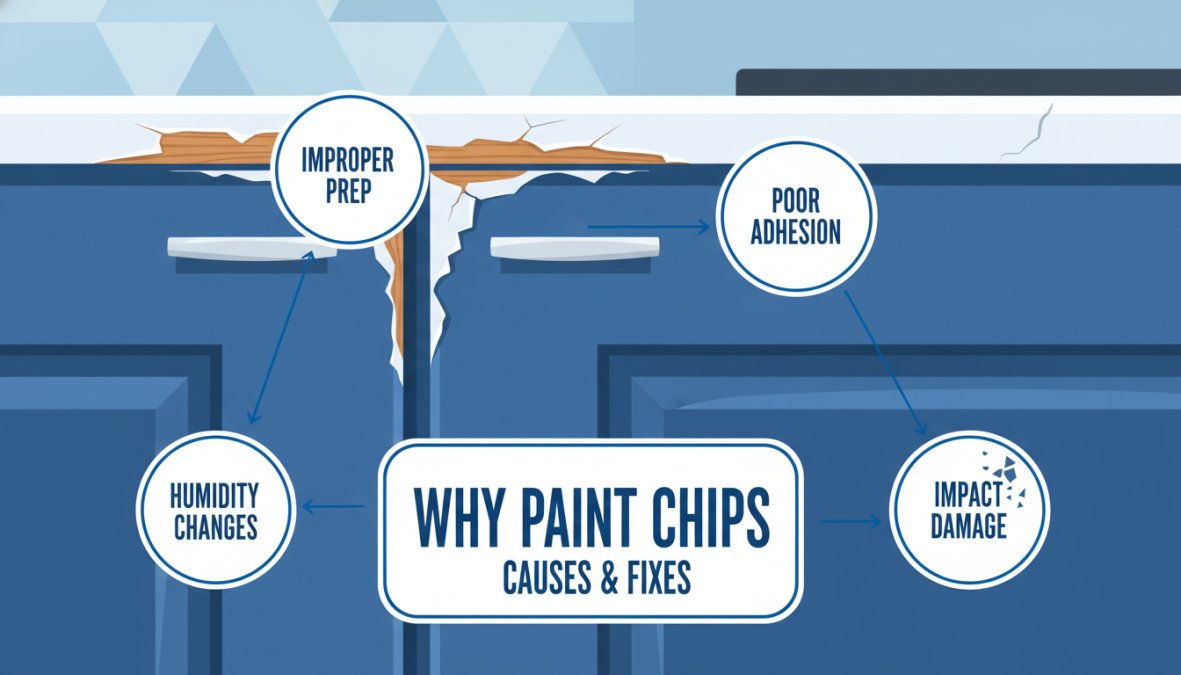
The most important thing to understand: chipping paint on cabinets is almost never a paint quality problem. It is a preparation and application problem.
Poor Adhesion: The Number One Culprit
Paint adhesion failure is the leading cause of chipped and peeling cabinet paint. When the bond between paint and surface is weak, the paint behaves like a sticker on a dusty surface, it holds briefly, then lifts at edges and corners where stress concentrates.
The most common adhesion killers are grease, silicone residue, and glossy existing finishes. Kitchen cabinets accumulate cooking grease that’s nearly invisible but completely prevents bonding. Silicone-based furniture polishes leave a film that repels water-based paint entirely. True degreasing requires a dedicated degreasing agent, not just soap and water.
Applying paint over a silicone-based polish is one of the most common causes of premature chipping. If you’ve used any spray polish on your cabinets in the past year, assume contamination and degrease thoroughly before painting.
Substrate Matters: MDF, Veneer, and Solid Wood React Differently
The material your cabinets are made from significantly affects how paint adheres and how long it lasts.
MDF (medium-density fiberboard) is dimensionally stable, but its edges are highly porous. Without proper sealing, MDF edges absorb paint unevenly, swell with moisture, and become the first place chipping appears. MDF requires a dedicated sealing coat on all edges before primer.
Veneer surfaces present a narrow margin for error: aggressive sanding cuts through the veneer entirely, while insufficient sanding leaves a surface too smooth for paint to grip.
Solid wood expands and contracts with seasonal humidity. This movement stresses the paint film, particularly on shaker door panels. Paint that doesn’t flex with the wood will crack and chip at panel edges over time.
According to Paint Quality Institute’s guidance on wood surfaces, understanding the substrate is foundational to selecting the right primer and topcoat system.
Factory Finish vs. Site-Applied Paint: Why the Gap Matters
Factory-finished cabinets present a unique adhesion challenge. The original finish, typically a catalyzed lacquer or conversion varnish cured under industrial heat, is extremely hard and chemically resistant, making it difficult to paint over in the field.
Site-applied paint cannot replicate factory curing conditions, leaving a softer film on top of a harder substrate that won’t bond without proper preparation. The fix is non-negotiable: scuff the factory finish with fine-grit sandpaper or liquid deglosser to create mechanical adhesion points, then apply a bonding primer to bridge the old finish and new topcoat.
How to Prep Cabinets for Painting to Prevent Chipping
Preparation is not one step in the painting process. It is the process.
Degreasing, Deglossing, and Sanding: The Non-Negotiable Steps
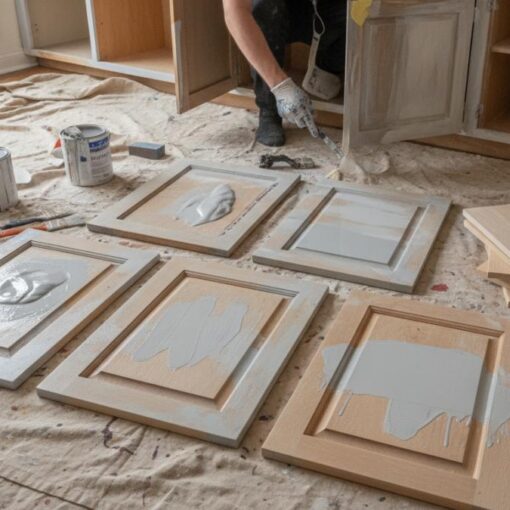
Step 1: Remove all hardware and doors. Paint doors flat whenever possible, painting vertically increases runs and makes coating edges properly nearly impossible.
Step 2: Degrease all surfaces. Use a dedicated kitchen degreaser or TSP substitute on every surface to be painted. Allow to dry completely.
Step 3: Degloss the existing finish. Sand lightly with 150-grit sandpaper or apply a liquid deglosser to dull the sheen and create a rough surface for primer to grip.
Step 4: Fill dents and flaws. Use lightweight spackle or wood filler; sand smooth once dry.
Step 5: Sand again with 220-grit. This removes filler ridges and creates a uniform surface profile.
Step 6: Wipe with a tack cloth. Remove all sanding dust before applying primer, dust trapped under primer causes texture problems and adhesion failure.
On MDF cabinet doors, apply a thin coat of undiluted PVA glue to all exposed edges before priming. This seals the porous edge grain and prevents the swelling that causes chipping at the most visible parts of the door.
The Best Primer for Kitchen Cabinets and Why It Prevents Chipping
The best primer for kitchen cabinets is a bonding primer specifically formulated for slick or difficult surfaces. Standard drywall primer has no place on cabinets, it’s designed for porous surfaces, not the hard semi-gloss finishes found on most cabinet boxes and doors.

For most kitchen cabinet projects, two strong options exist:
- Shellac-based primer: Exceptional adhesion on virtually any surface, excellent stain blocking, compatible with oil-based and water-based topcoats. Requires denatured alcohol for cleanup and strong ventilation.
- Water-based bonding primer: Easier cleanup, lower odor, faster dry times. Modern formulations have closed the performance gap with shellac considerably. Look for products specifically labeled "bonding" or "adhesion" primers.
A dedicated primer coat applied separately is the only approach that delivers reliable long-term adhesion. Paint-and-primer-in-one products are appropriate for new drywall, not cabinets. As documented in The Spruce’s guide to cabinet painting preparation, skipping a dedicated bonding primer is one of the top reasons painted cabinets fail prematurely.
Paint Chemistry: Oil-Based vs. Water-Based Enamel and Durability
Paint choice matters more on cabinets than on walls. Cabinet doors absorb daily impacts, moisture from cooking, and constant handling, the paint film must be hard enough to resist this abuse without becoming brittle.
Oil-based paint levels beautifully and cures to a very hard film, but requires 24-hour dry times between coats, strong solvent fumes, and mineral spirits for cleanup. It also yellows over time, which is particularly noticeable on white cabinets.
Water-based alkyd enamel is the current professional preference. These hybrid formulas combine the leveling and hardness of oil-based paint with faster dry times, lower VOCs, and resistance to yellowing.
Standard latex paint is not appropriate for cabinets, it remains relatively soft even when fully cured, making it prone to denting, scratching, and chipping.
Sheen matters too: satin and semi-gloss finishes are more durable and easier to clean than eggshell or matte, producing a harder, more moisture-resistant film.
How Long Does Cabinet Paint Take to Cure, and Why Rushing Causes Chips
Dry time and cure time are not the same thing, this distinction is the reason so many painted cabinets chip within the first few weeks of use.
Dry time is how long before paint is dry to the touch or ready for a second coat, as short as one to two hours for water-based products.
Cure time is how long before the paint film reaches full hardness and chemical resistance. For water-based enamel, full cure takes two to four weeks. For oil-based paint, up to 30 days.
During curing, the paint film is vulnerable. Closing cabinet doors too firmly, stacking items inside, or cleaning with any chemical will damage a film that hasn’t fully cured.
The most common cause of chipping on brand-new cabinet paint jobs is closing the doors before the paint has cured. Use soft-close bumpers and handle doors gently for the first 30 days after painting.
According to Bob Vila’s guidance on paint curing times, kitchen environments with heat and moisture extend cure timelines further than manufacturers’ stated dry times suggest.
Environmental Factors: How Humidity and Temperature Cause Paint to Chip
The kitchen is one of the most demanding environments for paint. Heat, steam, and daily humidity fluctuations stress the paint film continuously.
Moisture is the primary threat. Water vapor penetrates paint films at seams and edges, causing the substrate to swell slightly. Repeated expansion and contraction eventually cracks and chips the film, especially pronounced on MDF and veneer. Temperature extremes compound the problem: paint applied below 50°F or above 90°F doesn’t cure properly. Cold leaves a soft film; excessive heat causes the surface to dry too quickly, trapping solvents that eventually cause bubbling and peeling.
For Denver-area homeowners, the dry climate creates an additional challenge: low humidity causes wood substrates to shrink, pulling at the paint film from below. Seasonal swings between dry winters and more humid summers create a stress cycle that challenges even well-applied paint. The practical solution is sealing all substrate edges thoroughly, using a flexible topcoat formulation, and ensuring adequate kitchen ventilation to reduce steam buildup on cabinet surfaces.
Why Do My Painted Cabinets Chip: Normal Wear vs. Poor Workmanship
Understanding why do my painted cabinets chip requires distinguishing between two fundamentally different failure modes.
Normal wear and tear produces gradual, localized chipping at high-contact points, door edges where hands grip repeatedly, areas around pulls and knobs, and bottom edges of upper cabinets. This develops slowly over years and typically appears first at corners.
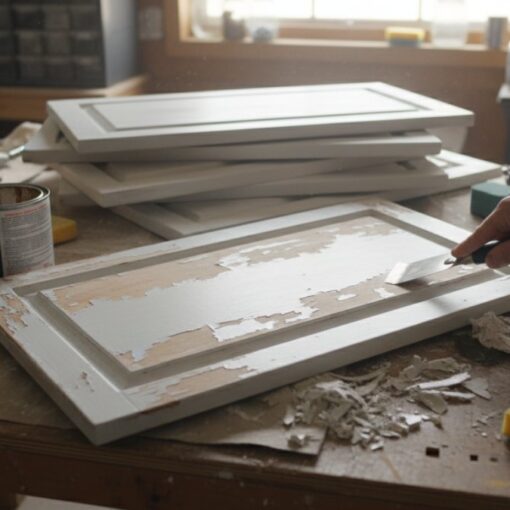
Poor workmanship produces chipping within weeks or months, often in areas that see minimal contact. Paint lifting in large sheets, chipping along the middle of flat door panels, or peeling that follows the substrate grain all signal preparation or application failure.
Repair vs. Refinish Decision Matrix
| Situation | Recommended Action |
|---|---|
| Chipping at edges only, paint otherwise sound | Touch up and seal edges |
| Chipping within 6 months of painting | Full refinish, address prep failure |
| Chipping in non-contact areas | Full refinish, likely adhesion failure |
| Gradual wear after 5+ years | Touch up or full refinish based on scope |
| Peeling in large sheets | Full strip and refinish required |
| Isolated chips from physical impact | Spot repair |
For widespread early chipping, touch-up will not solve the underlying problem. If adhesion failed across the surface, touching up individual chips creates a patchwork that continues to fail. A full refinish, done correctly, is the only durable solution.
DIY vs. Professional Liability: What You Need to Know
DIY cabinet painting carries real risk beyond aesthetics. In rental properties or homes being sold, a failed paint job that damages the underlying cabinet substrate can create financial liability.
More practically, DIY cabinet painting done without proper preparation almost always costs more in the long run than professional work done once. The materials alone, bonding primer, water-based alkyd enamel, spray equipment for a smooth finish, represent a significant investment. Without professional spray equipment, brush and roller marks are nearly impossible to eliminate. A professional brings the equipment, product knowledge, and process discipline that produces a finish built to last. Denver Cabinet Painting Colorado, with 40 years of experience serving Colorado homeowners and commercial clients, has built its reputation on meticulous preparation and professional application.
How to Touch Up Chipped Cabinet Paint the Right Way
Touch-up work on painted cabinets is more nuanced than most people expect. Done wrong, touch-up paint looks worse than the original chip because the new paint sits higher than the surrounding surface and catches light differently.
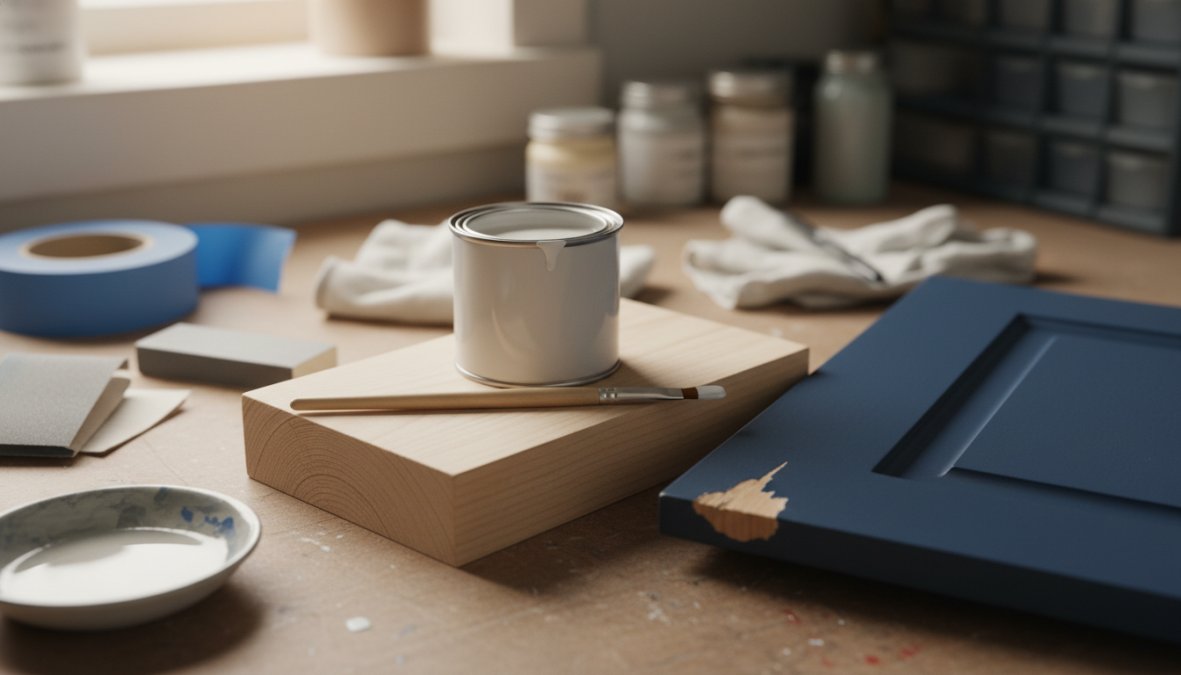
The correct process for touching up chipped cabinet paint:
- Feather the edges of the chip. Use 220-grit sandpaper to lightly sand the chip edges, creating a gradual transition from bare substrate to surrounding paint.
- Clean the area. Wipe with a lint-free cloth dampened with isopropyl alcohol to remove grease or dust.
- Apply a small amount of bonding primer. Use a fine artist’s brush, applying only to the bare substrate. Allow to dry fully.
- Apply the topcoat in thin layers. Two thin coats are better than one thick coat; allow each to dry completely before the next.
- Sand lightly between coats. Use 400-grit sandpaper to knock down texture; wipe clean before the final coat.
- Allow full cure time before use. The touched-up area needs the same cure time as the original paint job.
One honest caveat: if the original paint was sprayed, brush touch-ups will be visible under certain lighting. For cabinets painted with a sprayer, invisible repairs may require a professional with spray equipment to feather the repair properly.
For persistent or widespread chipping, the repair vs. refinish matrix above applies. As Fine Homebuilding resource on cabinet finishing best practices notes, durable cabinet finishes depend on addressing the substrate and adhesion correctly before any topcoat is applied.
Chipping cabinet paint is a frustrating problem, but a solvable one when the root cause is correctly identified. For homeowners dealing with widespread failure or cabinets that have chipped repeatedly despite touch-up attempts, the most reliable path forward is professional refinishing with proper preparation from the start. Denver Cabinet Painting Colorado brings 40 years of Colorado experience, specialized cabinet refinishing expertise, and a process built around meticulous surface preparation to deliver finishes that hold up to real kitchen use. Get a free quote from Denver Cabinet Painting Colorado and get cabinets that stay beautiful for years, not weeks.
Frequently Asked Questions
Is it normal for painted cabinets to chip?
Some minor chipping over many years is normal wear and tear, especially on high-traffic areas like cabinet edges and drawer fronts. However, chipping within the first few years, or peeling in sheets, is not normal and usually points to inadequate surface preparation, skipped primer, or paint that never fully cured. Properly prepped and professionally painted cabinets should hold up for a decade or more with routine cleaning and care.
What is the best paint to use on cabinets to prevent chipping?
A high-quality water-based enamel or alkyd-hybrid topcoat is generally considered the best choice for painted cabinets. These paints cure to a hard, durable film that resists chipping and moisture. Oil-based paints offer excellent hardness but take longer to dry and yellow over time. Regardless of paint type, adhesion depends heavily on proper degreasing, sanding, and applying a bonding primer first, no topcoat performs well over a poorly prepared surface.
Does primer prevent cabinet paint from chipping?
Yes, primer is one of the most important factors in preventing chipped cabinet paint. A bonding primer creates a mechanical and chemical bridge between the substrate and the topcoat, dramatically improving adhesion. Skipping primer or using a wall primer instead of a dedicated cabinet or bonding primer is one of the most common reasons painted cabinets chip prematurely. For slick factory finishes or MDF surfaces, a shellac-based or high-adhesion bonding primer is especially critical.
How do you fix chipped paint on kitchen cabinets?
To touch up chipped cabinet paint, start by lightly sanding the chipped area smooth with fine-grit sandpaper. Clean away dust and debris, then apply a small amount of bonding primer to the bare spot and let it dry fully. Apply your matching topcoat in thin layers, feathering the edges to blend with the surrounding finish. For deeper chips or widespread damage across cabinet doors and drawer fronts, a full refinishing may produce better, more consistent results than spot repairs.
How long does cabinet paint take to cure, and can I use cabinets before then?
Cabinet paint typically dries to the touch within a few hours but takes 21 to 30 days to fully cure to its maximum hardness, depending on the paint chemistry, temperature, and humidity. Using cabinets, especially closing doors and drawers repeatedly, before the paint has cured is a leading cause of early chipping and surface damage. During the curing period, handle cabinet doors gently, avoid harsh cleaners, and allow maximum airflow to support proper hardening of the topcoat.
This article was written using GrandRanker