Table of Contents
- Why Cabinet Paint Peels: The Real Causes of Cabinet Paint Peeling
- Tools Needed for Cabinet Repair Before You Start
- How to Prep Cabinets for Painting: Surface Preparation Done Right
- How to Fix Peeling Cabinet Paint: Step-by-Step Repair Process
- Best Primer for Kitchen Cabinets to Prevent Future Peeling
- Choosing the Right Cabinet Paint for a Durable, Professional Finish
- How to Fix Peeling Cabinet Paint: DIY vs. Hiring a Professional
- Conclusion
Last Updated: June 5, 2026
Peeling cabinet paint is one of the most common and frustrating kitchen problems homeowners face, and knowing how to fix it correctly makes the difference between a lasting repair and a finish that fails again within months. At Denver Cabinet Painting Colorado, we’ve spent 40 years diagnosing and correcting exactly this kind of paint failure across the Denver metro area. Most peeling paint situations are fully repairable without replacing your cabinets, but most DIY attempts fail because they skip the preparation steps that actually matter.
Here’s what most guides get wrong: they treat peeling paint as a painting problem. It’s actually a substrate and adhesion problem. Paint peels because the surface beneath it was never properly prepared, or because environmental conditions broke down the bond between the paint film and the substrate. Fix the root cause, and your repair lasts. Ignore it, and you’ll be back to square one within a year.
Why Cabinet Paint Peels: The Real Causes of Cabinet Paint Peeling
Cabinet paint peeling is a surface adhesion failure, not a cosmetic inconvenience. Understanding why it happens is the fastest way to prevent it from recurring after your repair.
Moisture, Heat, and Environmental Factors
The kitchen is the single most hostile environment for paint in any home. Steam, dishwasher exhaust, and humidity fluctuations create constant expansion and contraction cycles in cabinet materials, when the paint film can’t flex with that movement, it blisters and peels. Heat compounds the problem: cabinets near cooking surfaces experience repeated thermal stress, causing the paint film to harden, lose elasticity, and chip at edges before broader delamination follows. Poor ventilation traps humidity and accelerates breakdown of any paint or laminate system.
Skipping a degreaser step before painting is the single most common cause of adhesion failure. Kitchen cabinets accumulate grease and cooking oil residue that’s invisible to the eye but completely blocks primer from bonding to the substrate. Paint applied over contaminated surfaces will peel within weeks, not years.
Thermofoil Delamination vs. Paint Failure: How to Tell the Difference
This distinction matters enormously because the repair process is completely different for each.
Paint failure is when a painted or primed surface loses adhesion, you’ll see chipping or flaking that reveals bare wood, MDF, or a previous paint layer underneath.
Thermofoil delamination is the separation of a vinyl laminate from the MDF substrate. Thermofoil cabinets are not painted; they’re manufactured with a thin PVC film heat-pressed onto MDF. When that film separates, you’ll see bubbling, lifting edges, or large sections peeling away in one continuous sheet, with raw MDF underneath.
To identify thermofoil: press the peeling material between your fingers. If it’s thin, flexible, and slightly plastic-feeling, it’s thermofoil. If it’s brittle and comes off in flakes or chips, it’s paint. Thermofoil requires adhesive reattachment or full removal before refinishing, while paint failure responds well to sanding, priming, and repainting with the right products.
Tools Needed for Cabinet Repair Before You Start
Having the right tools assembled before you begin prevents mid-project delays and ensures each step gets done correctly.
Surface preparation:
- TSP (trisodium phosphate) cleaner or a dedicated cabinet degreaser
- Sponges and clean rags
- 80-grit, 120-grit, and 220-grit sandpaper
- Sanding block or orbital sander
- Tack cloth
Paint removal (choose based on your situation):
- Heat gun (for thermofoil removal or thick paint buildup)
- Chemical paint stripper (for detailed profiles or intricate cabinet doors)
- Putty knife or plastic scraper
Priming and painting:
- Oil-based primer or high-quality bonding primer
- Acrylic enamel or alkyd paint
- High-density foam rollers (for flat panels)
- Quality synthetic brushes (for edges and profiles)
- Cabinet hardware removal tools (screwdriver set)
Safety:
- Nitrile gloves
- Safety glasses
- N95 respirator mask (especially when sanding MDF or using chemical strippers)
- Drop cloths
According to the Environmental Protection Agency’s guidance on lead paint in older homes, cabinets in homes built before 1978 may contain lead-based paint. If your home falls in that category, test before sanding.
How to Prep Cabinets for Painting: Surface Preparation Done Right
Preparation is where professional cabinet refinishing is won or lost. A painter who spends 70% of their time on prep will always outperform one who rushes it, this is what separates a finish that lasts a decade from one that peels again within a season.

Cleaning with Degreaser and TSP
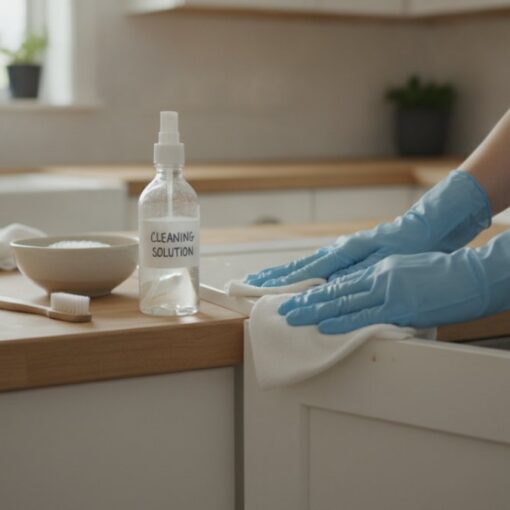
Start by removing all cabinet hardware and labeling each door and drawer front with painter’s tape so reinstallation is straightforward. Mix TSP according to package directions, or use a dedicated cabinet degreaser. Wipe down every surface you plan to paint, paying extra attention to areas near the stove, around handles, and along the tops of lower cabinets. Rinse thoroughly and allow surfaces to dry completely, at least 24 hours in a well-ventilated space. TSP cuts through polymerized cooking grease that standard cleaners can’t break down and slightly etches the surface to improve primer adhesion.
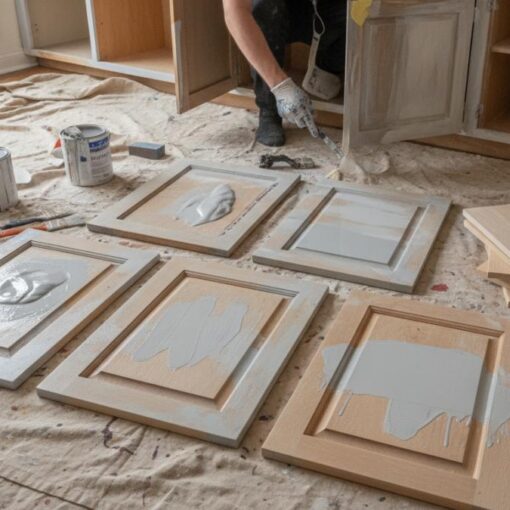
Remove cabinet doors from their hinges and lay them flat on sawhorses before painting. Painting vertical surfaces increases the risk of runs and sags, especially with water-based enamels. Horizontal application gives you far more control over finish quality.
Sanding, Scuff Sanding, and Deglossing
Once surfaces are clean and dry, sanding removes loose paint and creates a mechanical profile for primer to grip. Start with 80-grit on areas with active peeling or chipping, feathering the edges of any peeled sections so there’s no sharp lip that will telegraph through as a visible ridge. Move to 120-grit across all surfaces to remove remaining gloss, paint applied over a glossy surface has almost no mechanical adhesion and will peel. Finish with 220-grit, then wipe all surfaces with a tack cloth to remove every trace of sanding dust before applying primer.
How to Fix Peeling Cabinet Paint: Step-by-Step Repair Process
Work methodically through each stage. Skipping any step undermines every step that follows.
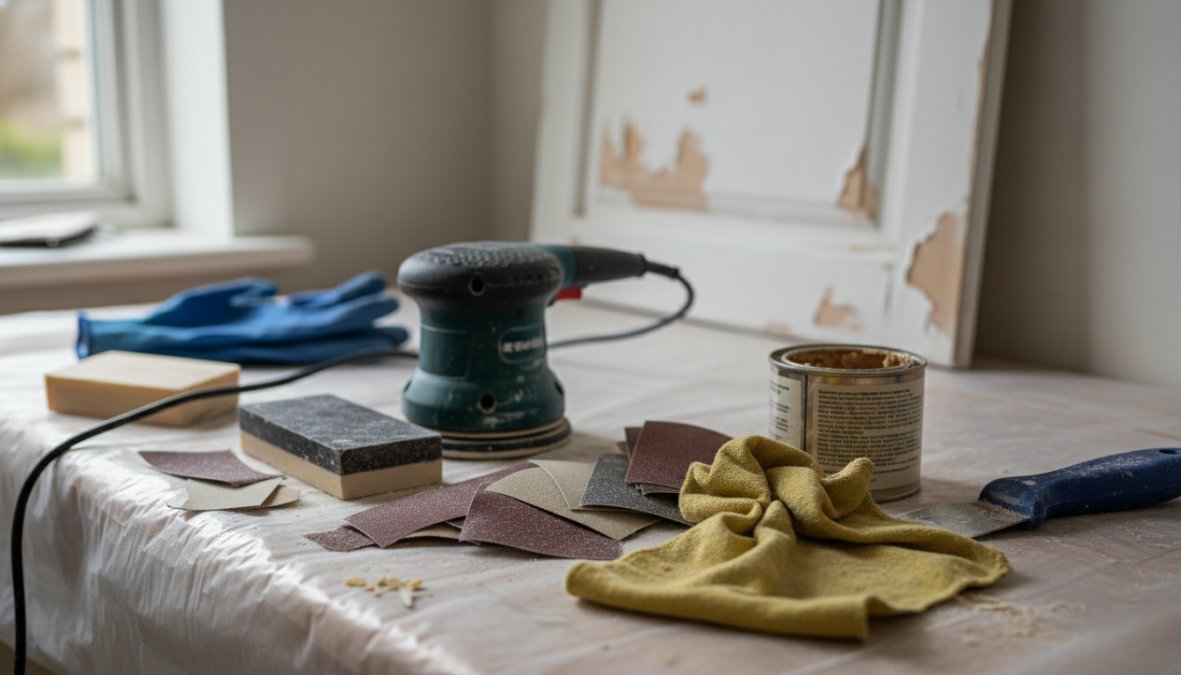
- Remove all hardware and label cabinet doors for accurate reinstallation.
- Clean all surfaces with TSP or degreaser and allow to dry fully (minimum 24 hours).
- Remove all loose and peeling paint using a putty knife, scraper, or heat gun as appropriate.
- Sand the entire surface starting with 80-grit, progressing to 120-grit, then finishing with 220-grit.
- Feather all edges where old paint meets bare substrate to eliminate ridges.
- Wipe down with tack cloth to remove all sanding dust.
- Apply a coat of bonding primer and allow to cure fully per manufacturer instructions.
- Lightly scuff sand the primer coat with 220-grit, then wipe with tack cloth.
- Apply the first coat of cabinet paint using a foam roller on flat panels and a brush on edges.
- Allow full curing time between coats (typically 4-6 hours for water-based, 24 hours for oil-based).
- Apply the second coat, then allow the full curing time before reinstalling hardware.
Chemical Stripping vs. Heat Gun Removal
Heat gun removal works best for thermofoil delamination and thick paint buildup on solid wood. Keep the gun moving continuously at 2-4 inches from the surface, concentrated heat will scorch wood and can cause MDF to swell or delaminate. Avoid heat guns on MDF substrates entirely.
Chemical stripping is the better choice for cabinets with detailed profiles, routed edges, or intricate patterns where a heat gun can’t reach evenly. Most strippers require 15-30 minutes of dwell time. A practical rule: use a heat gun on flat panels and chemical stripper on profiles.
As documented in the Consumer Product Safety Commission’s guidance on chemical paint strippers, some solvent-based strippers contain methylene chloride, which poses serious health risks. Choose NMP-free or benzyl alcohol-based strippers and work in a well-ventilated space.
Best Primer for Kitchen Cabinets to Prevent Future Peeling
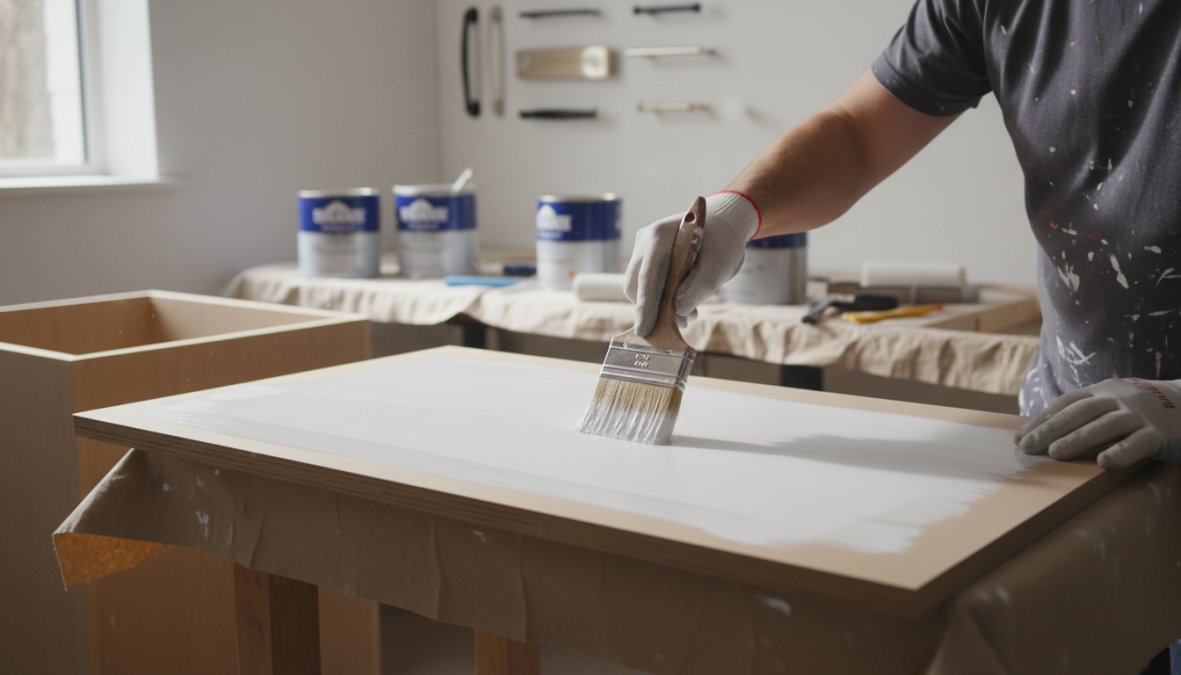
Primer selection is the most consequential product decision in any cabinet refinishing project. Standard drywall primers have insufficient adhesion for the slick, previously painted surfaces typical of kitchen cabinetry.
Oil-based primer offers the strongest adhesion, seals wood tannins, and sands to a very smooth surface, with the trade-offs of longer dry time and solvent fumes. Water-based bonding primer is a legitimate alternative for most cabinet projects, with lower VOC content and faster dry time. For MDF specifically, shellac-based primer is the most reliable choice, MDF absorbs water-based primers unevenly, and shellac seals the surface uniformly.
| Primer Type | Best Substrate | Dry Time | Key Benefit |
|---|---|---|---|
| Oil-based primer | Solid wood, honey oak | 8-24 hours | Maximum adhesion, tannin blocking |
| Shellac-based primer | MDF, veneer, stained wood | 45 minutes | Seals porous surfaces uniformly |
| Water-based bonding primer | Laminate, previously painted | 1-2 hours | Low VOC, easy cleanup |
| Acrylic enamel undercoat | All surfaces | 2-4 hours | Good flexibility, moisture resistance |
Apply primer in thin, even coats. A single thick coat sags, takes longer to cure, and sands unevenly.
Choosing the Right Cabinet Paint for a Durable, Professional Finish
The right paint for cabinets is not the same as the right paint for walls, cabinet surfaces need a harder, more durable film that withstands repeated cleaning, moisture exposure, and daily physical contact.
Acrylic enamel is the most popular choice for DIY cabinet refinishing. Look for products specifically labeled "cabinet and trim" or "hard enamel" rather than general interior paint. Alkyd paint produces an exceptionally hard, durable finish with excellent chip and stain resistance; it may feel dry within hours but continues to cure for several weeks, so avoid heavy use for at least two weeks after application. What to avoid: flat or eggshell wall paint has insufficient hardness for cabinets and will scuff and show wear within months.
According to the EPA’s guidance on VOC content in interior paints, low-VOC and zero-VOC water-based enamels are now available from most major manufacturers and perform comparably to solvent-based options in controlled testing.
Curing time is a detail many homeowners underestimate. Reinstalling hardware too early, or closing cabinet doors before the paint has cured, causes surfaces to stick together and peel when separated. Allow the manufacturer’s full recommended curing time before returning cabinets to normal use.
The combination that consistently produces the most durable cabinet finish is: shellac-based or oil-based bonding primer followed by two coats of water-based acrylic enamel or alkyd paint, with a full curing period between each coat. Skipping any layer to save time is the fastest way to recreate the same peeling problem you started with.
How to Fix Peeling Cabinet Paint: DIY vs. Hiring a Professional
The honest answer about DIY cabinet repair: the process itself isn’t technically difficult, but the preparation requirements are time-consuming and unforgiving. Most DIY failures happen during prep, not painting. A realistic timeline for a standard kitchen with 20-30 cabinet doors and drawer fronts runs 3-5 full days of work, not counting curing time between coats.
DIY makes sense when:
- The peeling is limited to a few doors or drawer fronts
- You have the time and patience for thorough preparation
- The cabinet material is solid wood (more forgiving of minor prep inconsistencies)
- You’re comfortable with the safety requirements for chemical strippers or heat guns
Professional refinishing makes more sense when:
- Peeling is widespread across most or all cabinet surfaces
- Your cabinets are MDF or thermofoil, which require more precise handling
- You want a factory-smooth finish without visible brush marks or roller texture
- The kitchen is your primary living space and extended downtime is impractical
A professional refinisher brings HVLP spray systems that produce finish quality genuinely difficult to replicate with brushes and rollers, and professional-grade primers, enamels, and tools add up quickly for a one-time DIY project. As referenced in the National Association of the Remodeling Industry’s guidance on kitchen renovation costs, cabinet refinishing consistently delivers one of the highest returns among kitchen improvement projects compared to full cabinet replacement.
Many experienced cabinet painters will assess a kitchen and tell you honestly whether your situation is a good candidate for DIY repair or whether the substrate condition makes professional refinishing the more cost-effective path.
Peeling cabinet paint is a solvable problem, but only when the root cause is addressed rather than painted over. If the scope of damage across your kitchen feels overwhelming, or if you want a finish that looks professionally applied because it is, Denver Cabinet Painting Colorado brings 40 years of experience in cabinet painting, refinishing, and glazing to every project across the Denver metro area. Their team’s emphasis on meticulous preparation and professional application is exactly what separates a repair that holds from one that fails again. Get a free quote from Denver Cabinet Painting Colorado and find out what your cabinets could look like with the right process behind them.
Frequently Asked Questions
Why is the paint peeling off my kitchen cabinets?
Cabinet paint peels for several reasons, including poor surface preparation before painting, skipping primer, exposure to steam and moisture near stoves or sinks, and using the wrong type of paint on the substrate. On MDF or thermofoil cabinet doors, delamination is often mistaken for paint peeling but requires a different fix. Identifying the root cause is the most important first step before attempting any repair.
Can you paint over peeling cabinet paint, or do you need to strip it first?
Painting directly over peeling cabinet paint is one of the most common DIY mistakes, it almost always leads to the new coat failing quickly. You need to remove all loose, chipping, or blistering paint first, then sand and prime the surface properly. Skipping this step means poor adhesion and more peeling within months. Thorough surface preparation is non-negotiable for a lasting result when you fix peeling cabinet paint.
What is the best primer for kitchen cabinets to prevent peeling?
A bonding primer or oil-based primer is generally the best choice for kitchen cabinets, especially on slick surfaces like thermofoil, laminate, or previously painted wood. Bonding primers create a strong adhesion layer that helps the top coat grip the substrate. For MDF cabinet doors and drawer fronts, look for a primer specifically rated for porous surfaces. Always allow full curing time before applying your finish coat to avoid adhesion failure.
How long does it take to fix peeling cabinet paint from start to finish?
A full DIY repair, including stripping, sanding, priming, and painting, typically takes two to four days when you account for drying and curing time between coats. Rushing the process by skipping curing time is a leading cause of new paint peeling. If you have many cabinet doors and drawer fronts to refinish, or if the damage is extensive, a professional service can often complete the job more efficiently with better equipment and materials.
Is it worth hiring a professional to fix peeling cabinet paint, or should I DIY?
DIY repair makes sense for minor peeling on a few cabinet doors if you have the right tools and patience for proper prep. However, widespread peeling, thermofoil delamination, or damage on MDF substrates can be tricky to fix without experience, and a poor result can cost more to correct later. A professional brings specialized primers, spray equipment, and 40-plus years of refinishing knowledge, often delivering a smoother, more durable finish than most DIY attempts achieve.
This article was written using GrandRanker